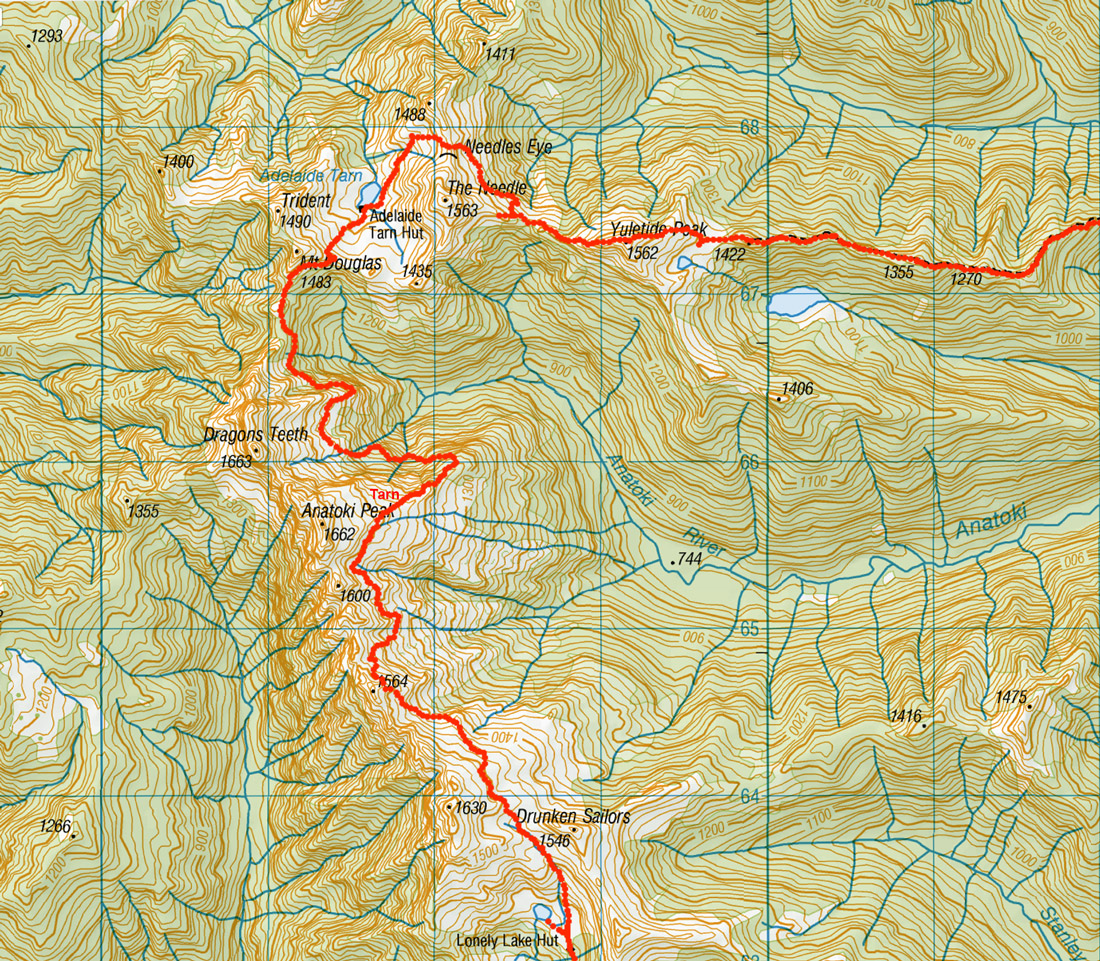
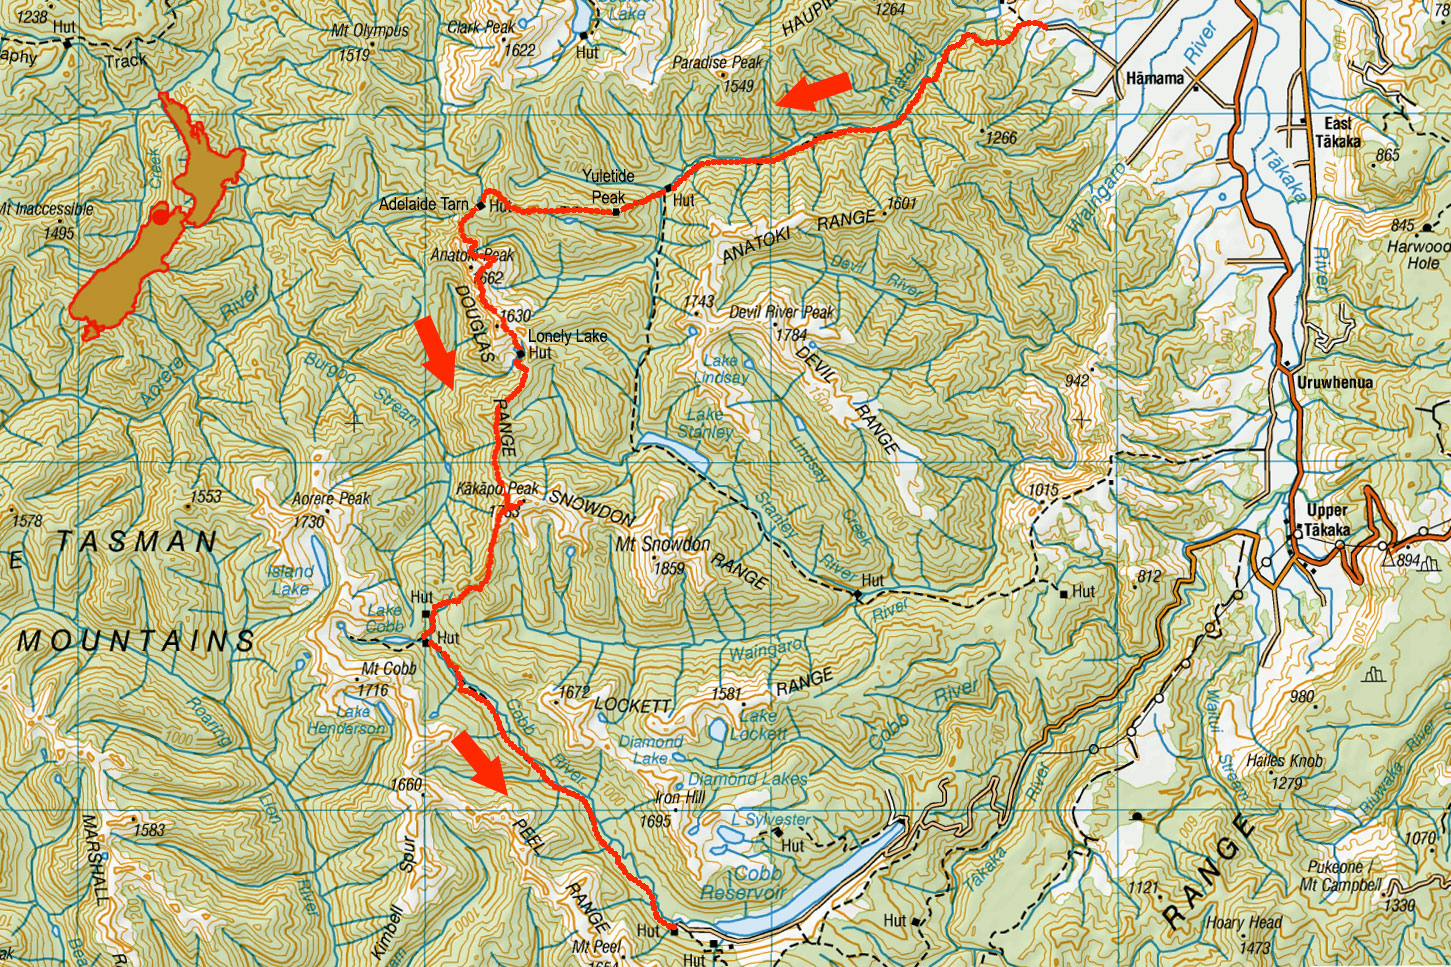
Dragons Teeth high route, February 2025

Bush, not far in from the Anatoki Track road end

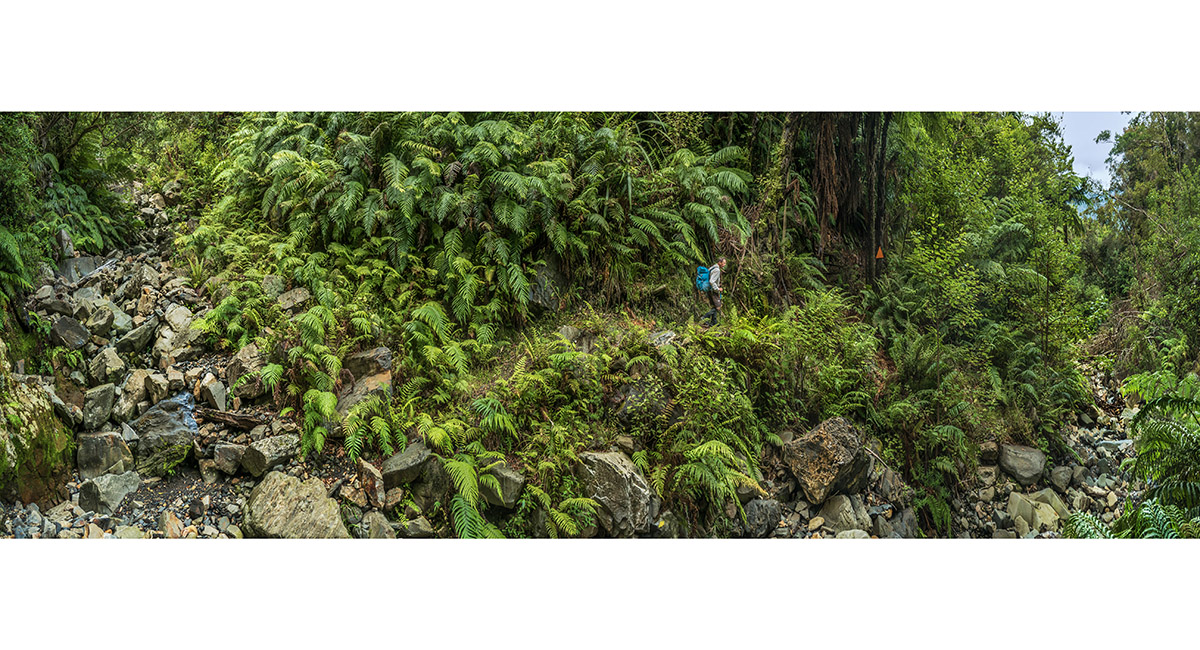
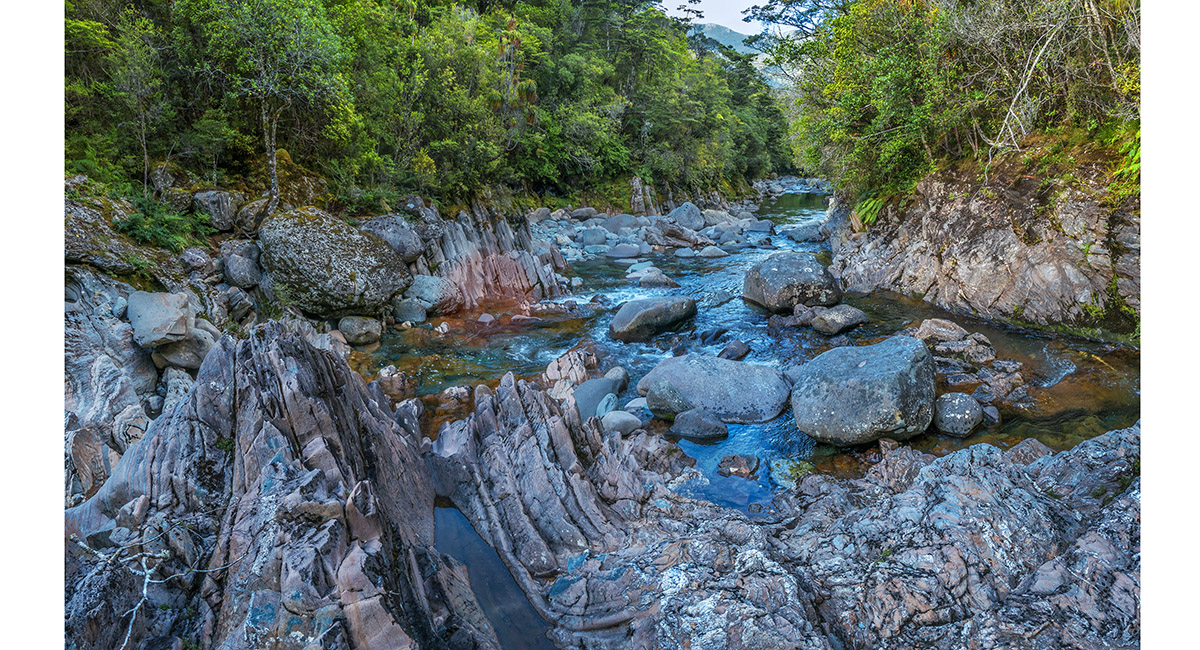
Crossing one of numerous tributary streams feeding Anatoki River. Although the track starts at 150m and Anatoki Forks Hut is at 640m, the altitude gain along the track was nearly 1,000m due to all the undulations caused by the tributaries

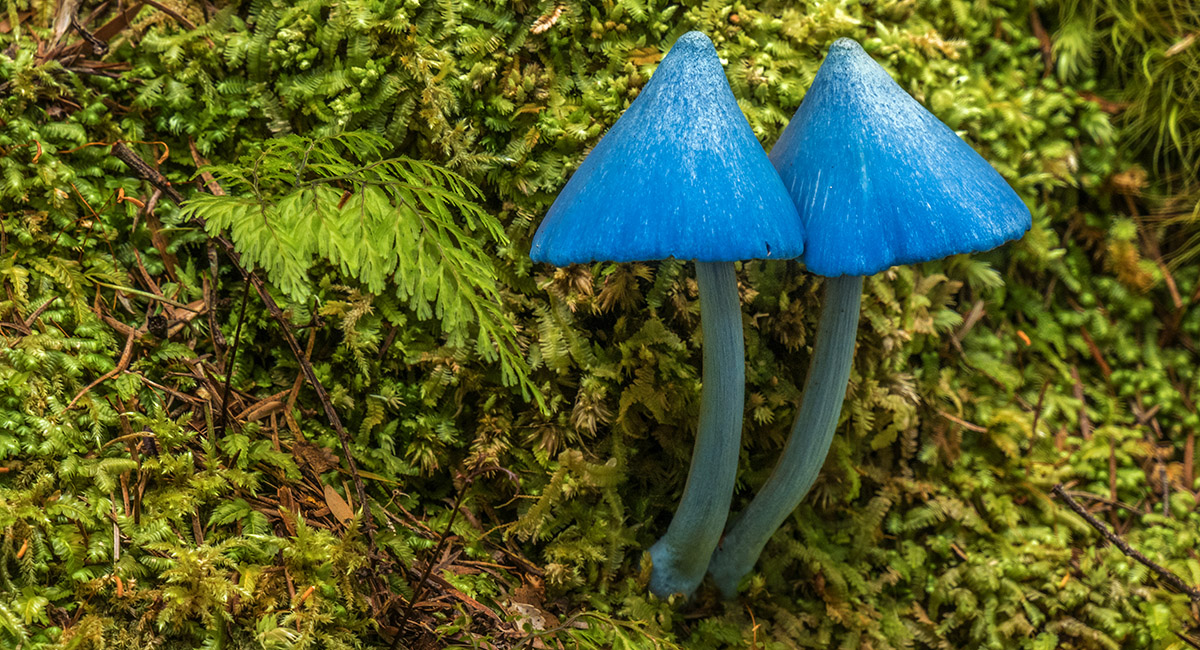
Sky-blue mushrooms (entoloma hochstetteri) beside the trail, also known as blue pinkgill and werewere-kōkakoblue

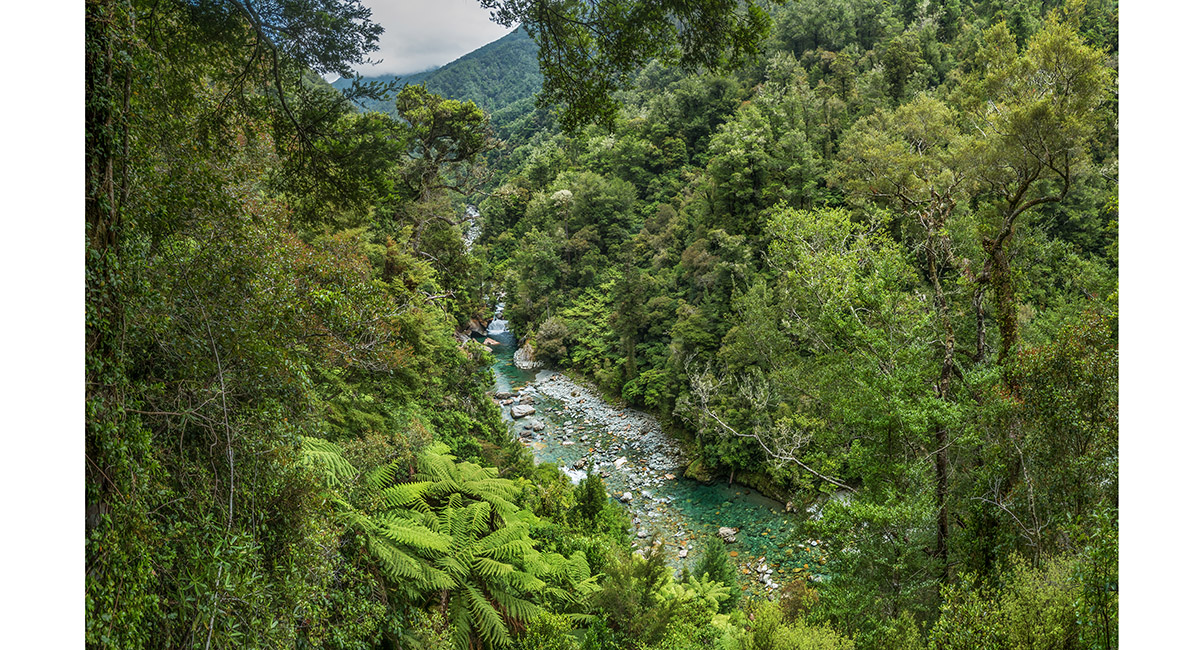
A view west up the Anatoki River, west of Anatoki Bend

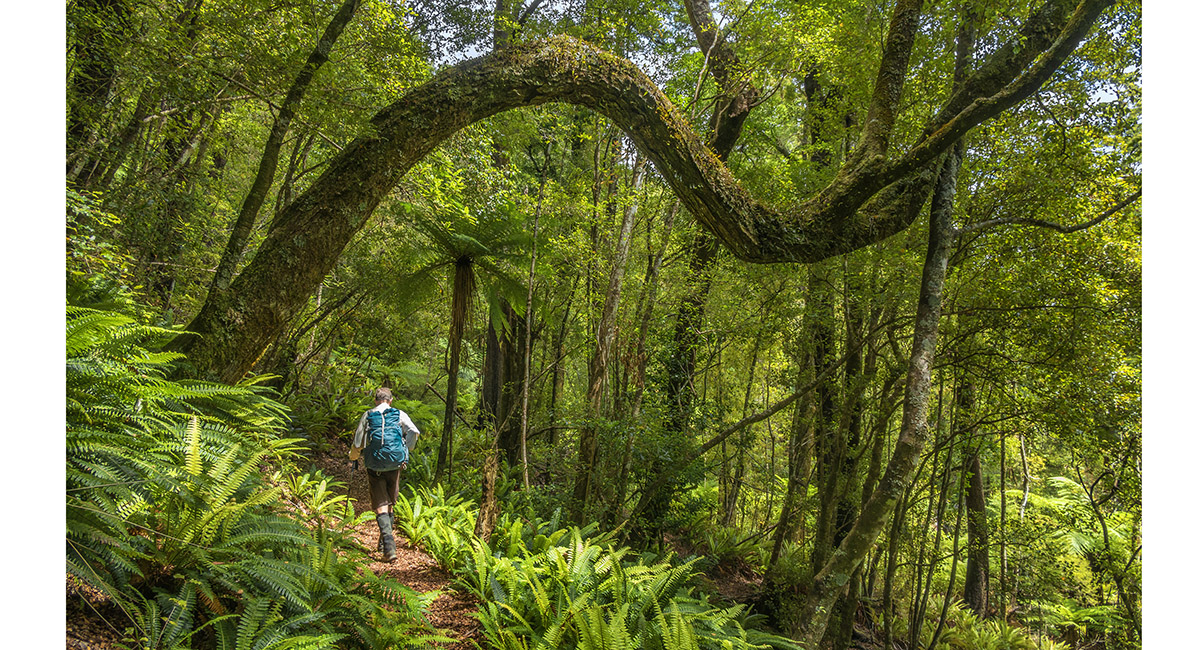
On the trail not far from Anatoki Forks Hut


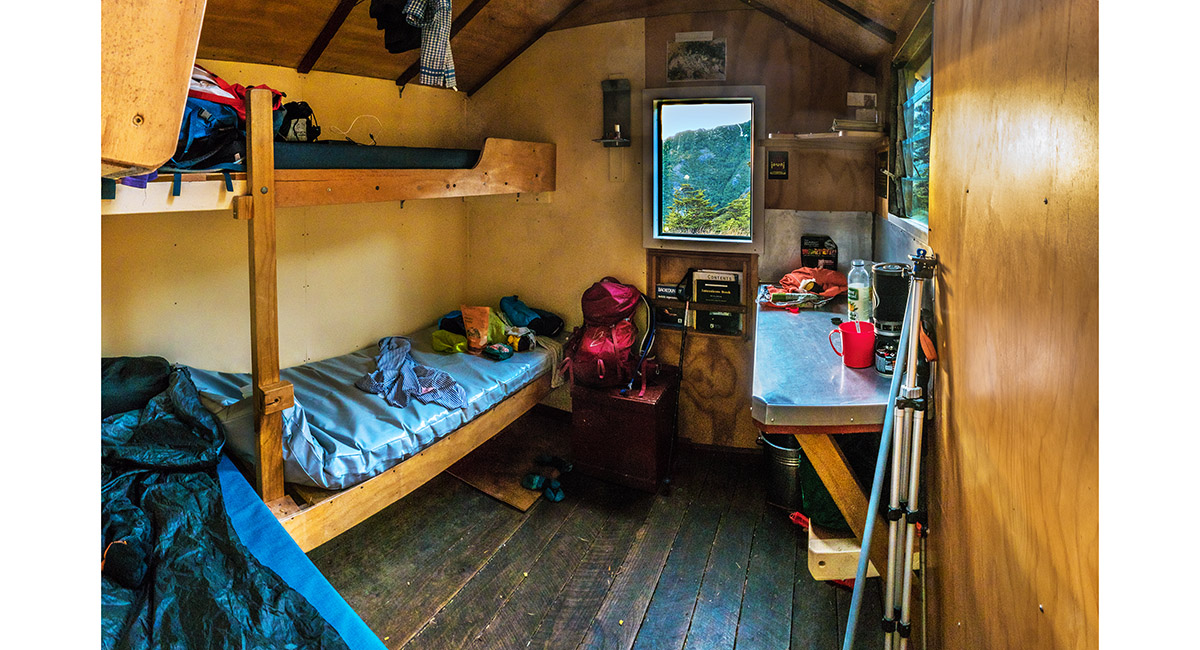
Anatoki Forks Hut (640m)

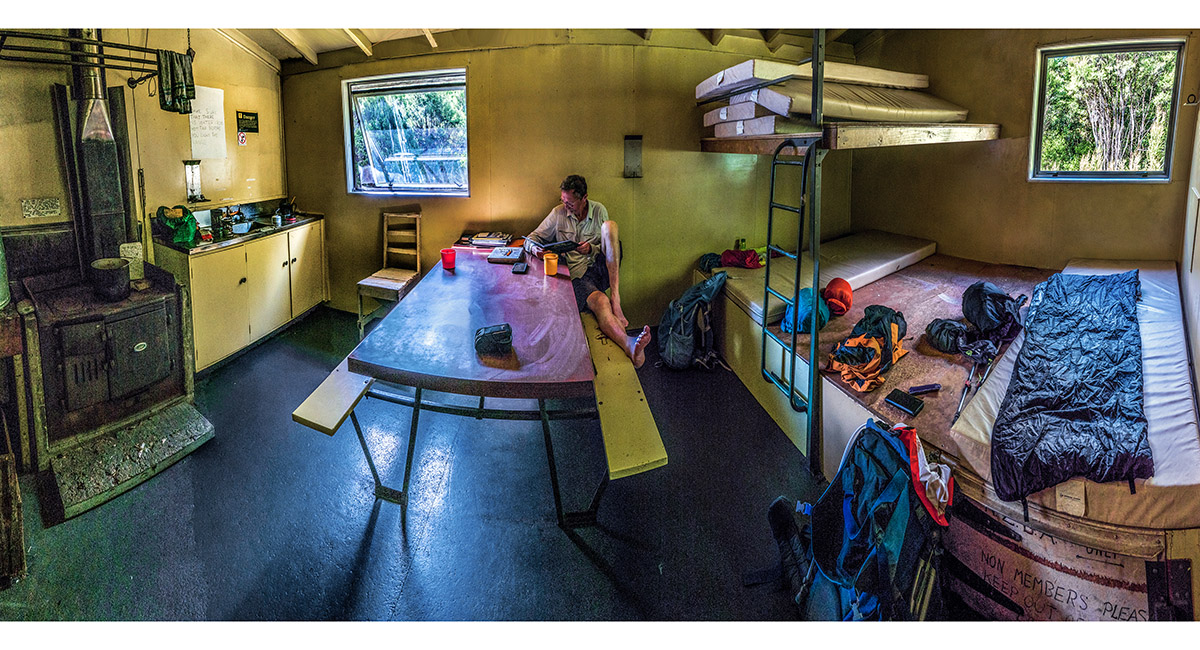
Inside Anatoki Forks Hut

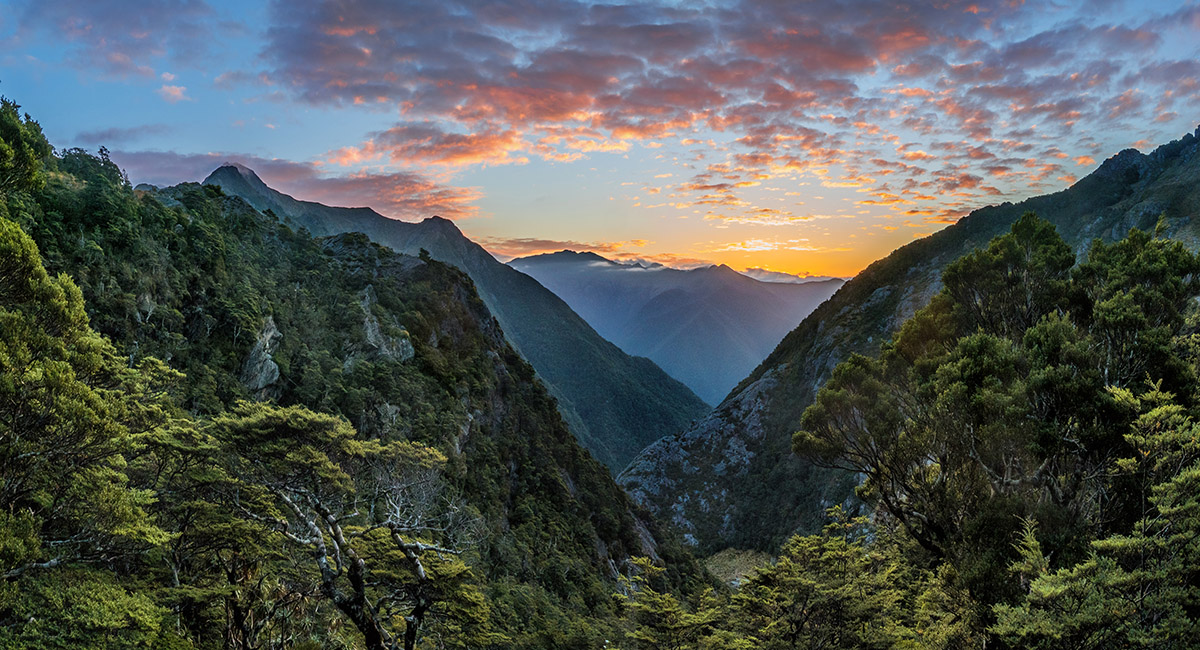
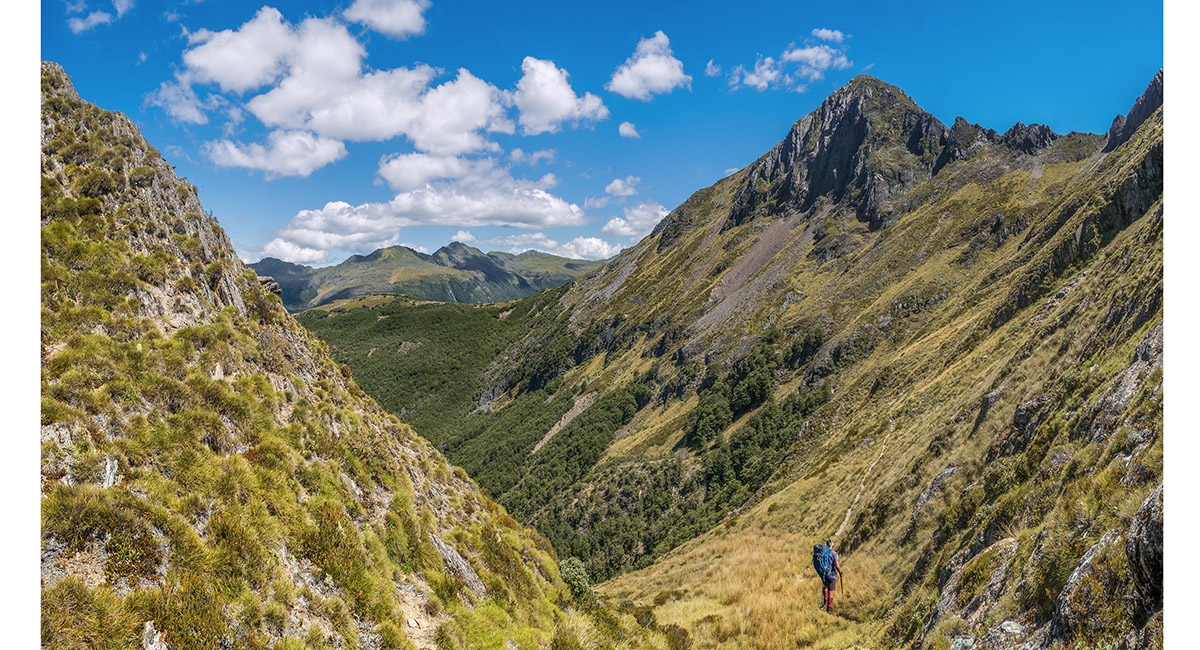
A view east down Anatoki River, from the crossing point accessing the spur leading up to Yuletide Peak


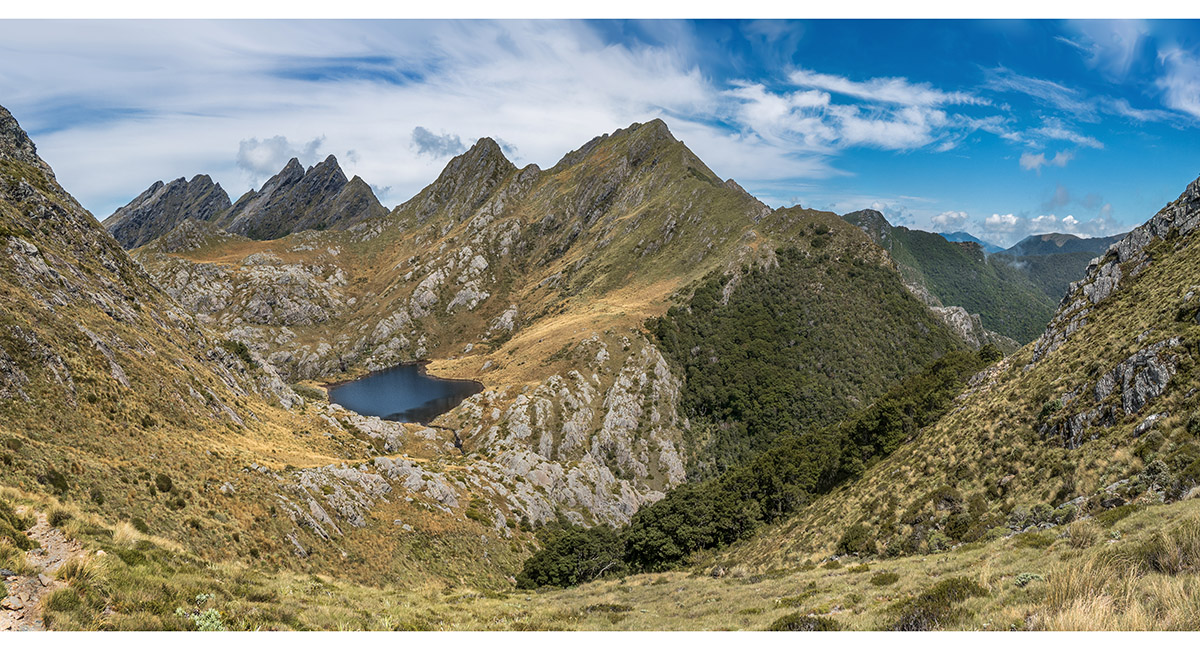
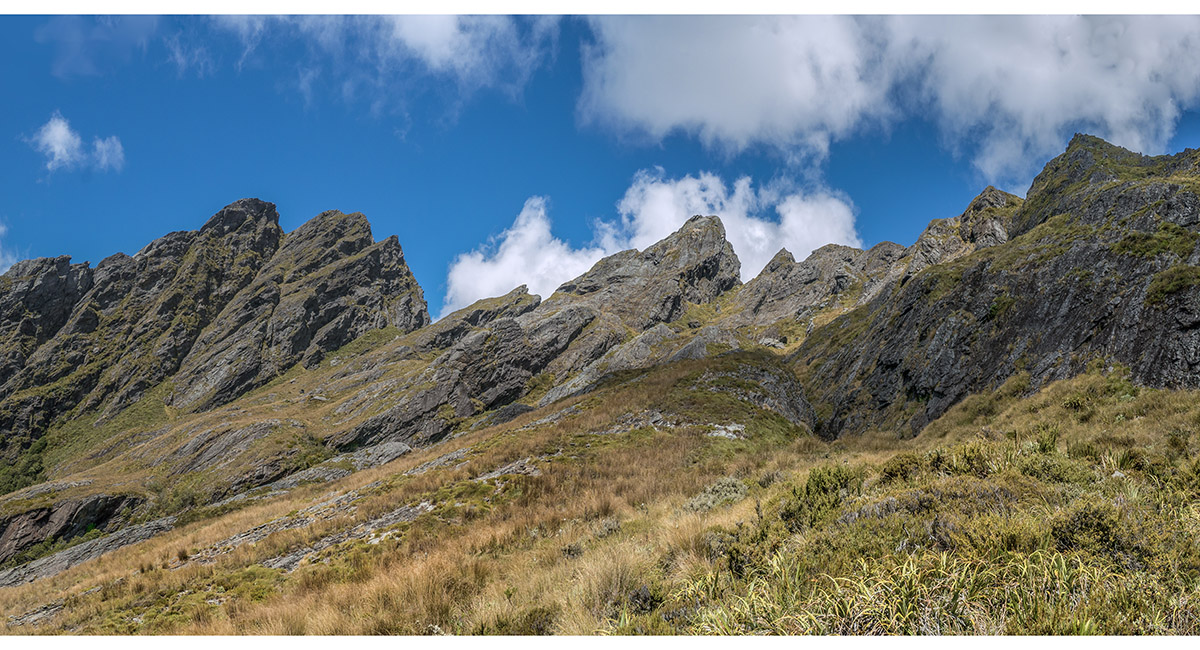
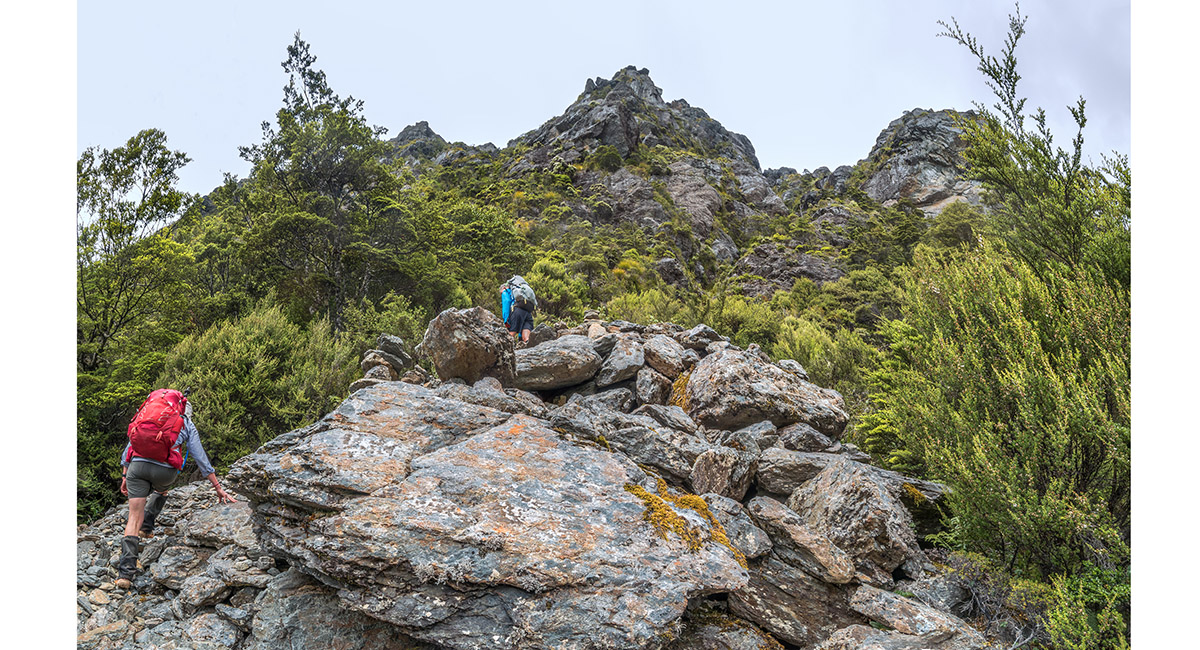
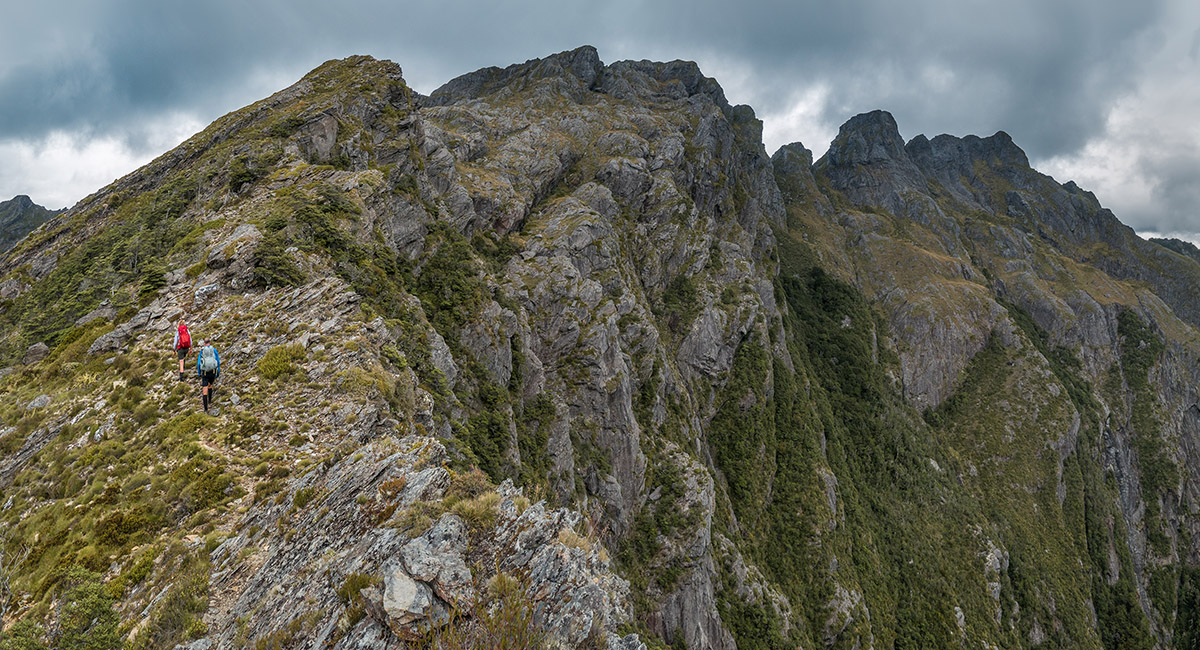
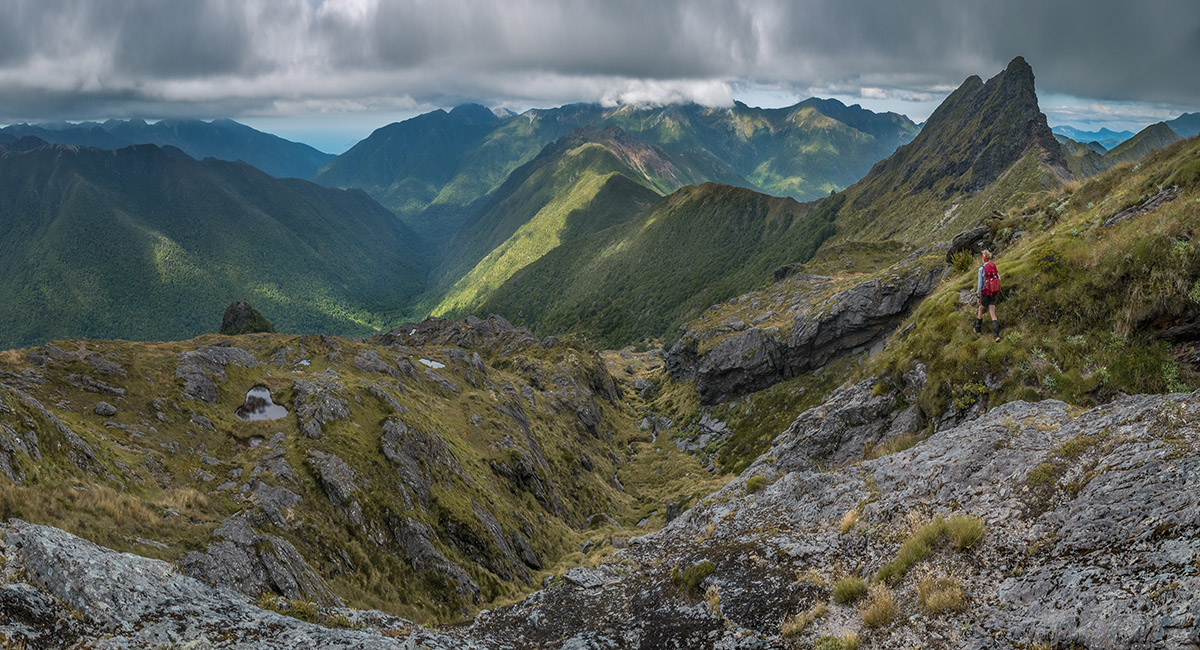
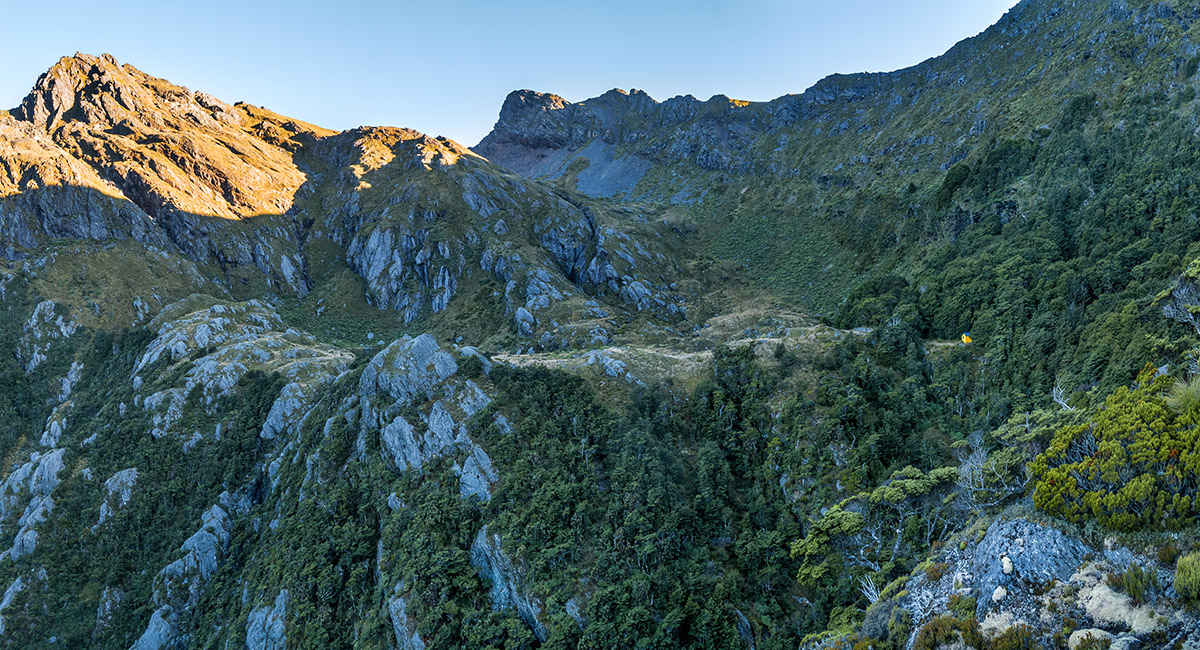
On the spur at Pt 1270, looking west to Pt 1355, with the Douglas Range on the skyline

On the spur at Pt 1355, looking west to Pt 1422 and Yuletide Peak, with the tarn below at 1,120m, and the Douglas Range on the skyline

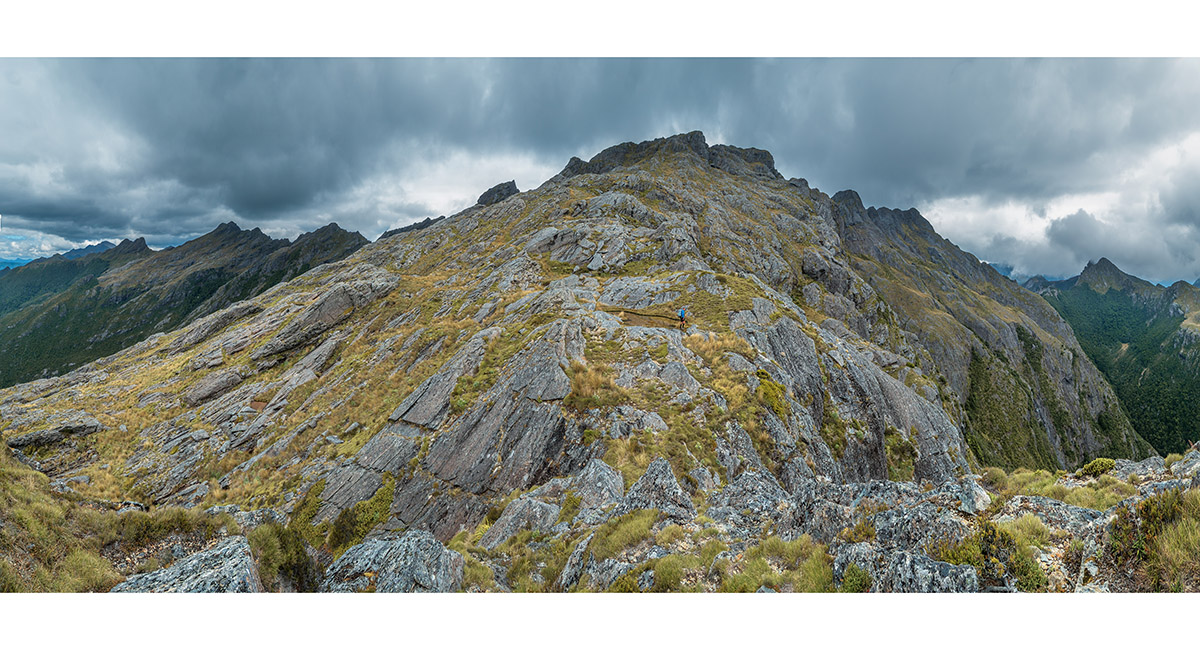
Nearing the summit of Yuletide (1,562m), looking east back down the approach spur to Pt 1422 (left) and the Anatoki Range behind

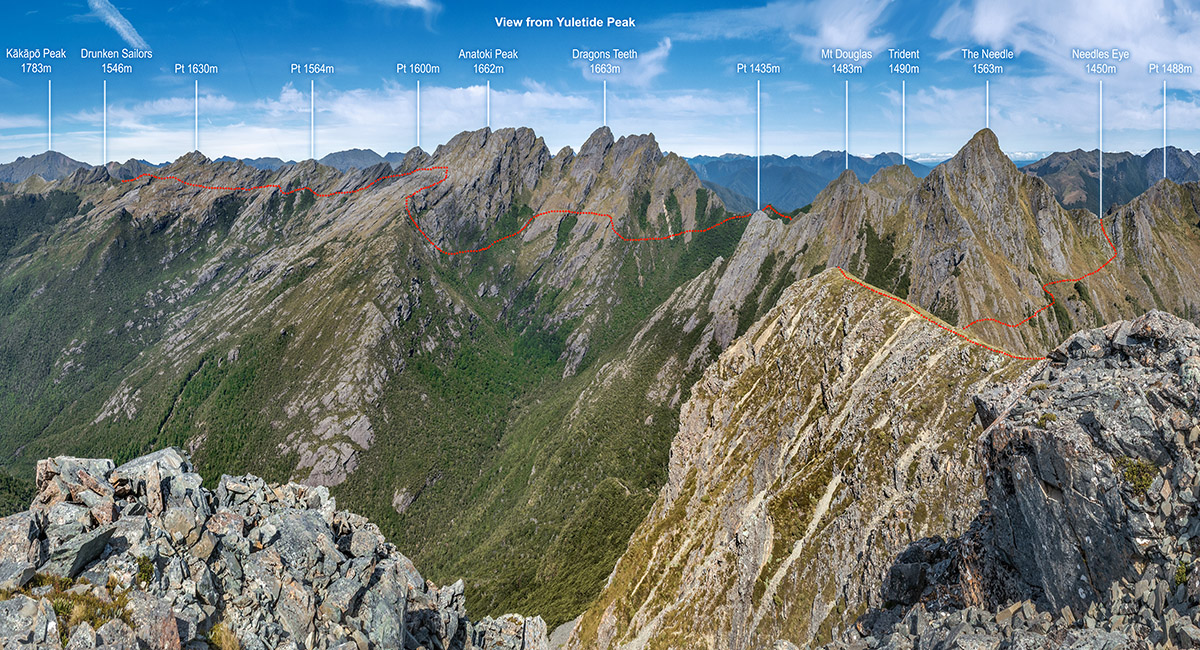
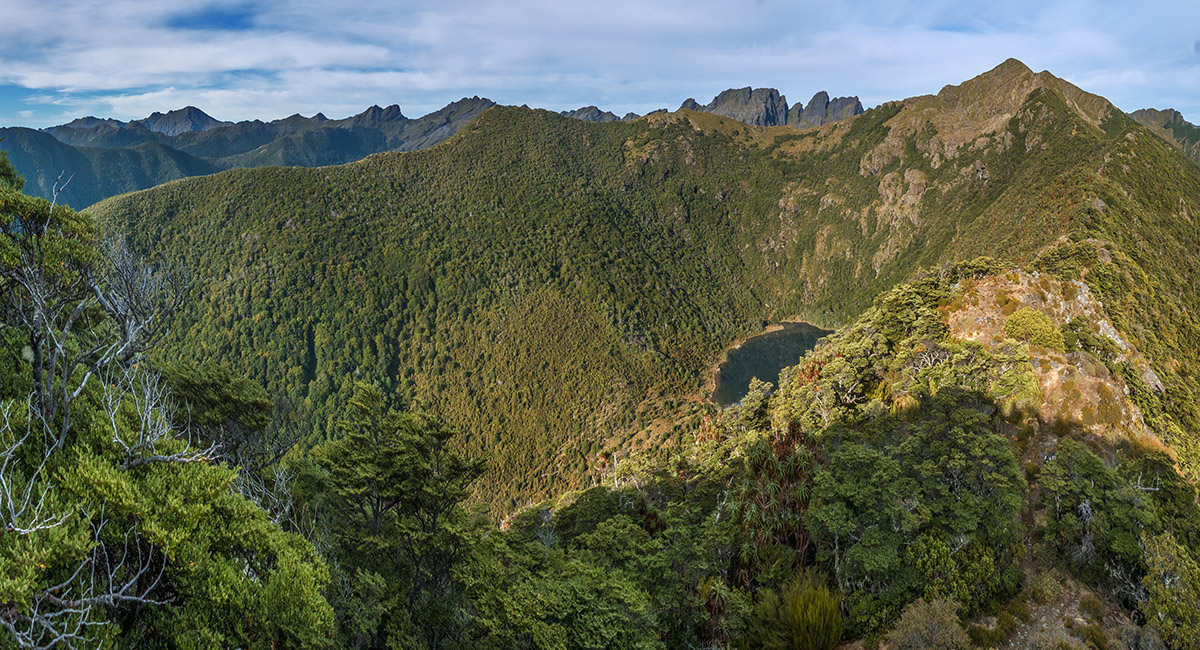
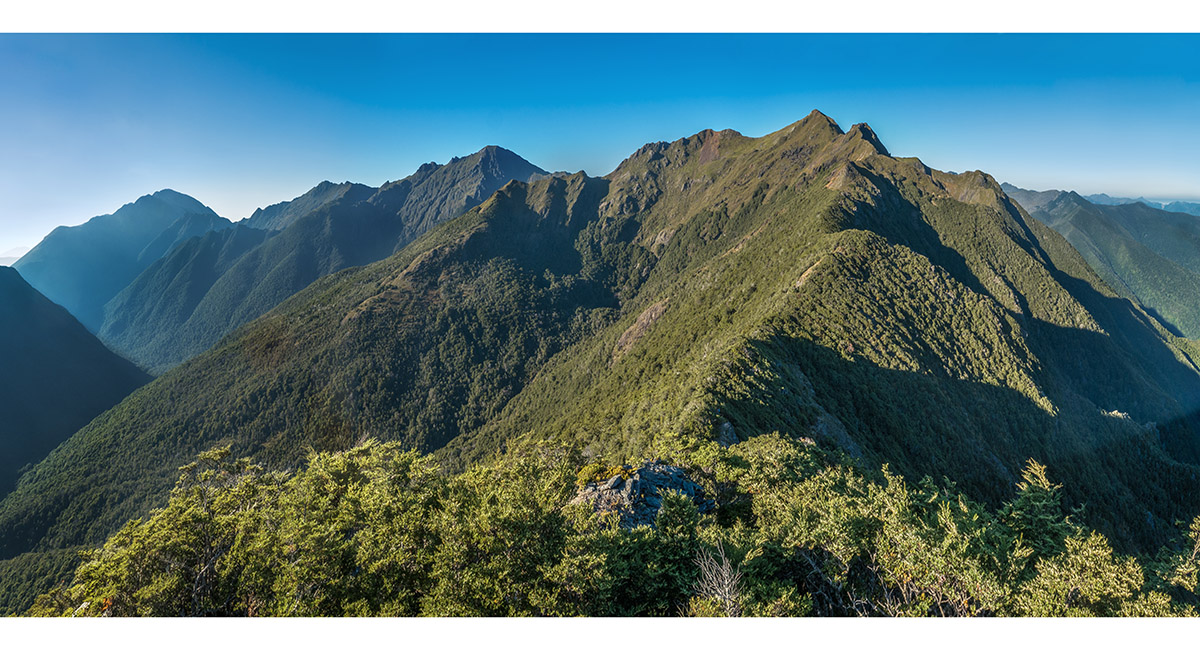
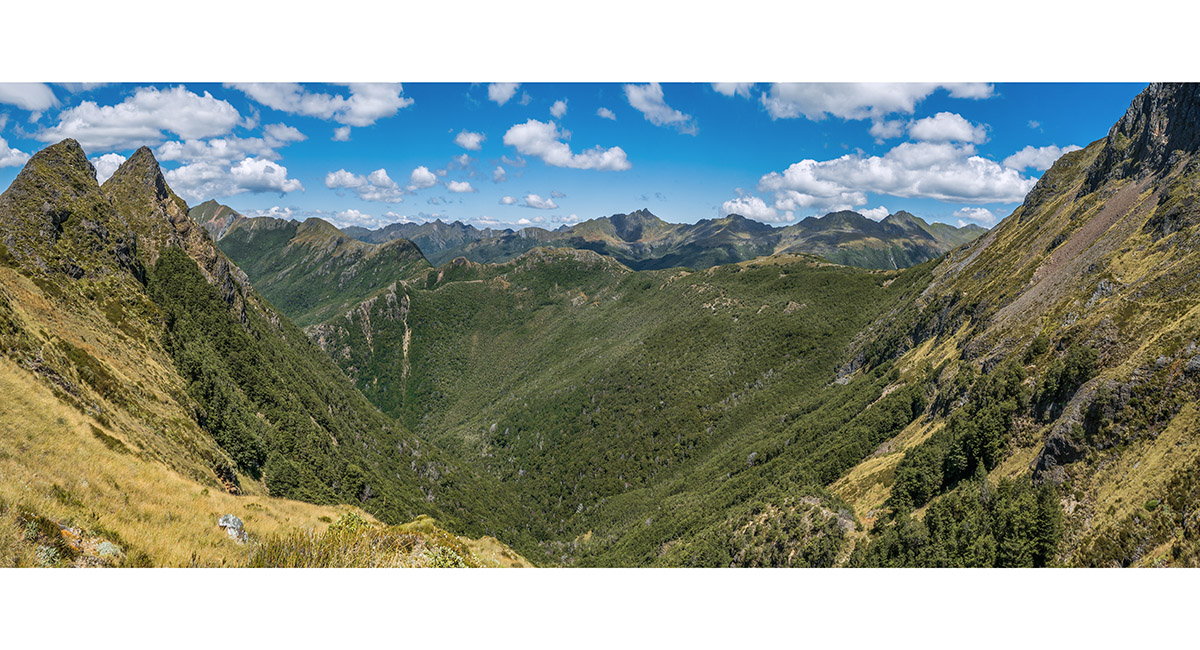
The Yuletide summit view west, the best overall view of the Douglas Range on this 4 night trip

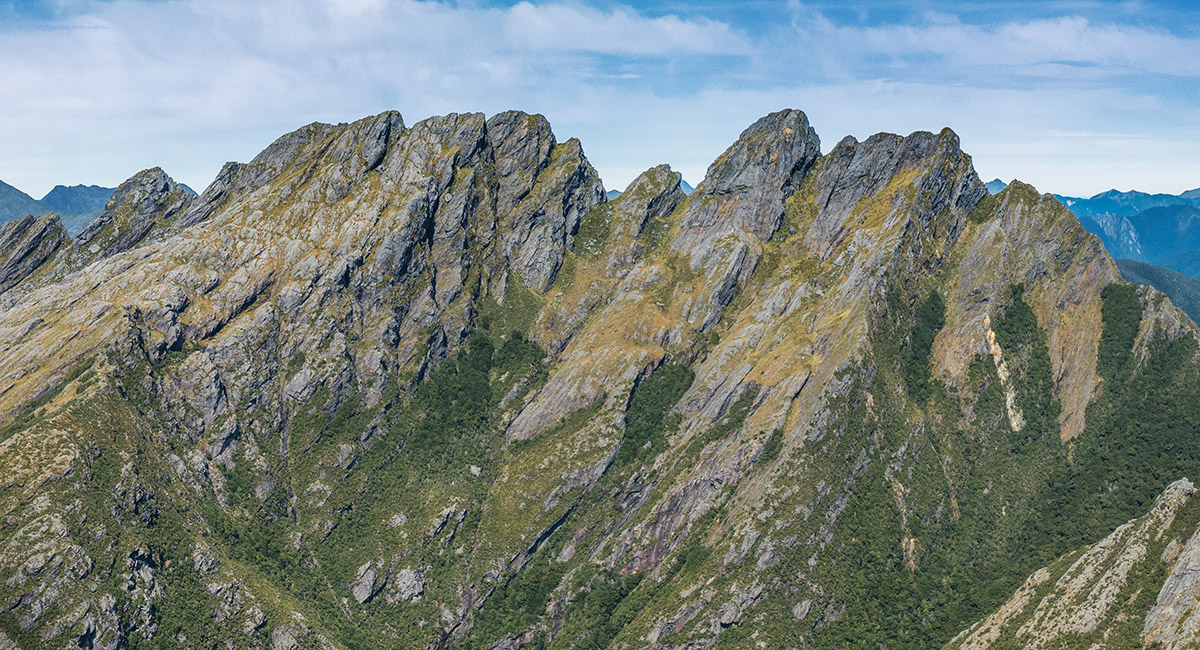
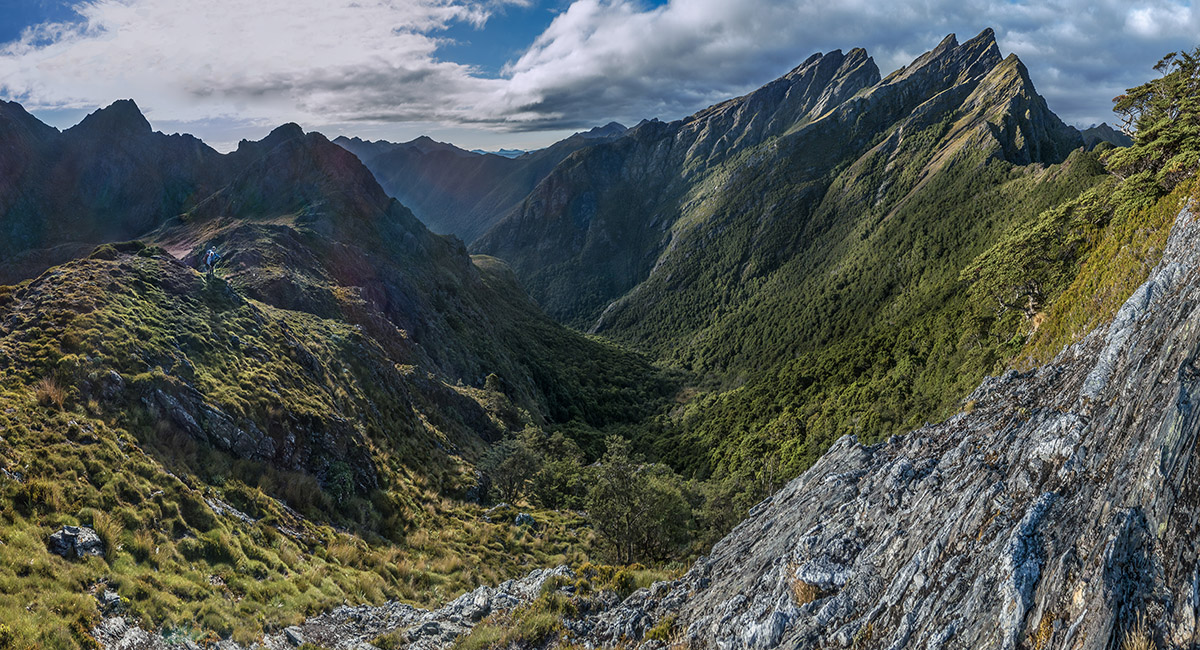
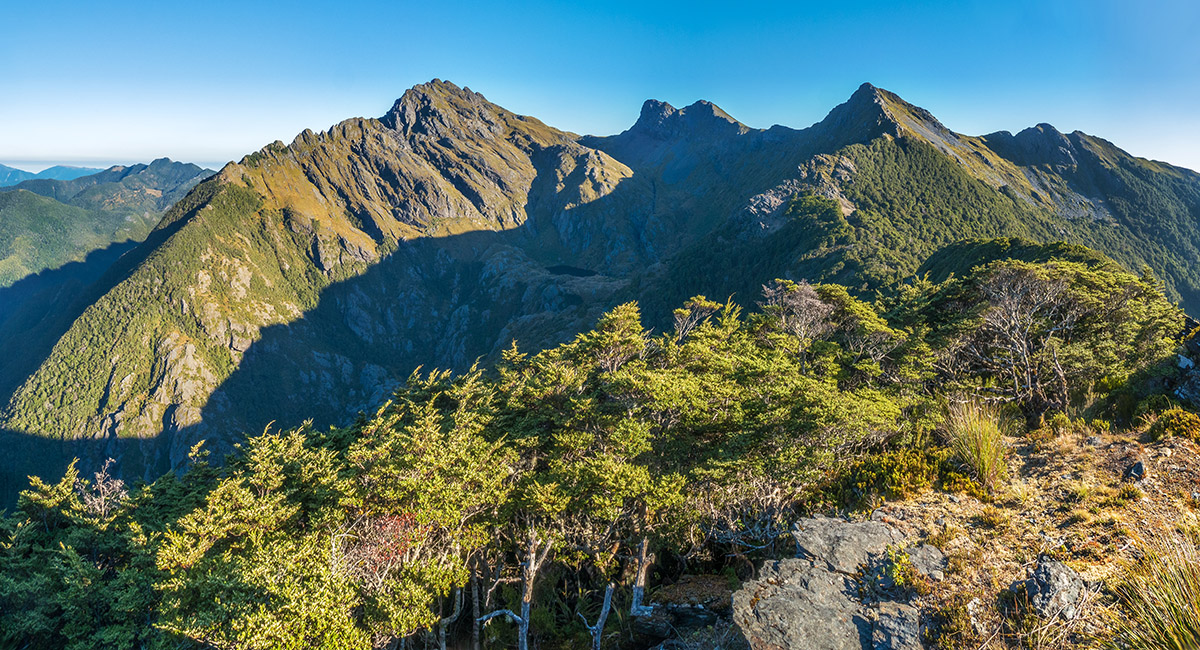
A closer look from Yuletide at Anatoki Peak (1,662m, left) and The Dragons Teeth (1,663m, right), showing all the high route terrain

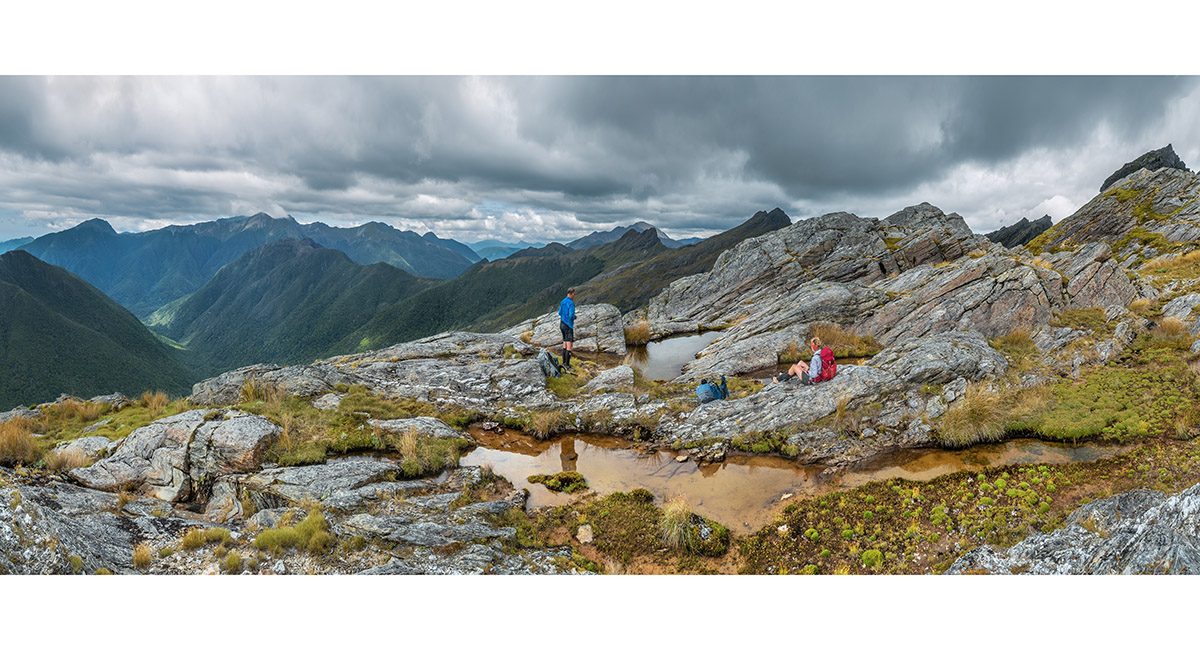
A view in the 1,400m saddle between Yuletide and The Needle, looking northwest along the cairned route to Needles Eye (1,440m, right of centre skyline). Keeping track of the cairns required close concentration at times

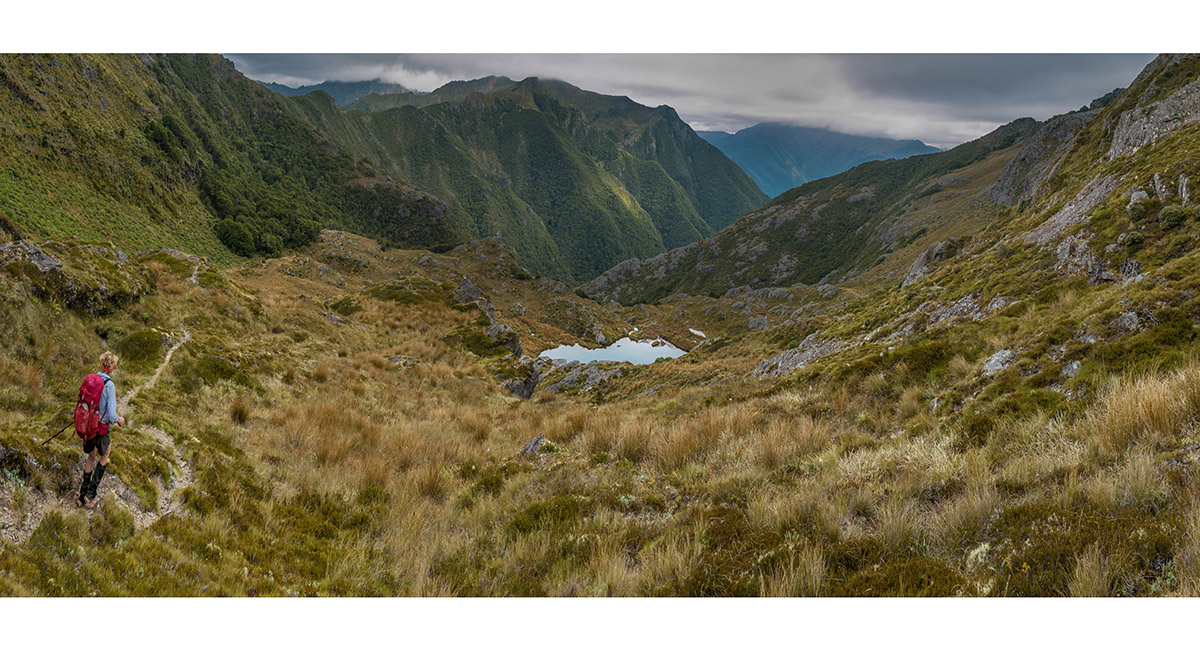
A view at about 1,370m on the descent from Needles Eye, to Adelaide Tarn (1,250m), with from right; Trident (centre, 1,490m), Mt Douglas (1,483m), The Dragons Teeth (1,663m) and Anatoki Peak (1,662m). Adelaide Tarn Hut is the tiny dot above the far side of the tarn

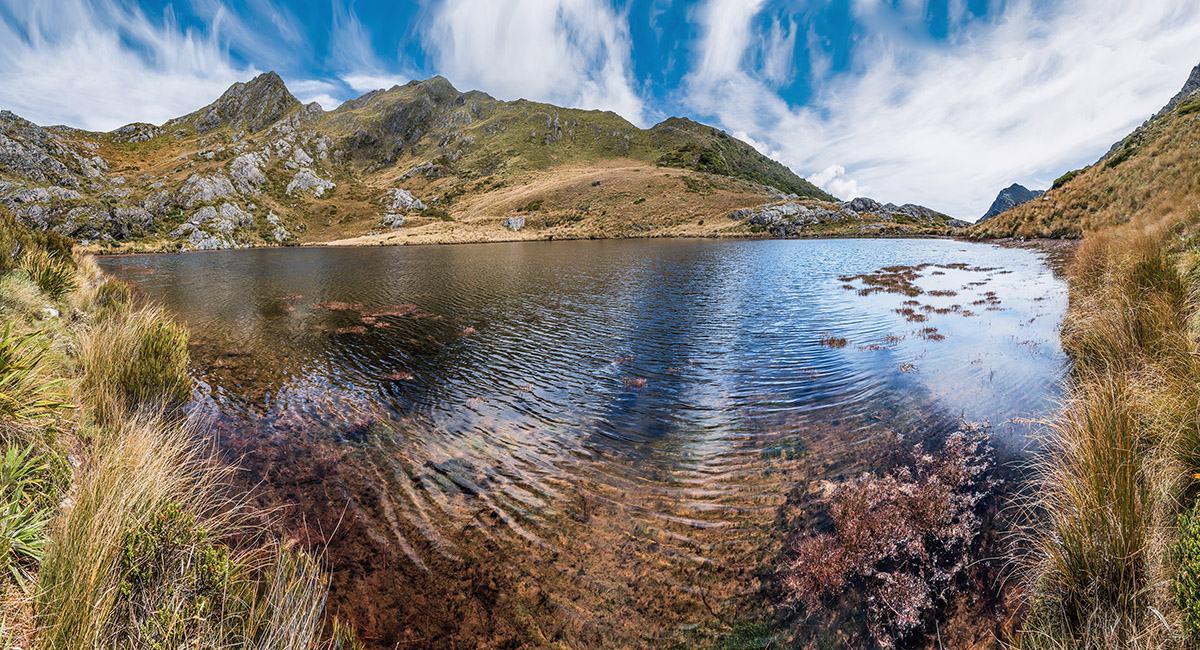
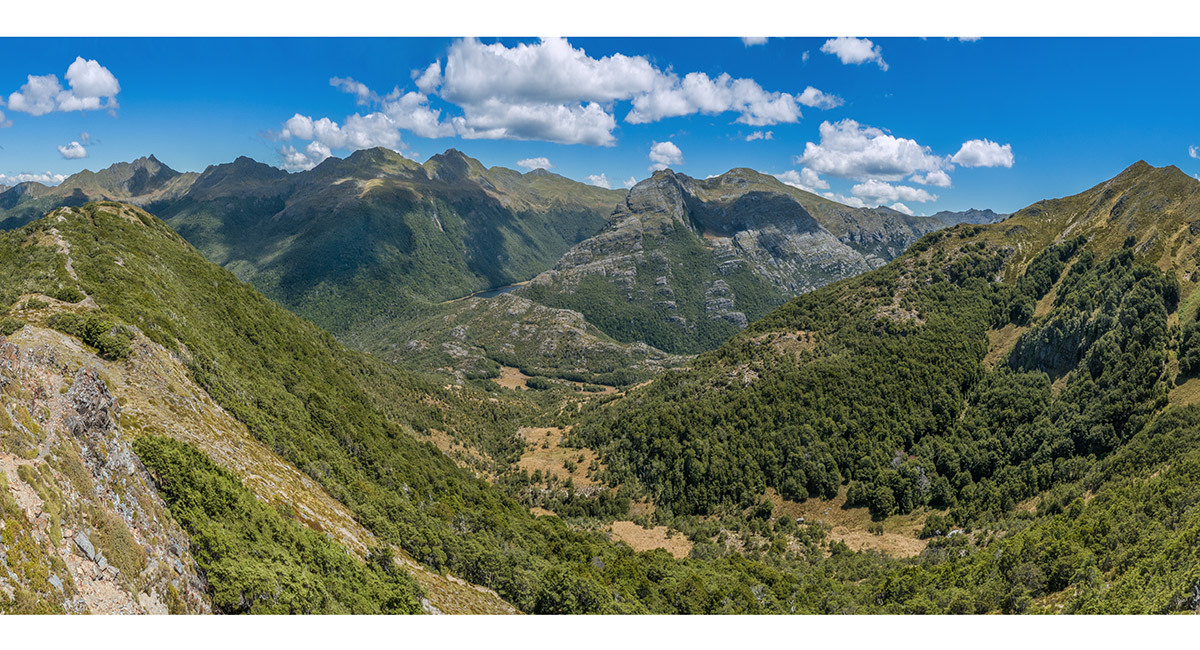
Down at 1,250m beside Adelaide Tarn, with the hut at left

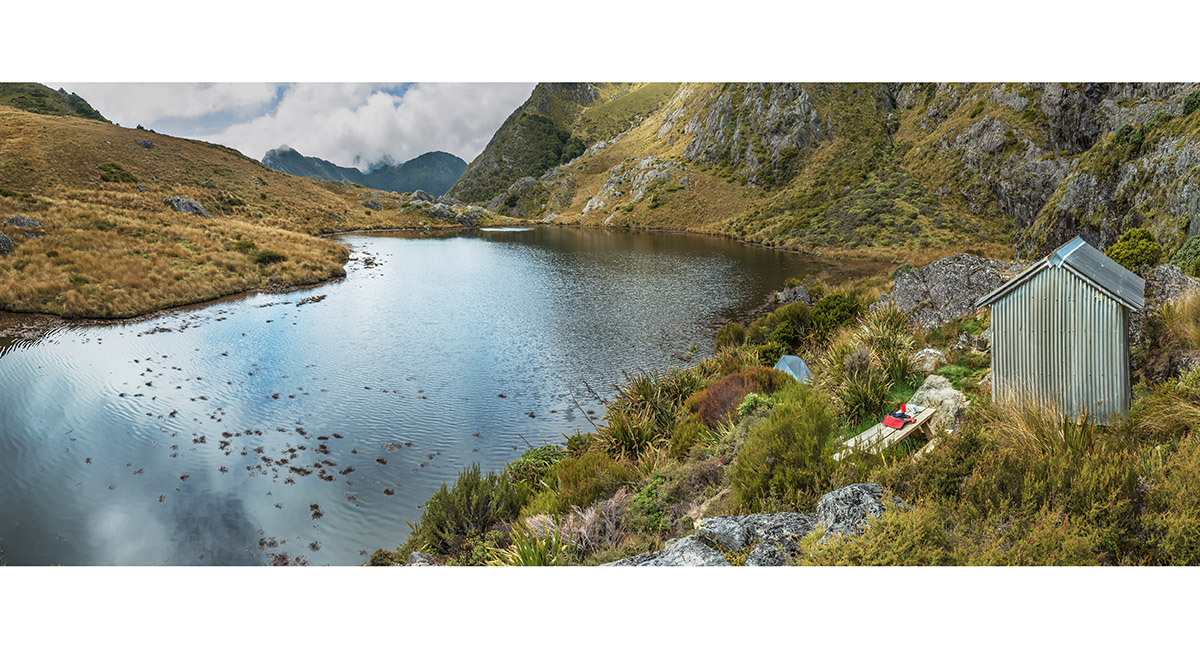
A view north over the hut and Adelaide Tarn to Mt Olympus and Lead Hills

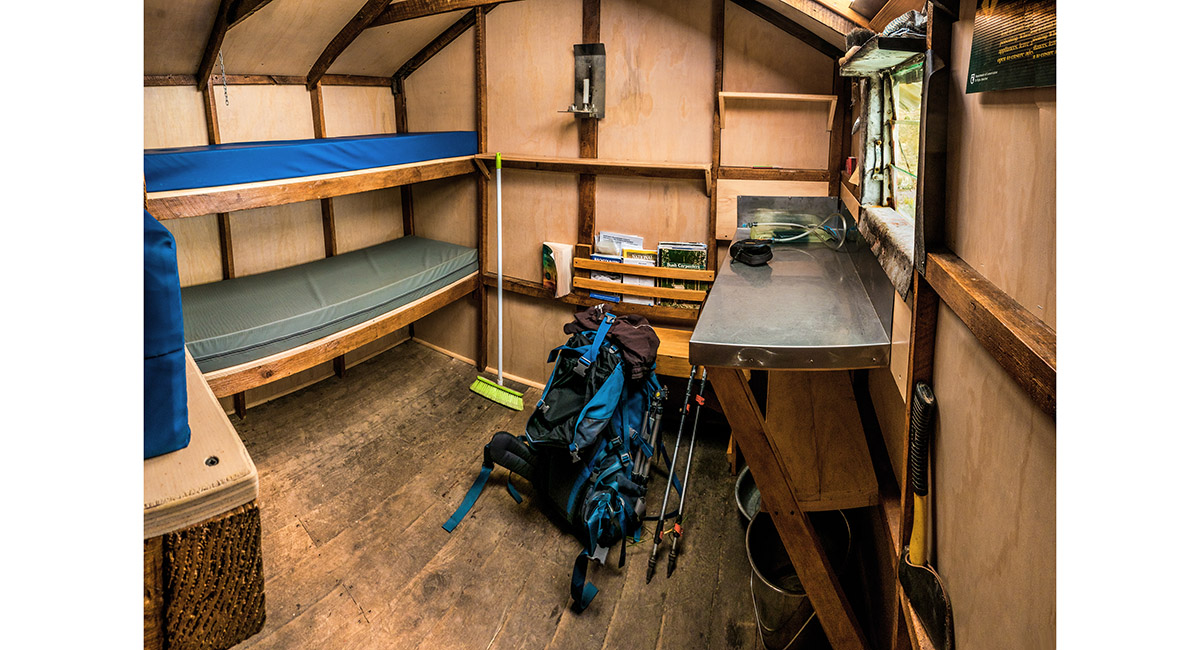
Inside 3-bunk Adelaide Tarn Hut

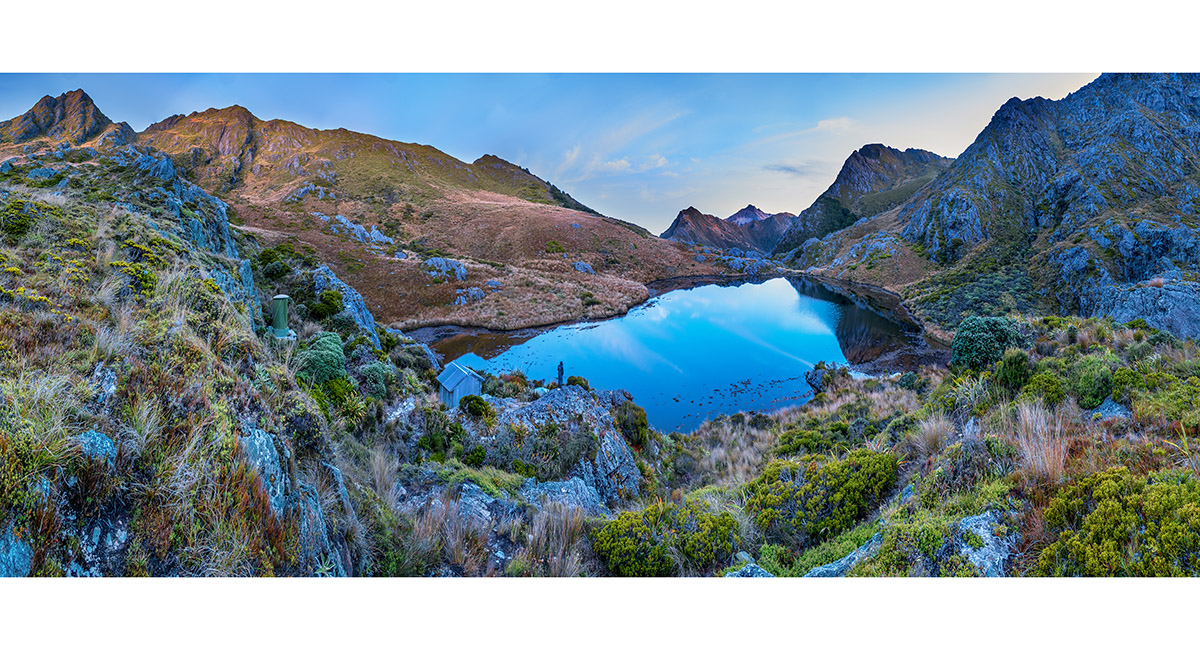
A dawn view north over the hut and Adelaide Tarn to Mt Olympus and Lead Hills. Mt Douglas and Trident are top left


Departing Adelaide Tarn Hut, with The Dragons Teeth high route ahead of us

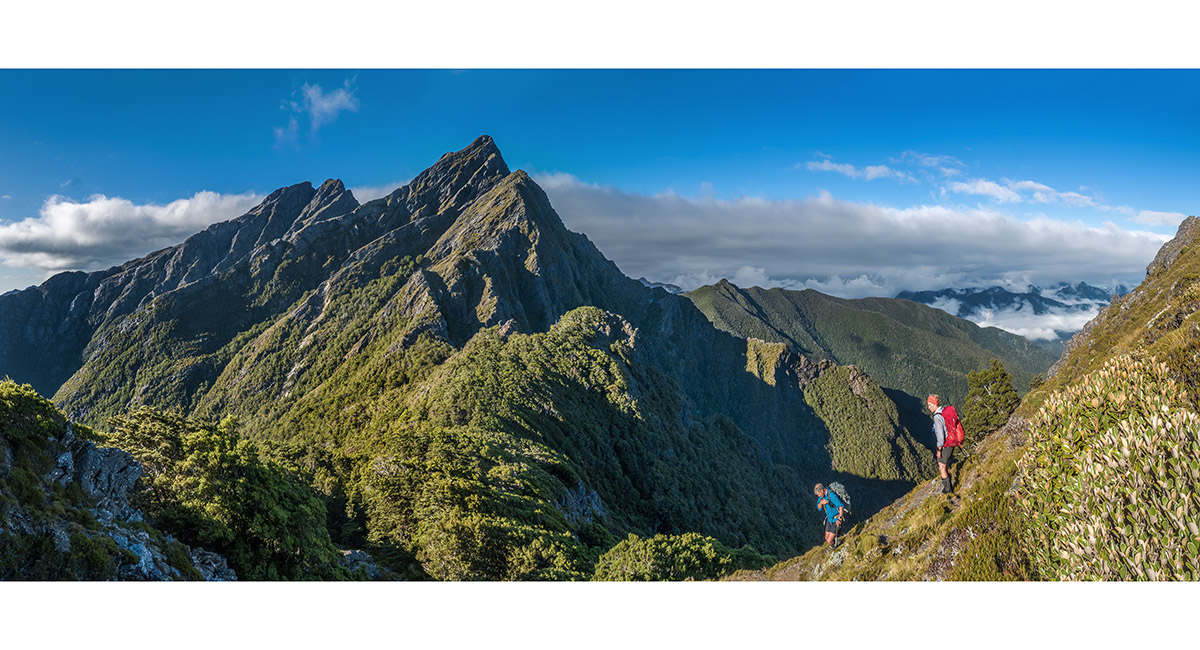
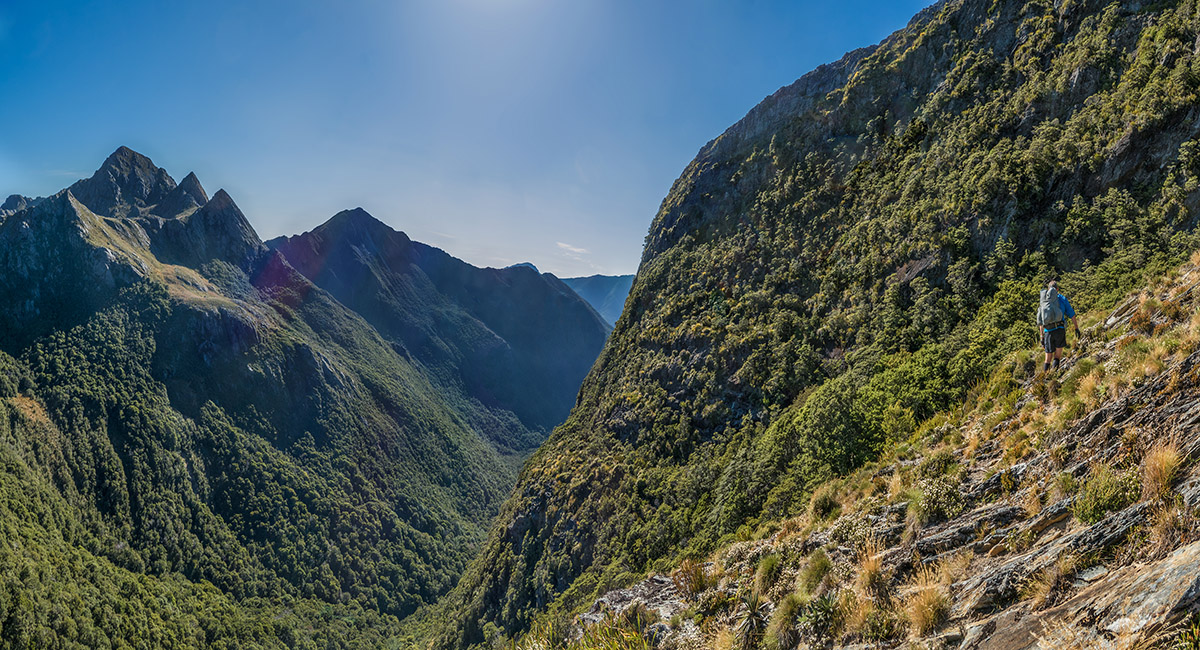
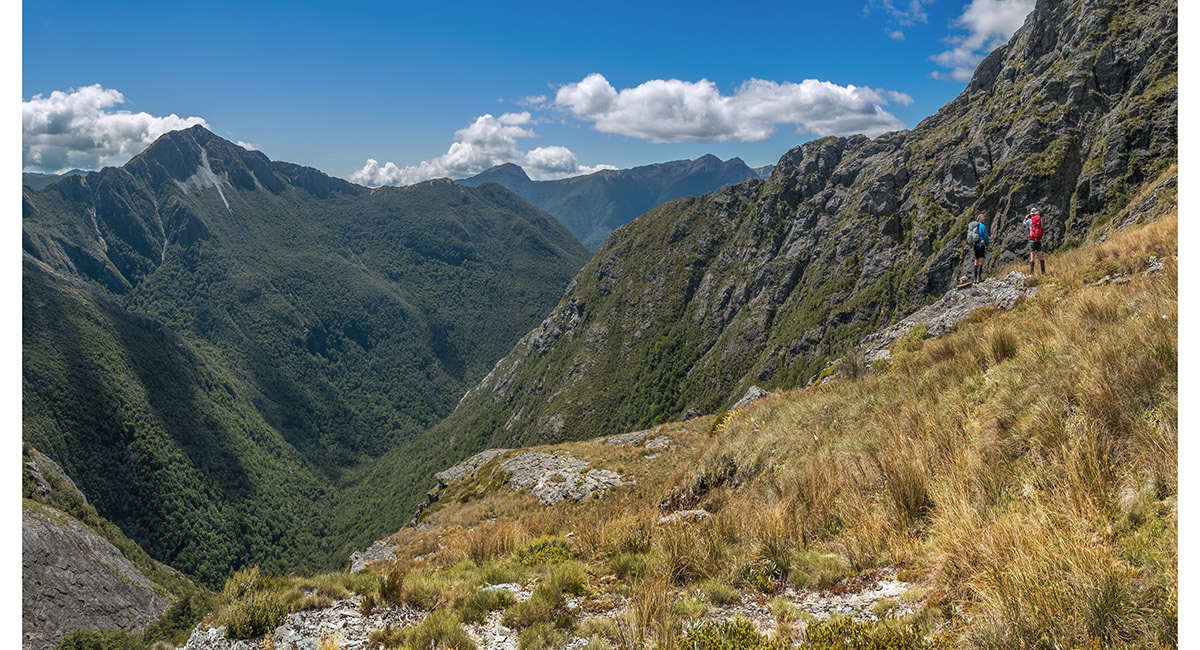
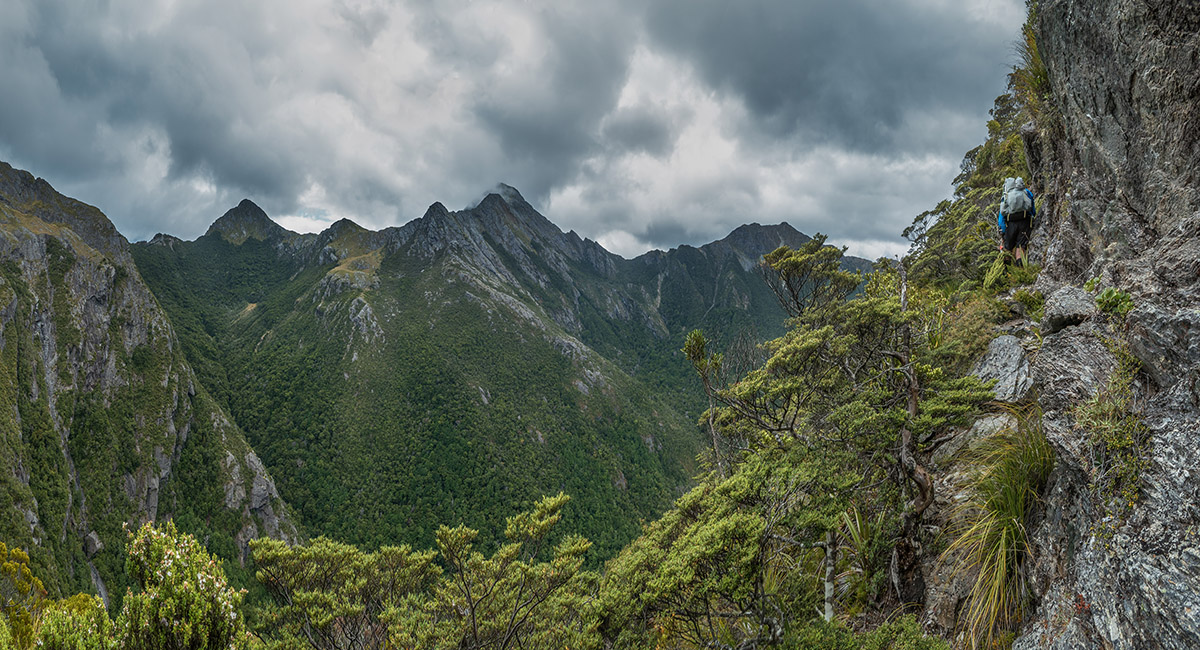
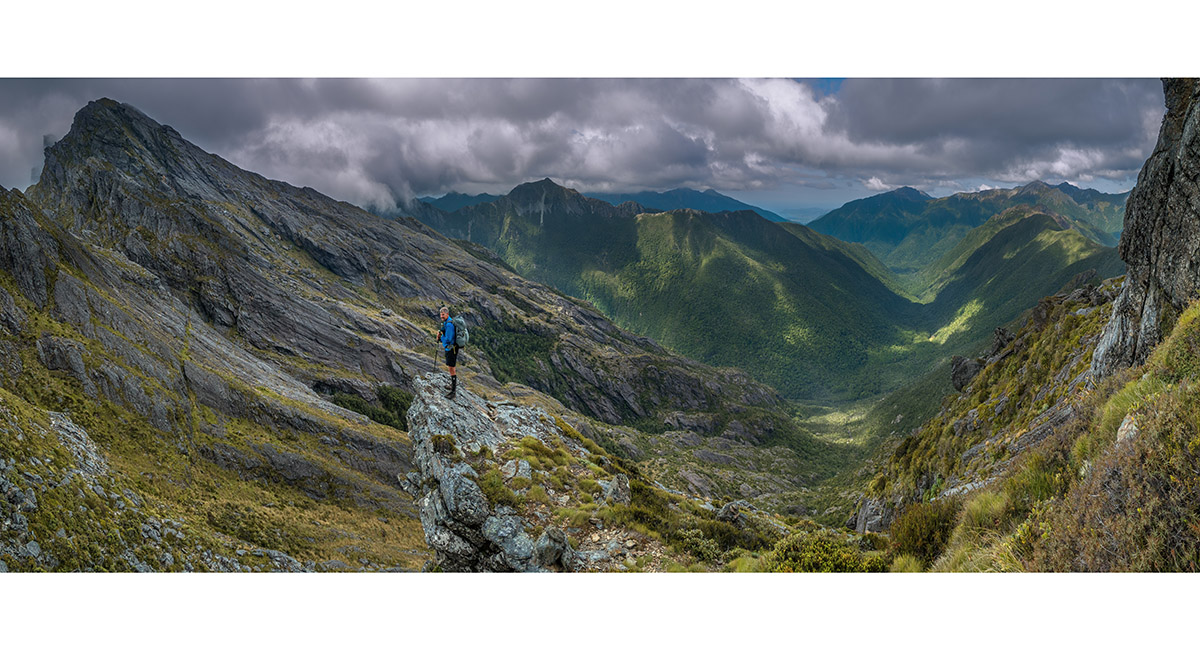
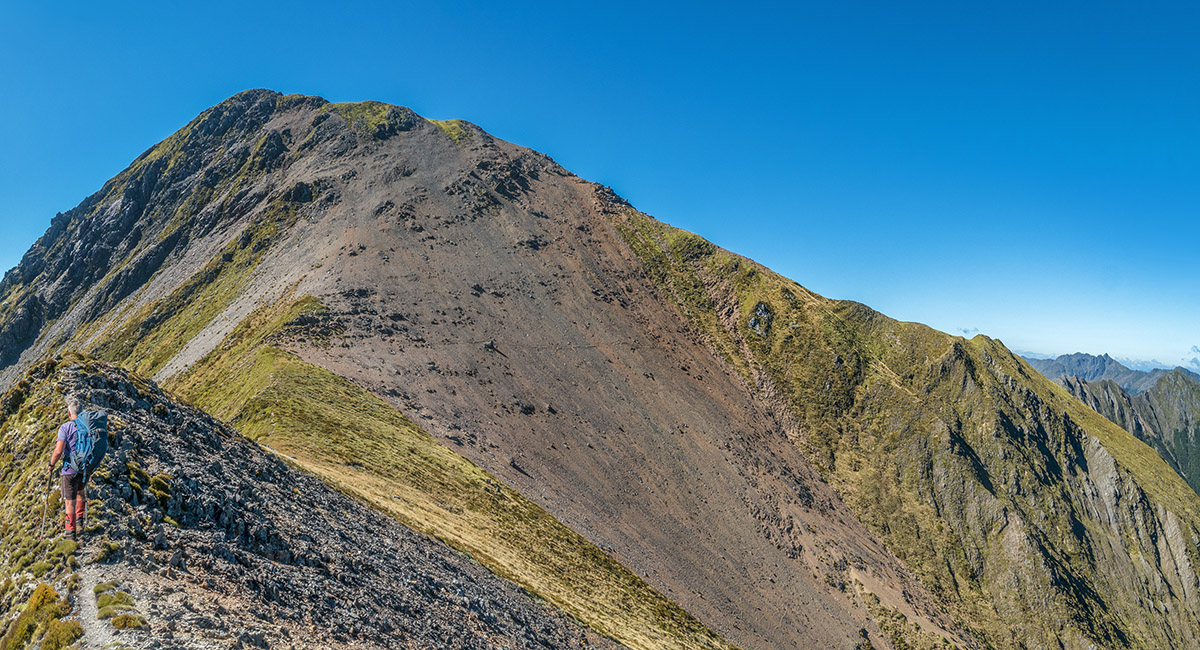
The view southwest from the 1,380m saddle between Mt Douglas (behind) and Pt 1435 (left), down the Anatoki Valley, right to Anatoki Peak and The Dragons Teeth (far right). The high route skirts beneath the two peaks until the point on Anatoki Spur where it drops steeply to the valley floor. The high route ascends the spur, then continues south along the Douglas Range

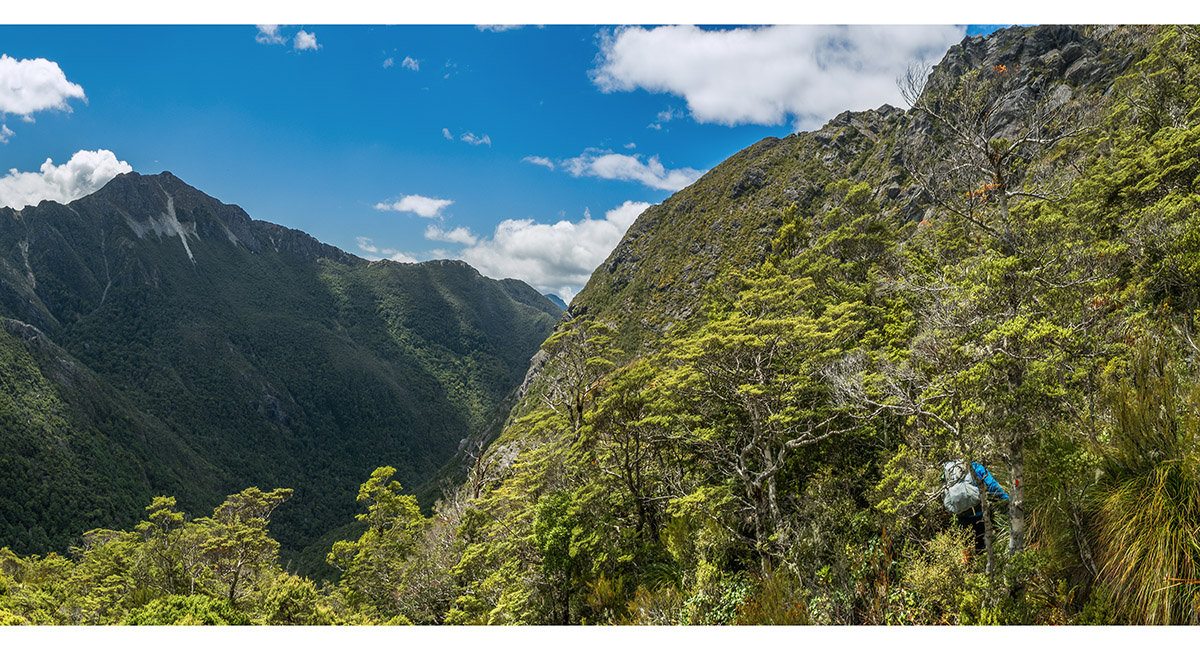
About to pass through a short section of bush at 1,350m, just north of The Dragons Teeth

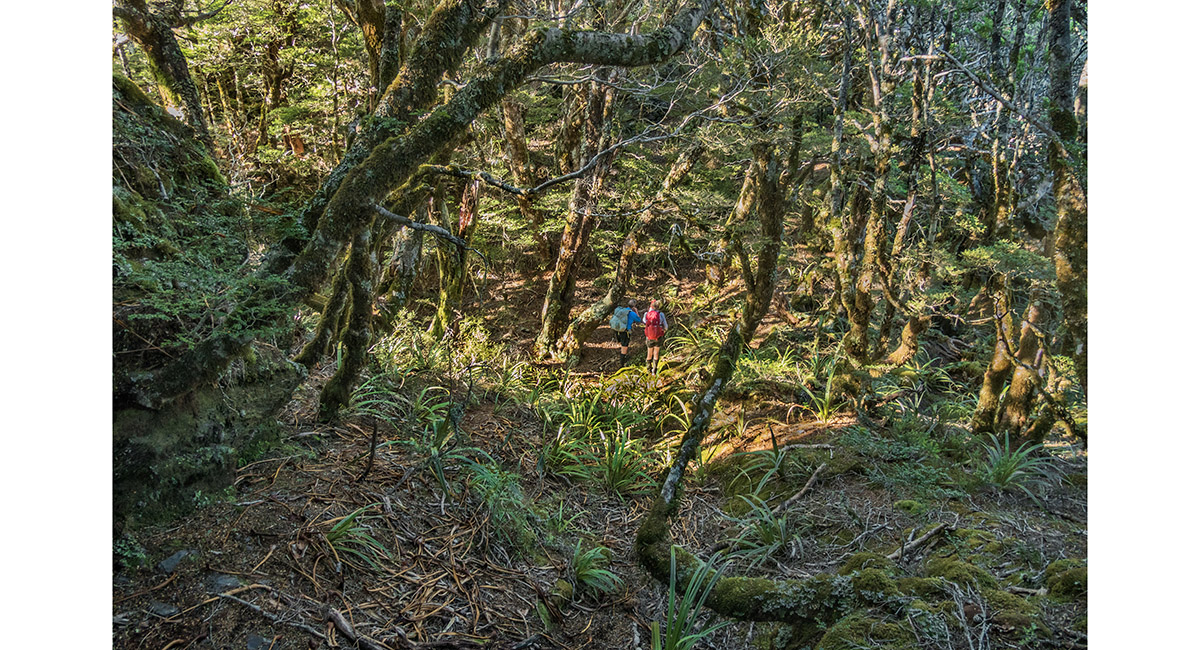
In the bush - bewilderingly flat considering the terrain beyond


Beyond the bush, approaching a steep tussock slope at 1,350m

On the tussock, about to get into the steeper bush-clad terrain on the flanks of the spur dropping east from The Dragons Teeth

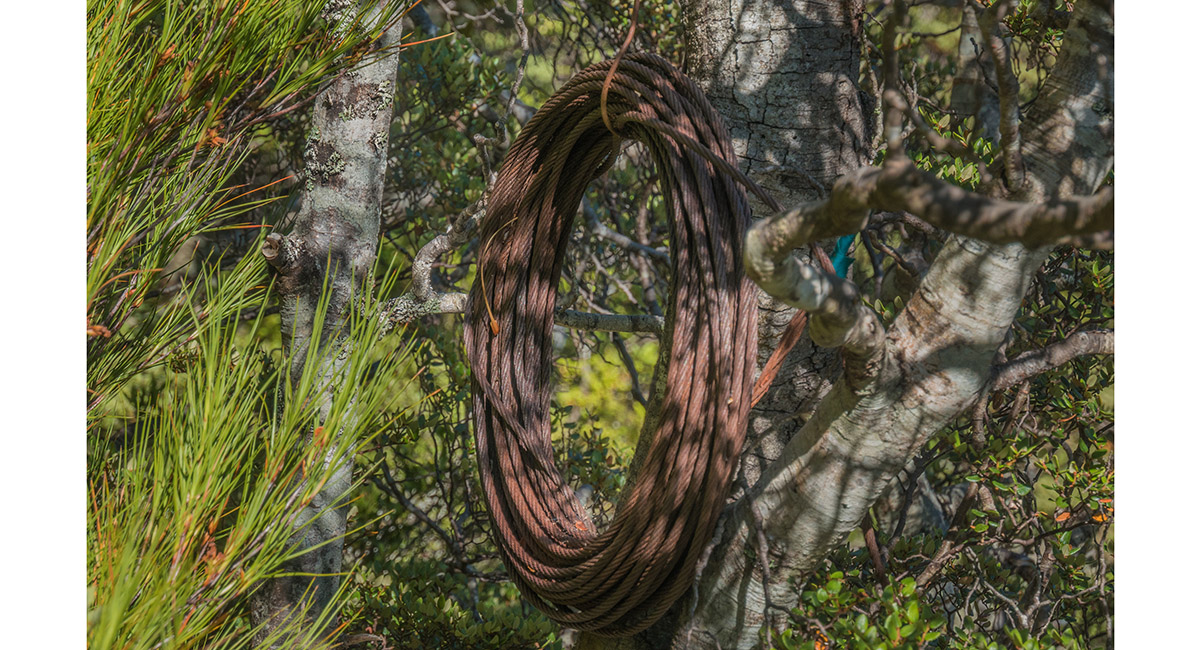
The retired wire cable once used to ascend part of the route, now known as the wire-less route

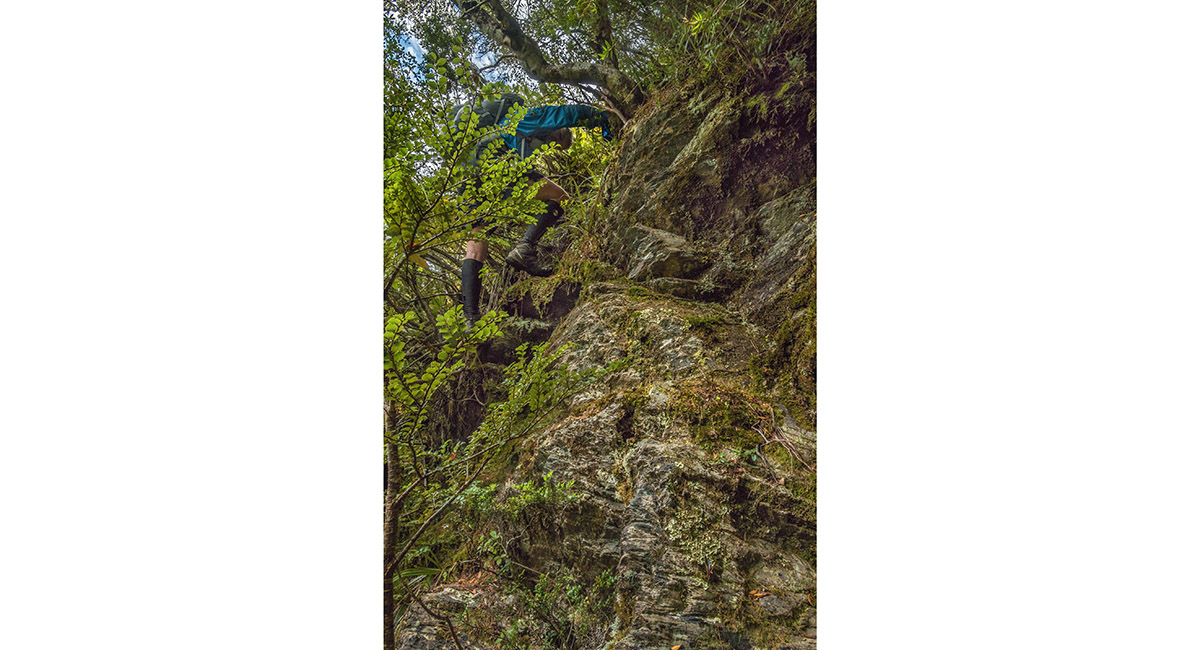
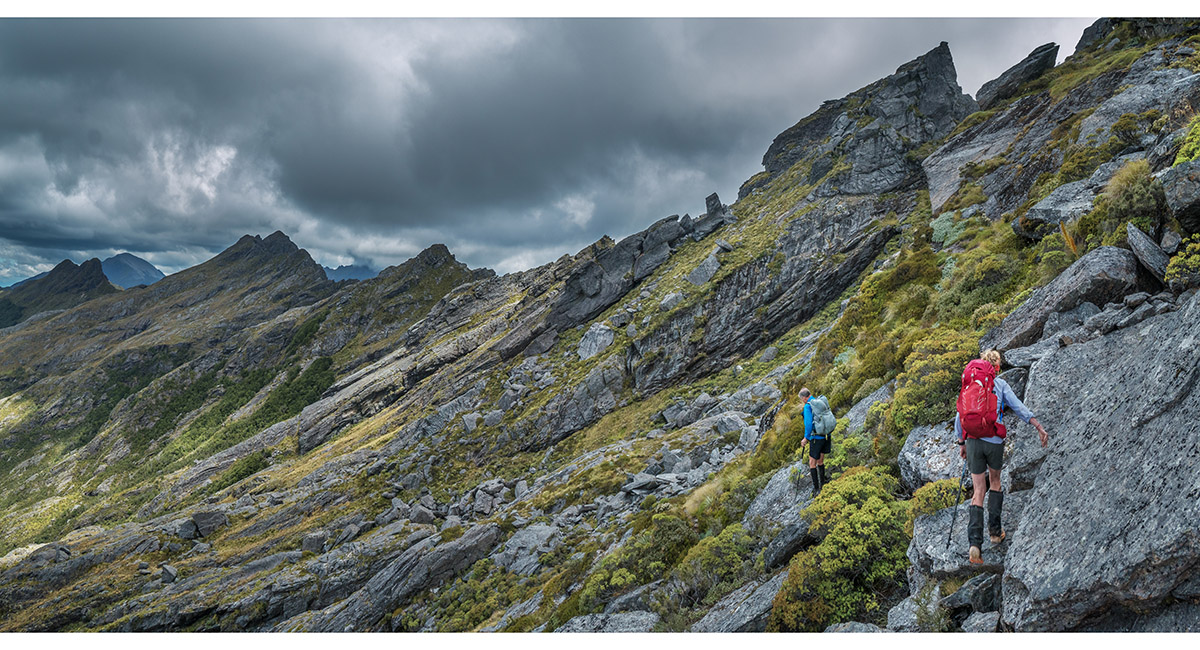
Typically steep, densely bush-clad terrain on the flanks of The Dragons Teeth spur

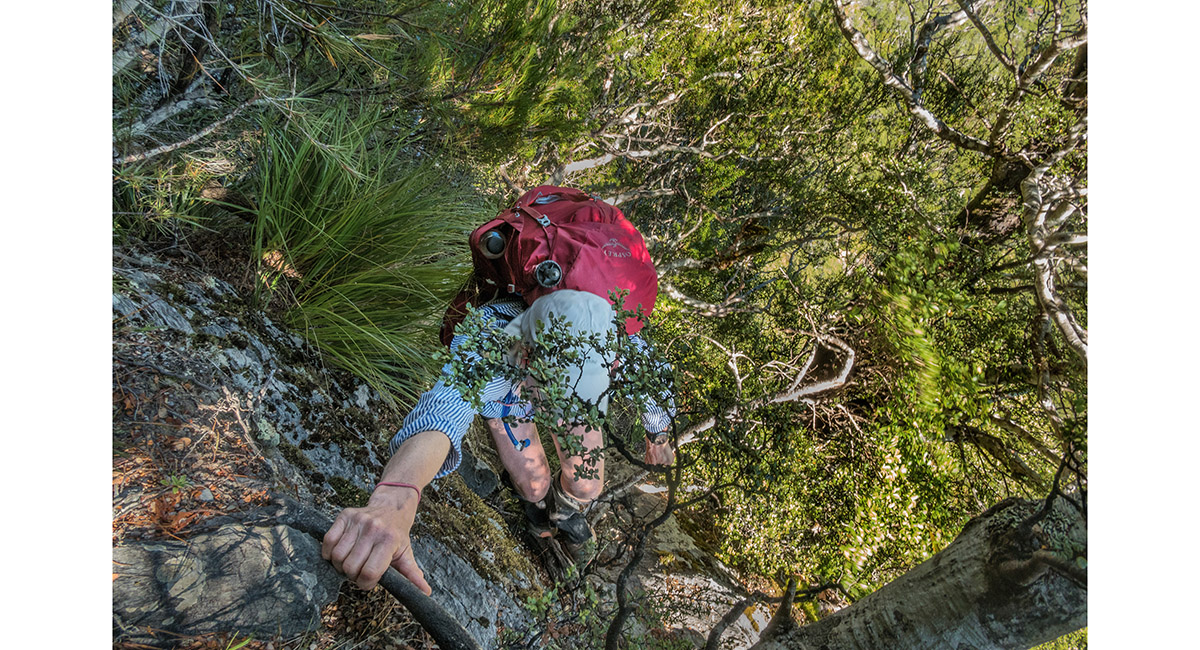
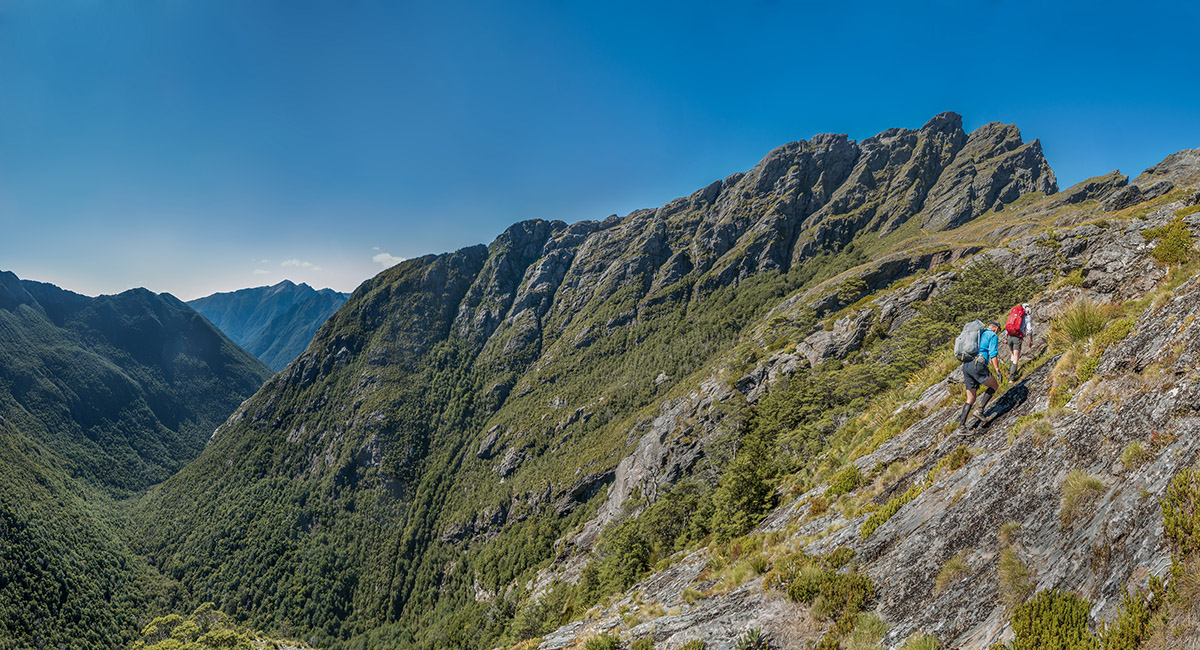
Sometimes the route crosses short open rock faces with more serious exposure

At about 1,300m, crossing a very exposed rock face above the actual route, near the end of the first steep traverse under The Dragons Teeth. Photo: Andy Carruthers

Crossing the spur into an open tussock cirque beneath the peaks. Here at about 1,400m, with Anatoki Peak top right

In the cirque with Anatoki Peak left and The Dragons Teeth right. This relatively flat space appears almost non-existent when viewed from the ascent spur of Anatoki Peak

Departing the tussock cirque, preparing for another very steep, bush-clad section between us and the exit point on Anatoki Spur. At left is Yuletide, the peak I came over on the way up to Adelaide Tarn

Back on the bush-face. One of many orange markers is just right of Andy. Despite these and other clues like can lids, cairns and even a sports bra, it's still too easy to go off route

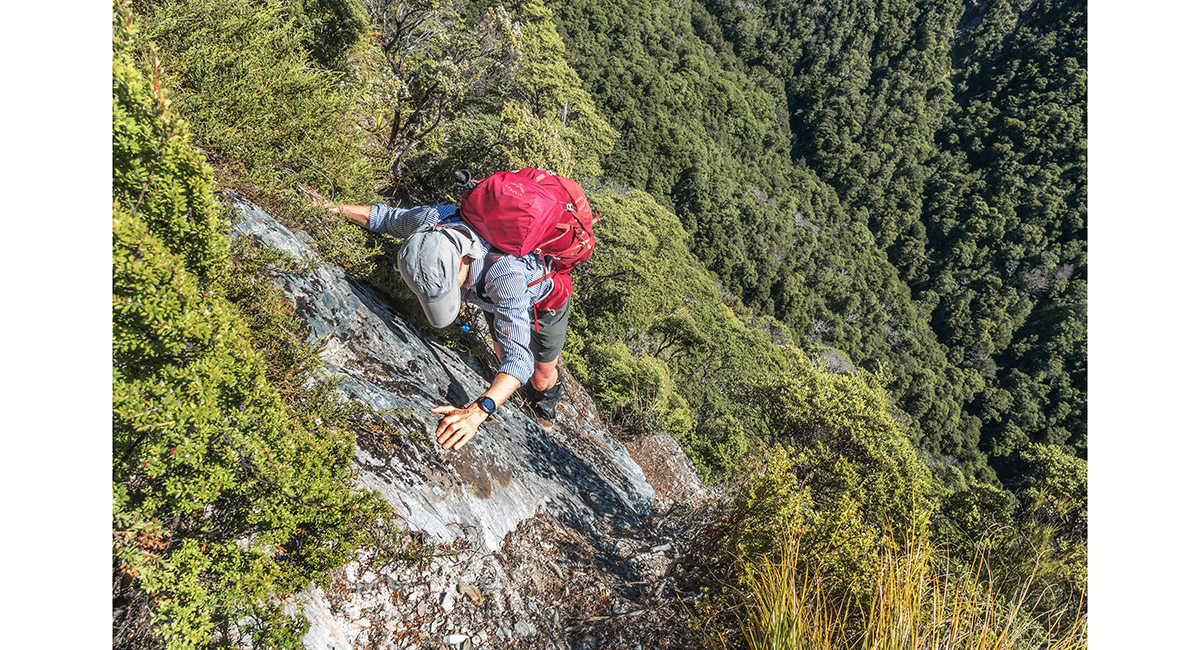
There are frequent steep scrambles, mostly quite safe due to all the stout foliage available to hold on to

Commencing the steep eastward exit climb beneath Anatoki Peak

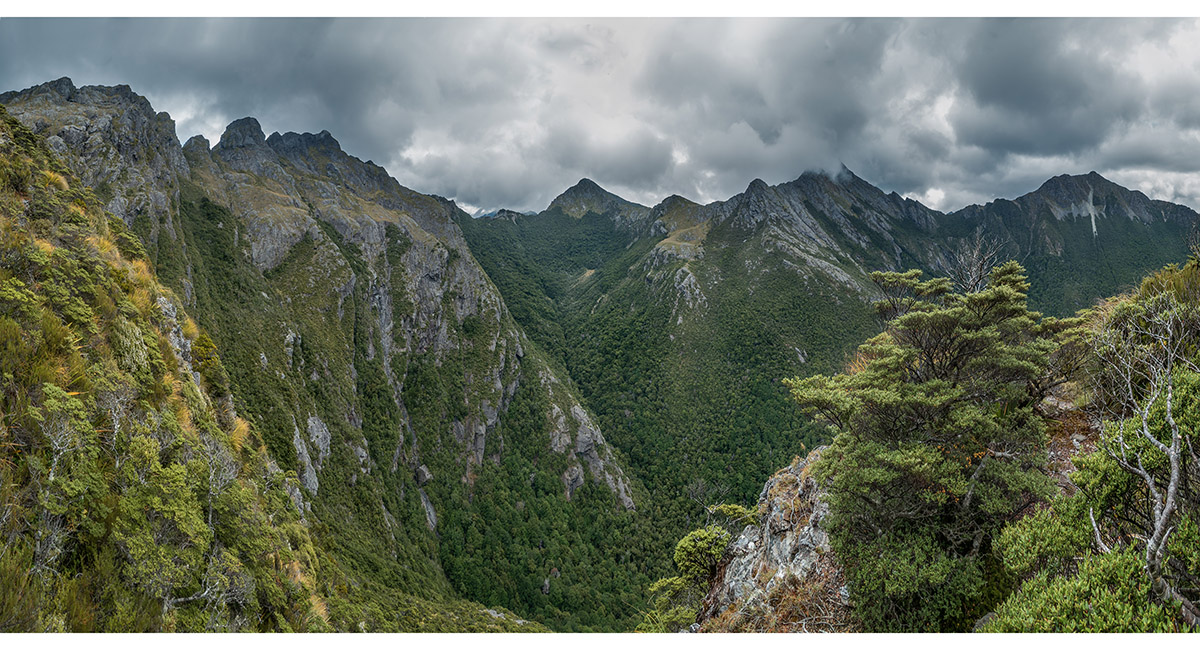
By early afternoon clouds rolled in. Mt Douglas is clear (left), The Needle is partly covered (left of centre) and Yuletide is still clear (right)

Looking back (west) from near the exit point on Anatoki Spur, to the tussock cirque beneath The Dragons Teeth - hard to believe that there is so much flat ground over there. And the stretch we came across from there now appears near vertical


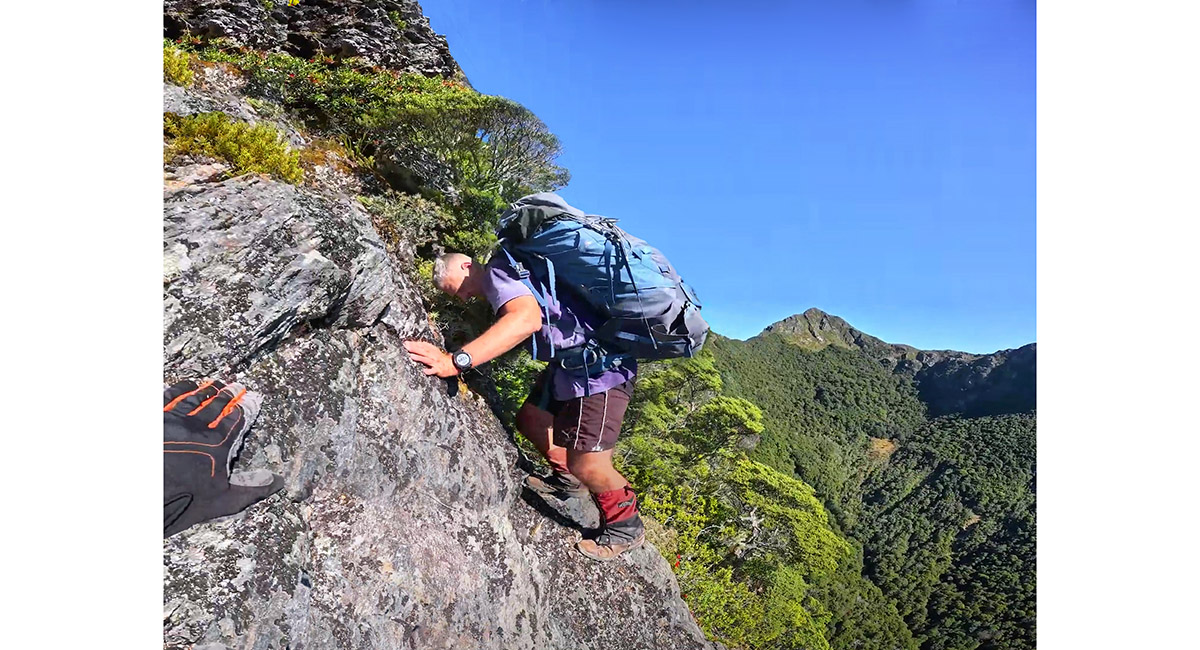
At about 1,350m, climbing the final steep section to gain the Anatoki Peak Spur. Photo: Andy Carruthers

At about 1,400m, ascending Anatoki Spur towards Anatoki Peak. The Dragons Teeth are top right, above that tussock cirque

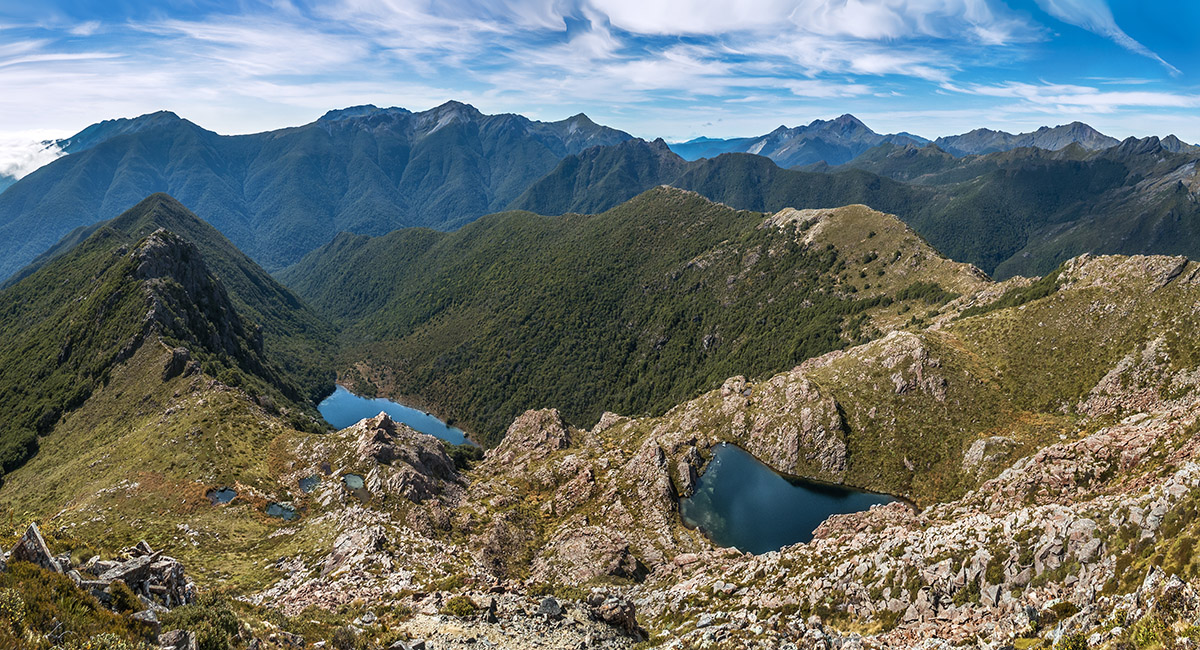
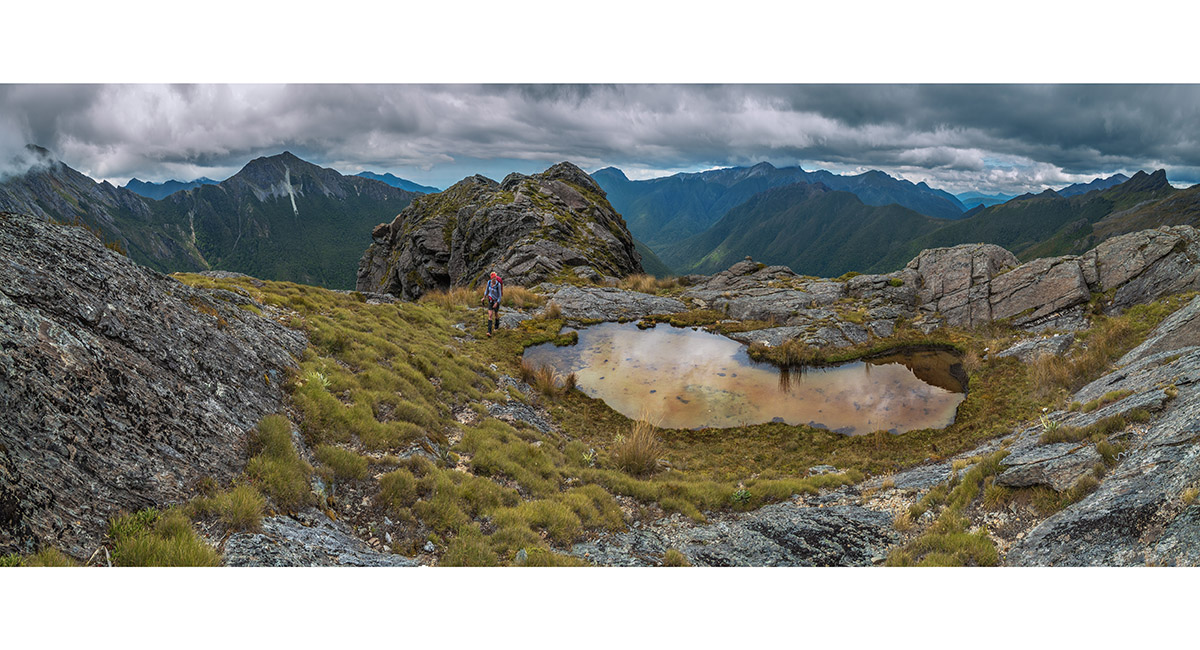
Reaching the first of several tarns at about 1,550m. The route reaches nearly 1,600m, beneath Anatoki Peak, before turning south along the Douglas Range. In this picture the Drunken Sailors are far left, about 3kms away, marking the point where the route drops onto the western side of the range to reach Lonely Lake

Mary passes the first tarn. Yuletide is at left and The Needle far left in cloud. The Anatoki Range forms the middle skyline and the Drunken Sailors are far right

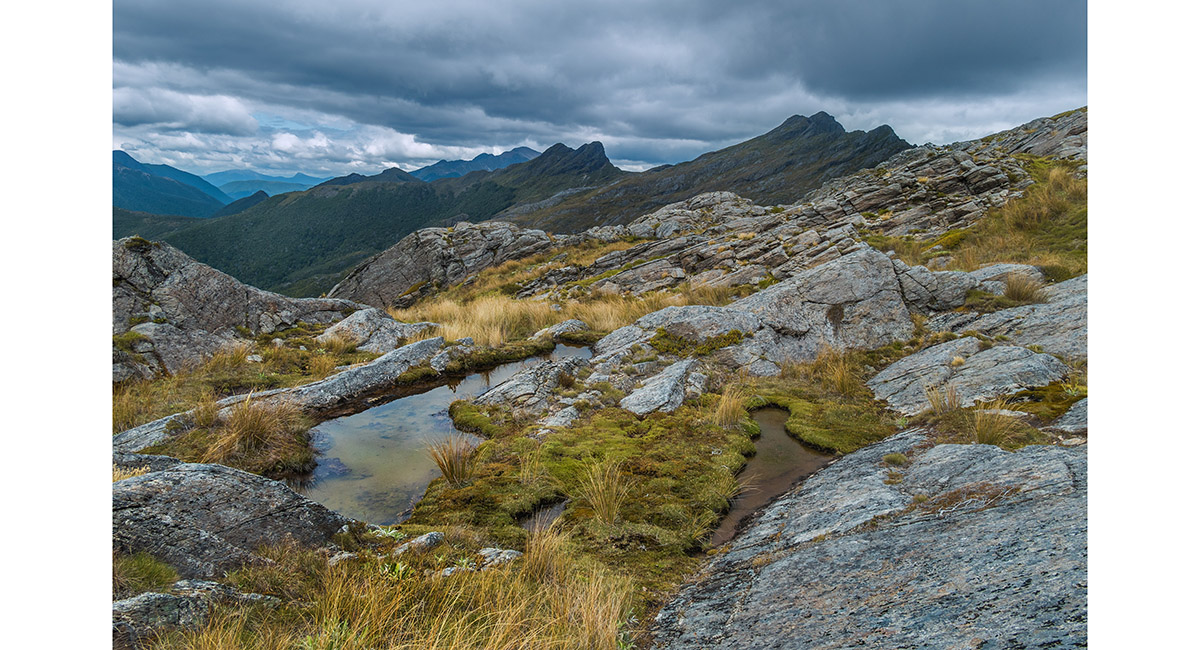
A bit higher are several more picturesque tarns, marking the point where the route turns south about 80m beneath Anatoki Peak. Here the Drunken Sailors are at centre and Pt 1630 at right

Taking a breather at the tarns, with the Anatoki Range at left, Drunken Sailors centre and a lot of rugged terrain still to cover hidden at right

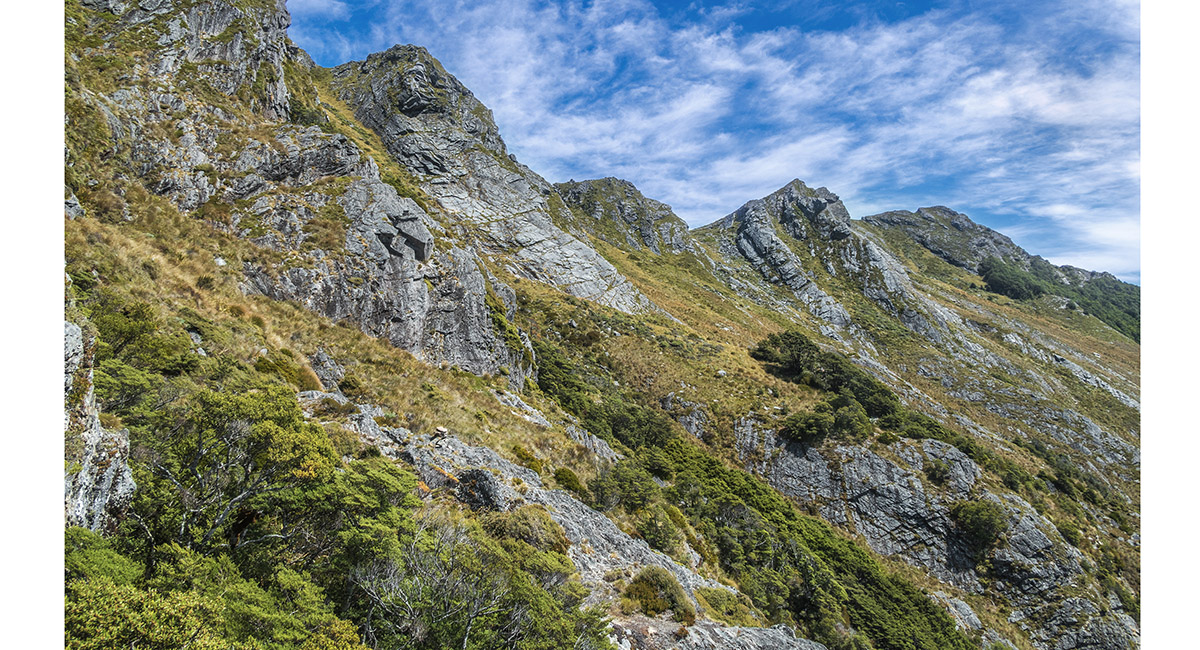
The cairned route never quite reaches the ridge top until just north of the Drunken Sailors, but undulates a little beneath it on the east side, picking a way around bluffs - not conducive to quick travel

Climbing to yet another spur crossing

This spur crossing is a highlight. At the crossing point is a version of Pride Rock, with a stupendous view back to Pt 1564 at left, Yuletide centre and the Anatoki Valley

Now at about 1,500m, approaching the Drunken Sailors (1,546m, top right)

Descending towards Lonely Lake (1,270m) on the east side of the range, beneath the Drunken Sailors. Lonely Lake Hut, about 15m higher than the lake surface, is just hidden by trees beyond the tussock top left

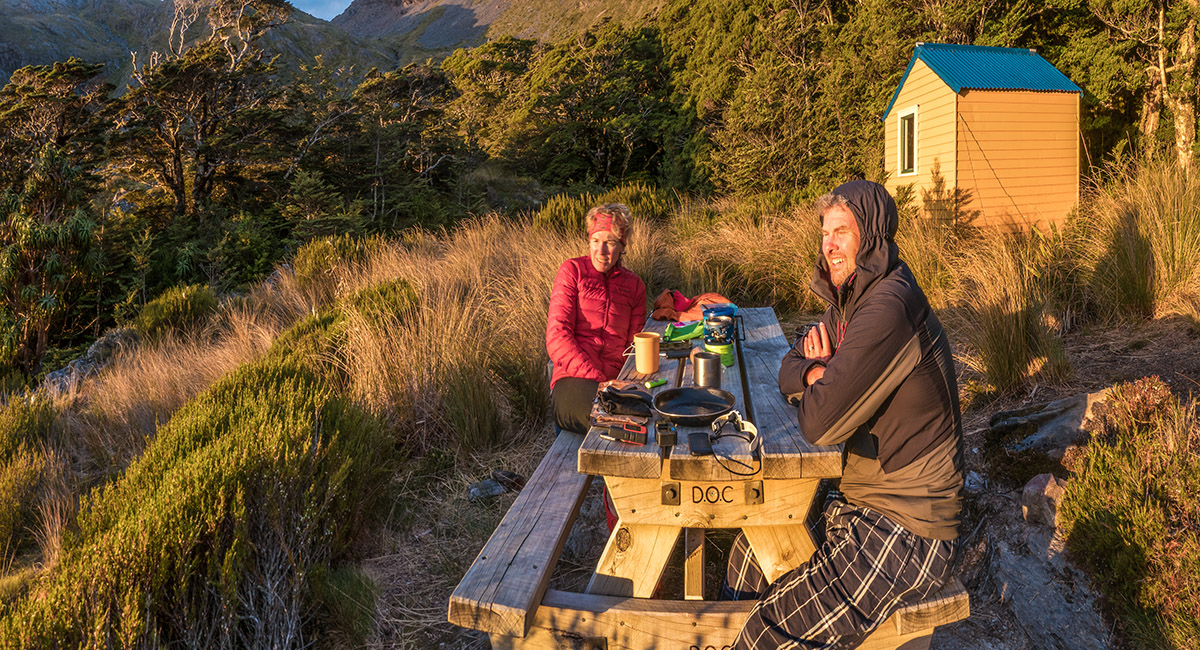
Mary and Andy enjoying a well earned dusk view outside the hut

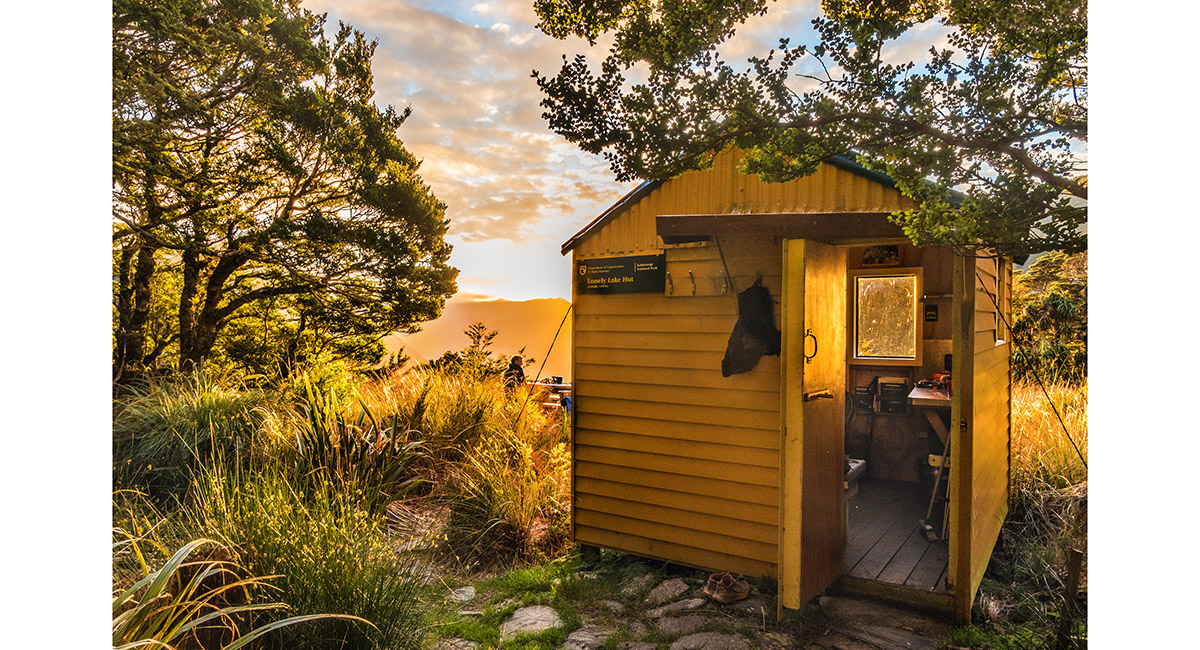
A magic spot, especially in fine calm conditions like this

Inside 4-bunk Lonely Lake Hut

Sunset view southwest from the hut picnic table, looking to the distant Domett Range


Dawn view beside Lonely Lake

Just off the trail heading south from Lonely Lake is a view point offering this vista back to the hut (right), the Drunken Sailors (centre) and Pt 1630 (left)

An early morning view north from 1,400m on the Douglas Range trail, back to Lonely Lake, Pt 1630 and the Drunken Sailors

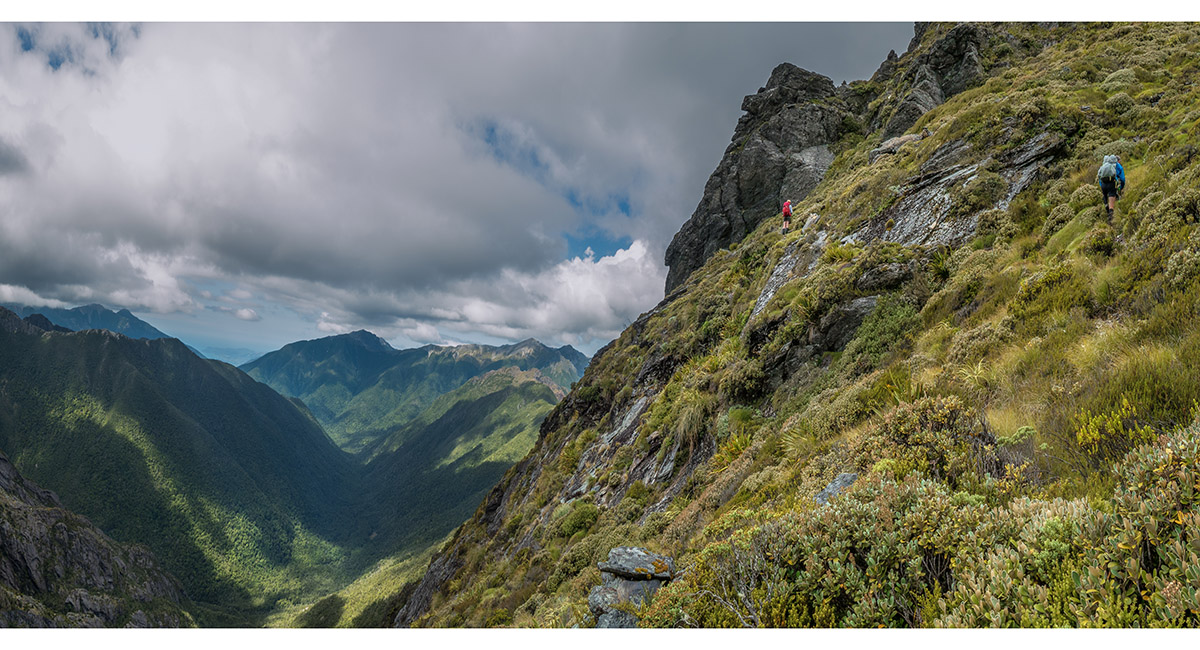
Looking south, along the Douglas Range trail to Kākāpō Peak (1,783m, right of centre)


A view to Kākāpō Peak from south of Pt 1512

The trail skirts underneath Kākāpō Peak on the west side. The easiest way to climb it is from the west shoulder at 1,640m

A Kākāpō Peak summit view east to Mt Snowdon (1,859m, left) and southwest to Waingaro (1,604m, right)


A Kākāpō Peak summit view north to The Dragons Teeth and Anatoki Peak, centre

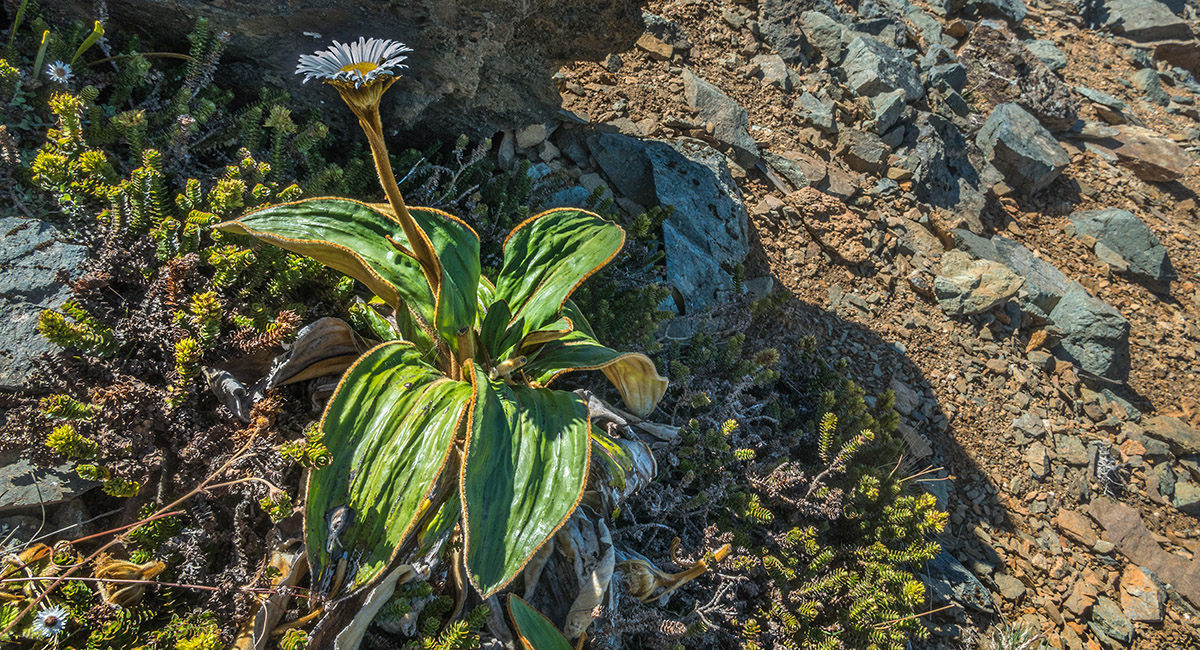
A mountain daisy beside the trail

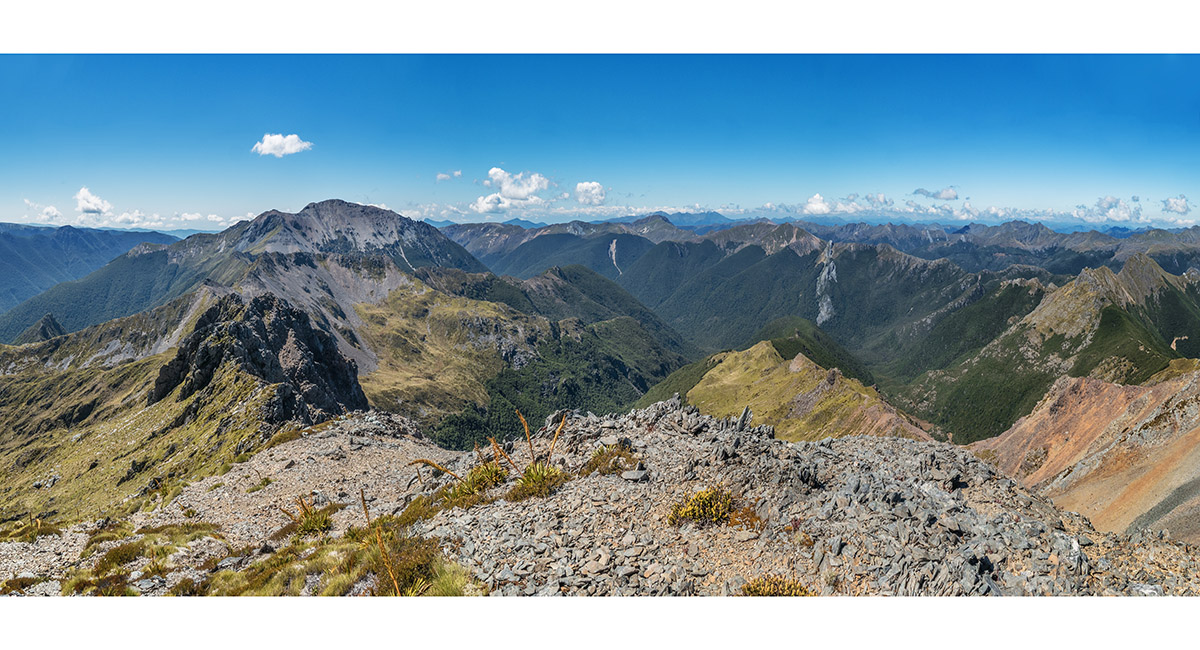
There's a bit more to the terrain between Kākāpō Peak and Waingaro (1,604m, top right). A sometimes steep sidle beneath craggy tops and Pt 1550 leads to wetlands, then this gap at 1,400m giving access to a sweeping cirque beneath Waingaro

A wider view of the cirque, with the Lockett Range stretching across the middle and Peel Range in the distance

At the 1,400m junction where you head south along the Lockett Range (far left), or drop west down the Waingaro Peak Track to Fenella Hut (centre). Xenicus Peak (1,525m) is on the centre skyline and the Peel Range stretches left

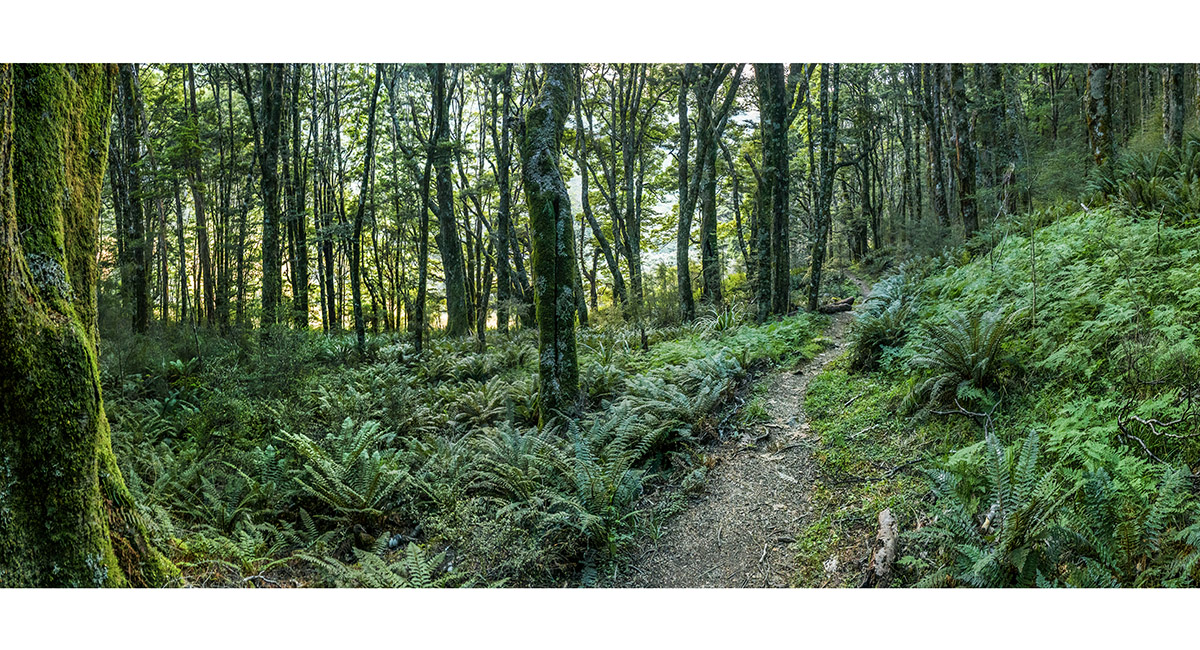
On my early morning (day 5) stroll through beech forest between Chaffey Hut and Trilobite Hut

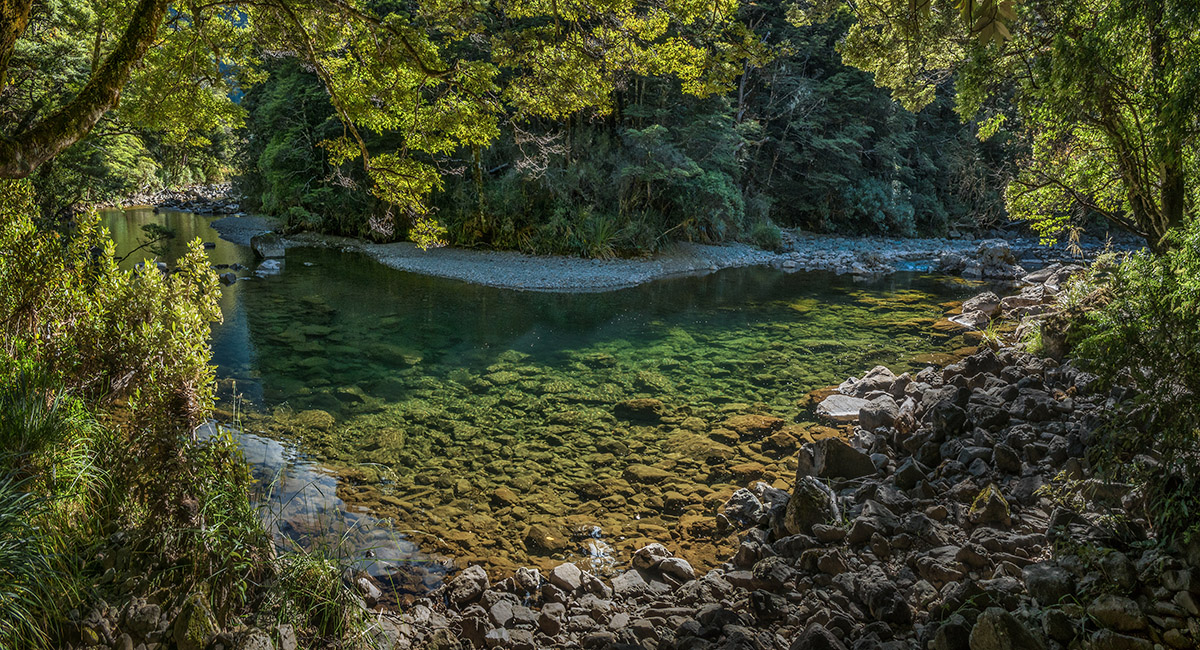
Cobb River at a point where the trail skirts the riverside at 840m

To order a print or web resolution file of any image you see in this slide show, just right click the image, click “Copy Image URL” and paste in to the “Your message” box of our Contact Us form. Please also note, for each image, if you want a print or web resolution file. We will get back to you as soon as possible to confirm price and payment details.
Open Contact Us in a new window to paste Image URL(s) easily