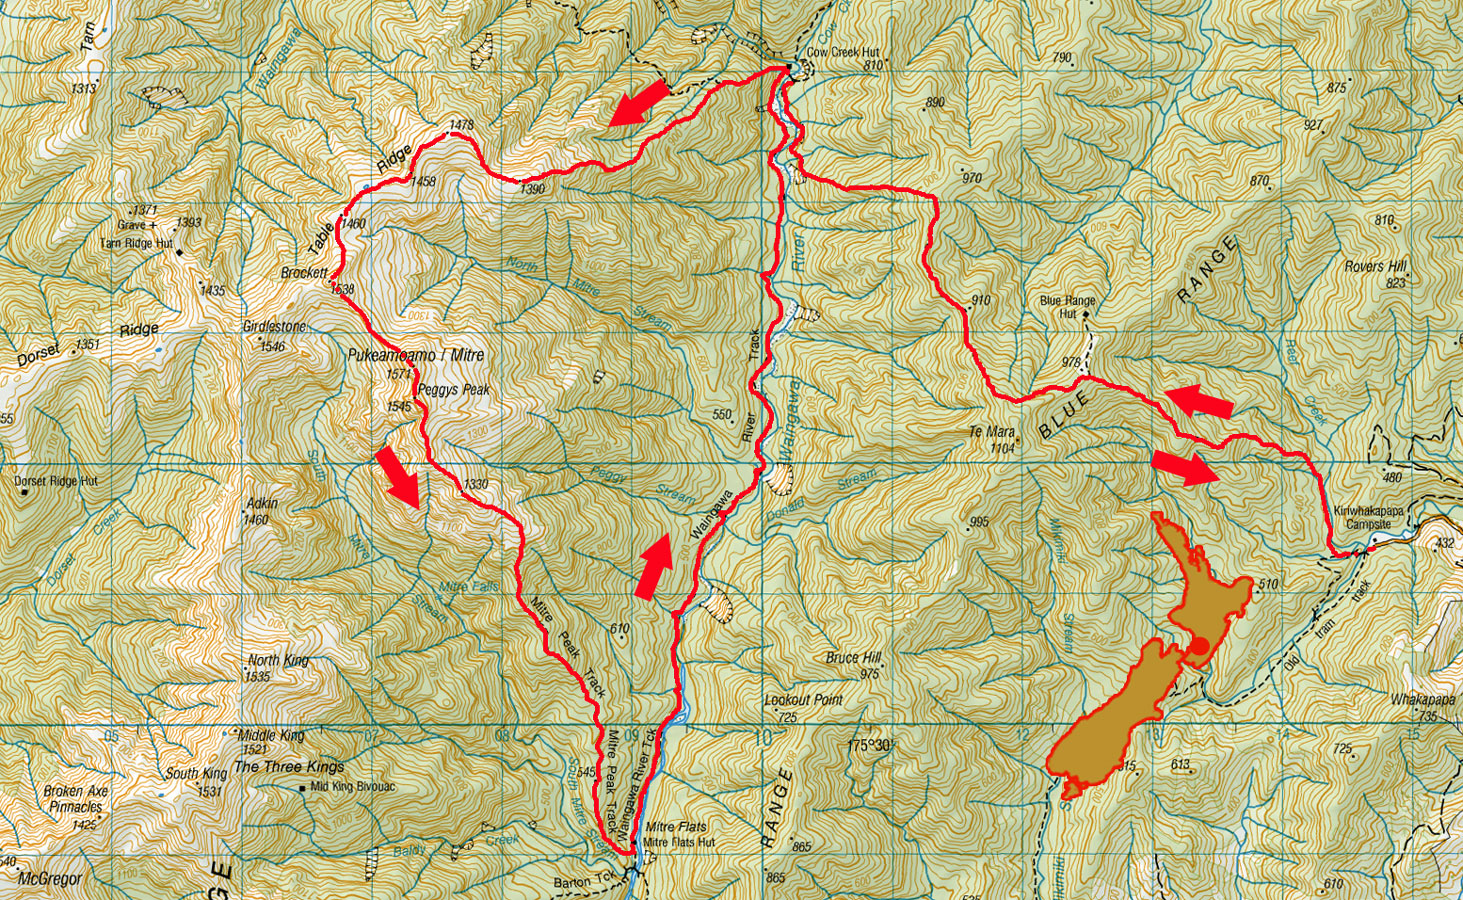
Mitre via Table Ridge, January 2021
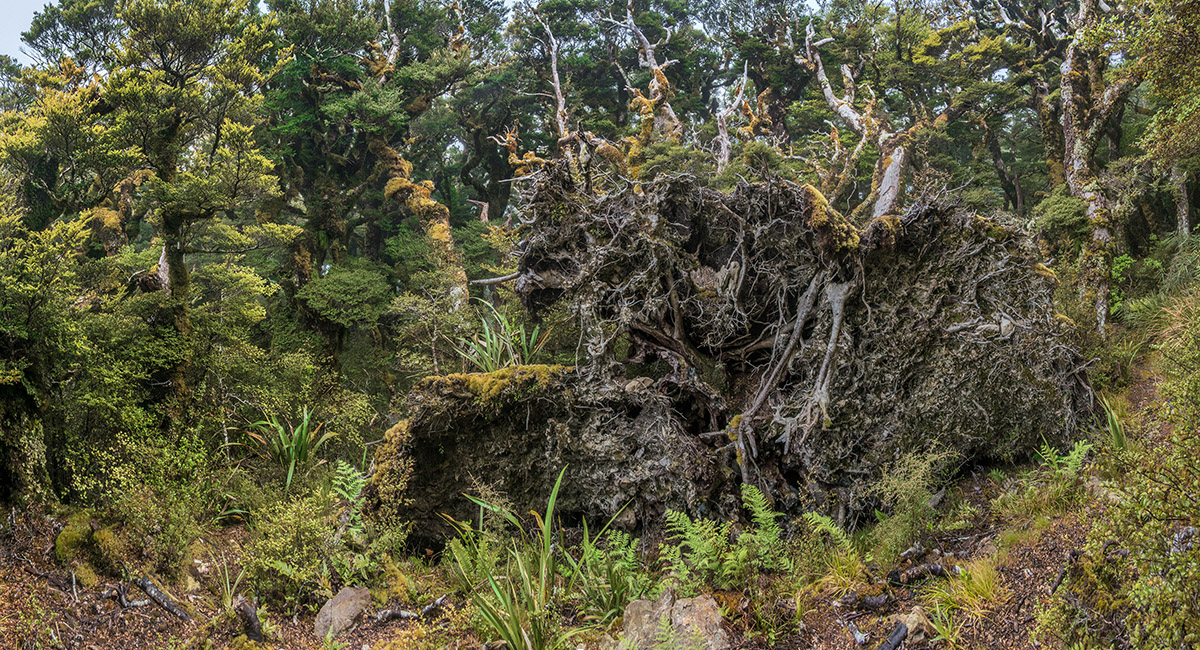
An uprooted tree beside the Blue Range trail, western end


Cow Creek Hut


At the trail junction

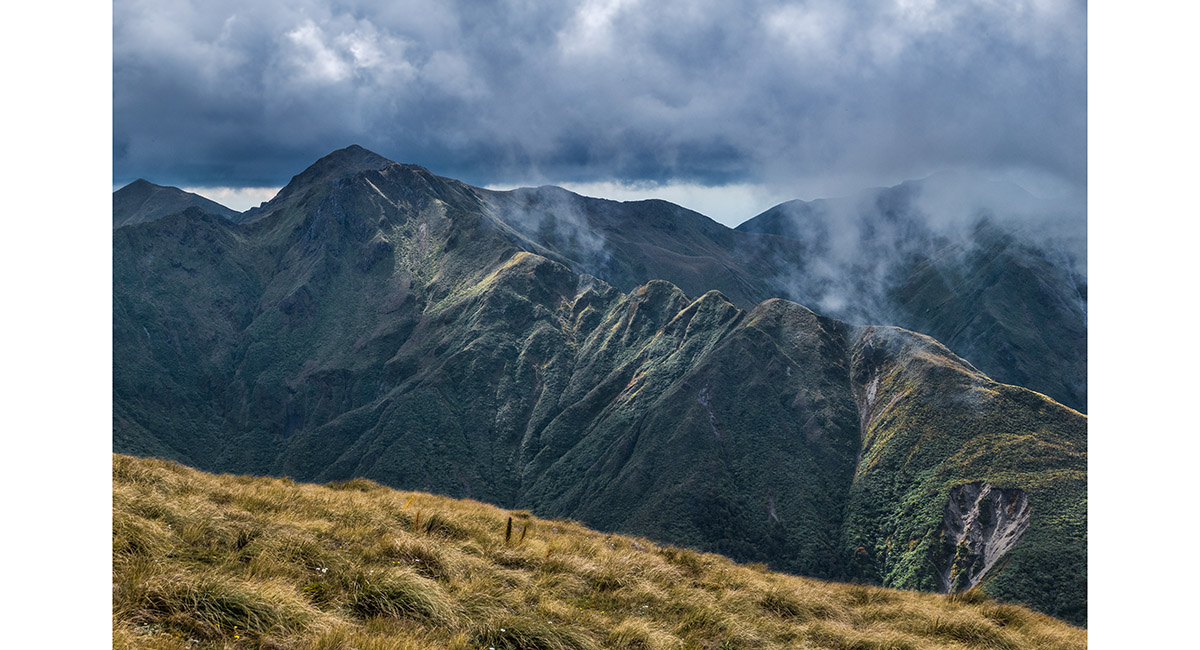
Pinnacle Ridge, viewed from Table Ridge

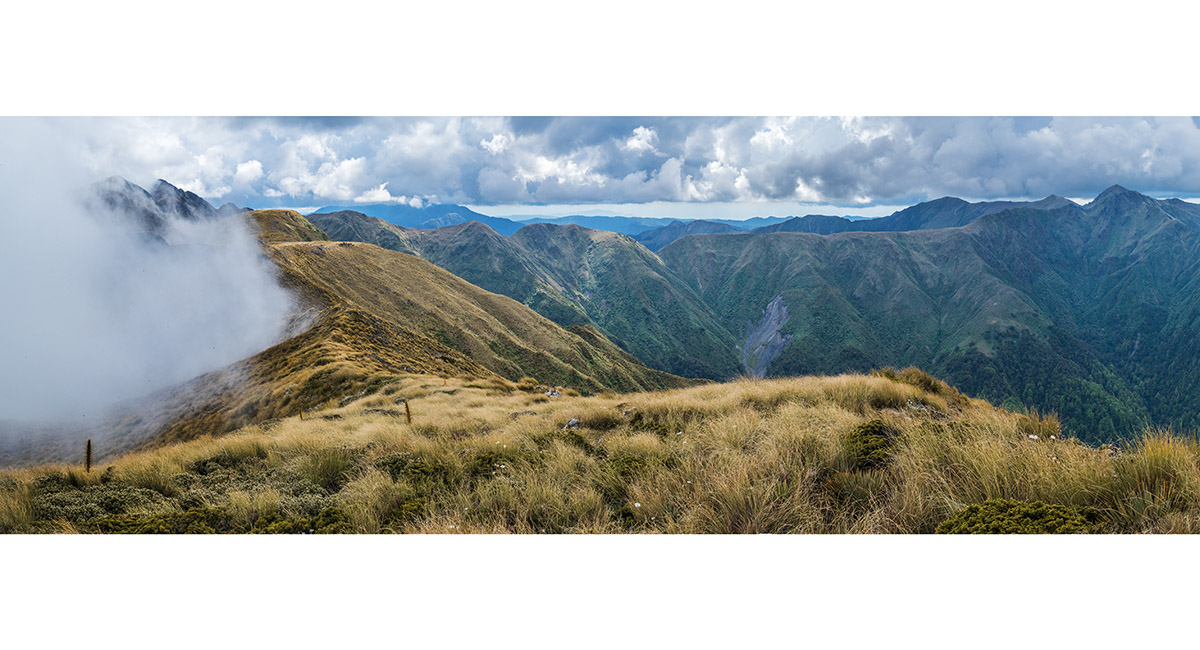
Brocket (left), with Tarn ridge stretching right to the Waiohine Pinnacles, viewed from Table Ridge


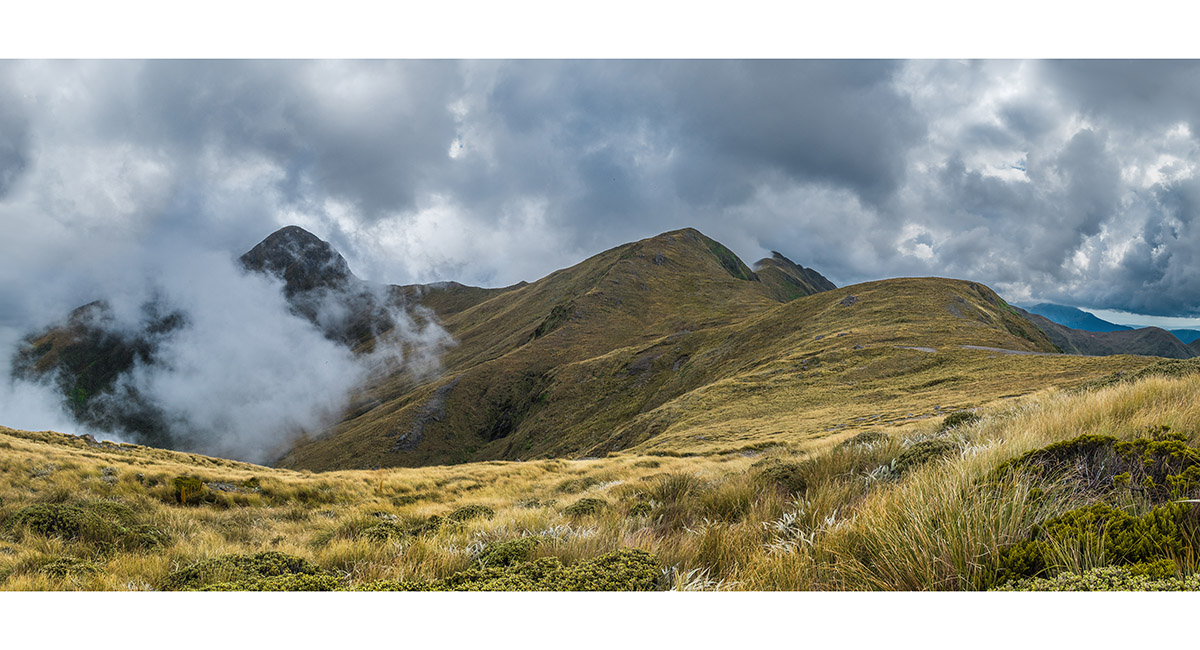
Brocket (left), viewed from Table Ridge

Mitre (left) and Brocket and Girdlestone (centre), viewed from Table Ridge


A view across Table Ridge to Tarn Ridge Hut


Animal tracks at one of the tarns on Table Ridge


Girdlestone (left) and Tarn Ridge, viewed from Brocket

The upper part of Tarn Ridge, viewed from Brocket

A view from Brocket, back along Table Ridge

A view from Brocket to Mitre (left) and Girdlestone (right)


Bannister, viewed from Brocket


Tarn Ridge Hut, viewed from Brocket


Brocket flora


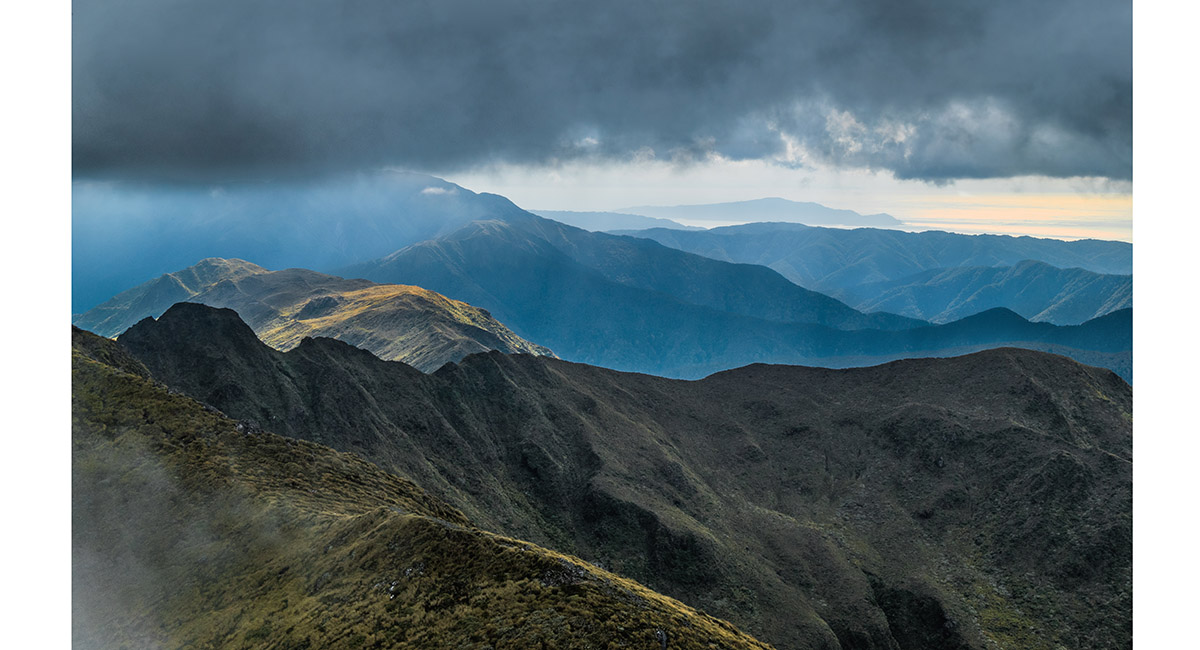
In to the gloom, from Mitre


Flowers on the flanks of Mitre

Looking down to Mitre Stream, viewed from the east side of Mitre


A section of ridge north of Adkin, viewed from Mitre at dusk

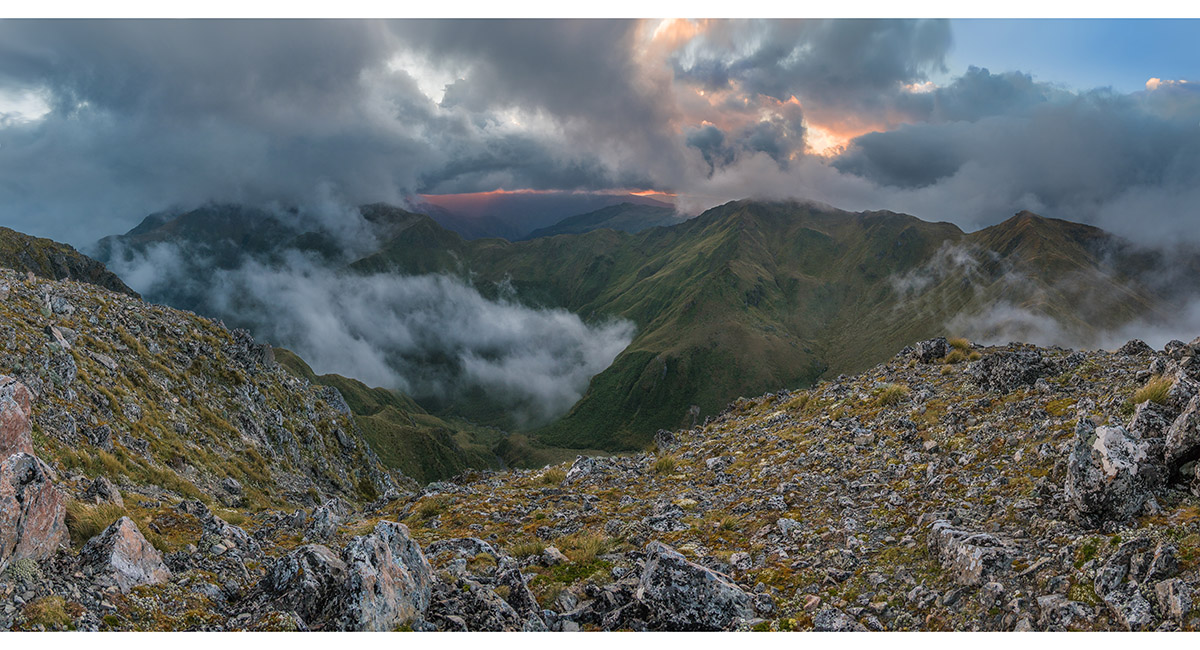
The Three Kings in cloud (left), Girdlestone also in cloud (right of centre) and Brocket, (right), viewed from Mitre at sunset


Sunset on Mitre


Sunset on Mitre


Ridge north of the Three Kings, viewed from Mitre at dusk


Peggy's Peak, viewed from Mitre at dawn

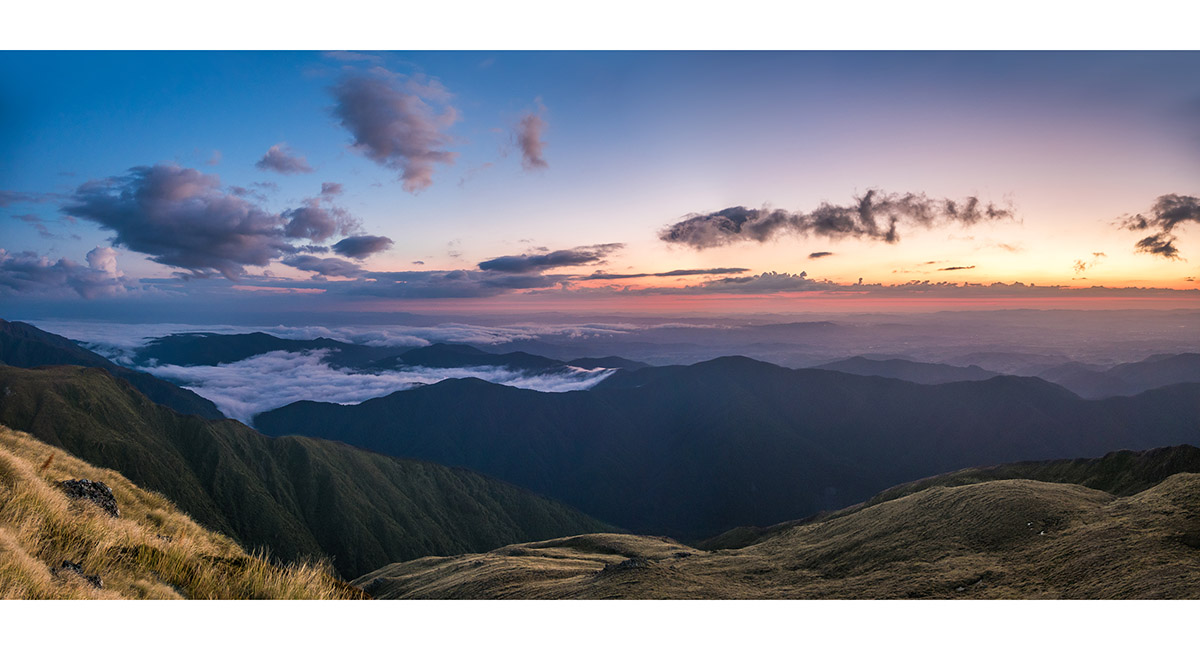
View northeast to the Wairarapa, from Mitre at dawn


View northeast to the Wairarapa, from Mitre at dawn


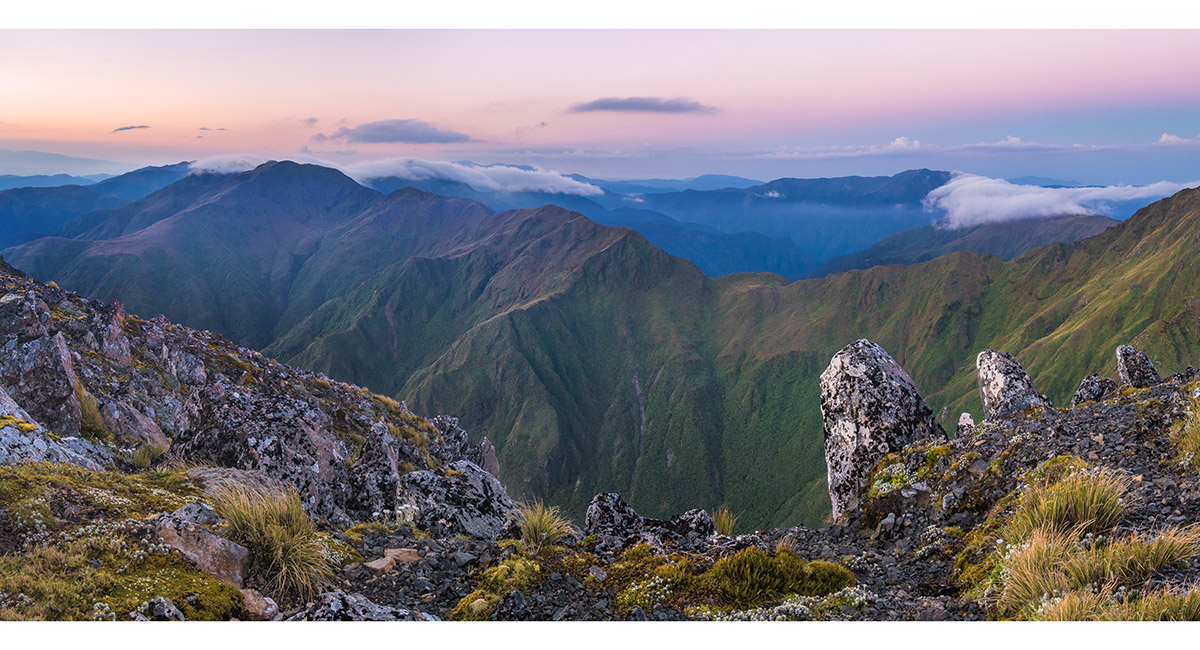
Girdlestone (left), Brocket (left of centre) and Table Ridge, viewed from Mitre at dawn

The Three Kings (left) and Adkin, viewed from Mitre at dawn


View east to the Wairarapa, from Mitre at dawn


Broken Axe Pinnacles (left), viewed from Mitre at dawn


Broken Axe Pinnacles, viewed from Mitre at dawn

Girdlestone left, Brocket left of centre and Table Ridge, viewed from Mitre


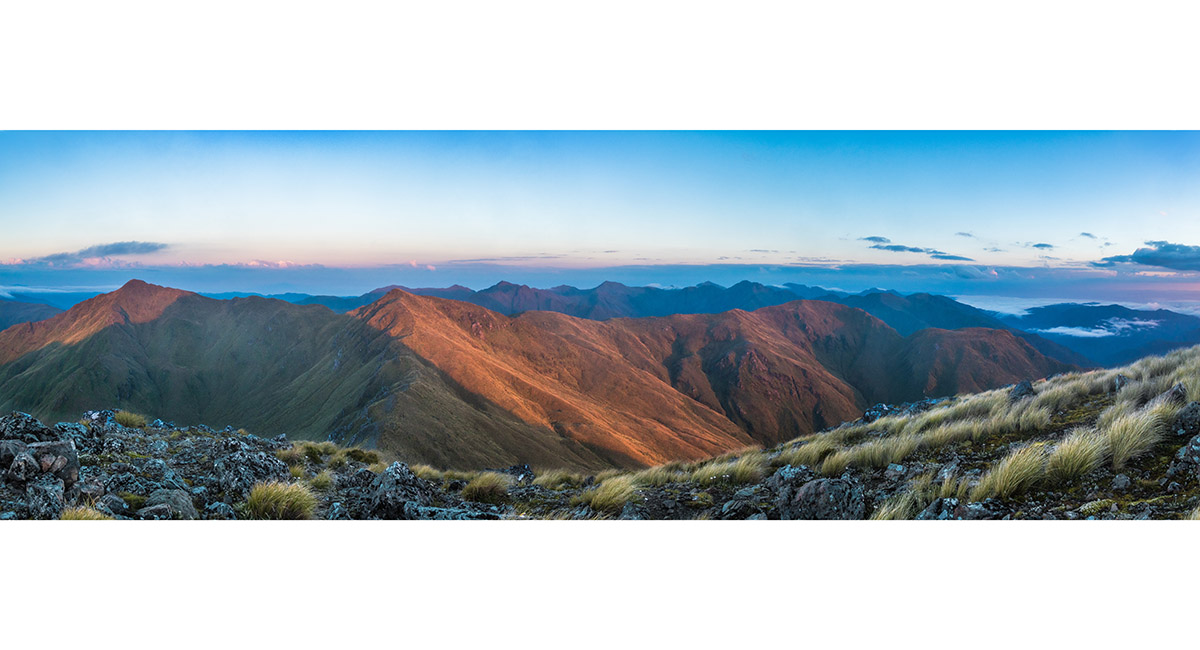
Viewed from Peggy's Peak, the Three Kings (left), Girdlestone (centre), Brocket and Mitre (right)


Mitre, viewed from Peggy's Peak


Waingawa River, north of Mitre Flats Hut

Read about it Worth sweating for # 8 NZ Photographer Apr 21 The beautiful bivvy Wilderness Magazine Aug 22
To order a print or web resolution file of any image you see in this slide show, just right click the image, click “Copy Image URL” and paste in to the “Your message” box of our Contact Us form. Please also note, for each image, if you want a print or web resolution file. We will get back to you as soon as possible to confirm price and payment details.
Open Contact Us in a new window to paste Image URL(s) easily