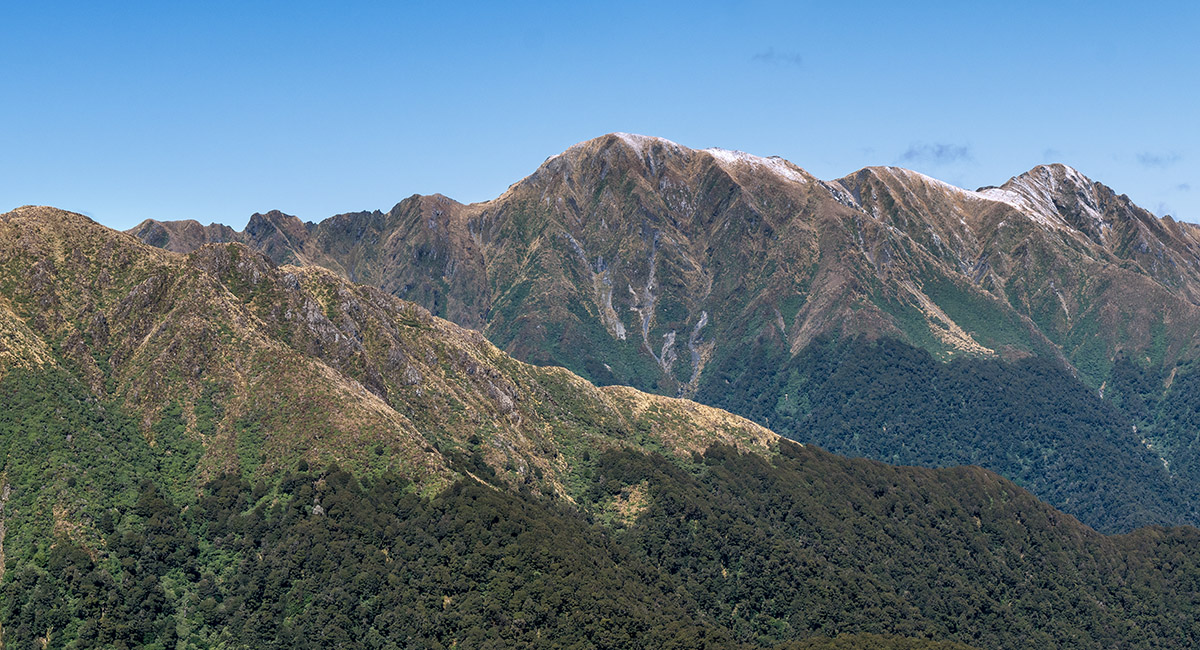
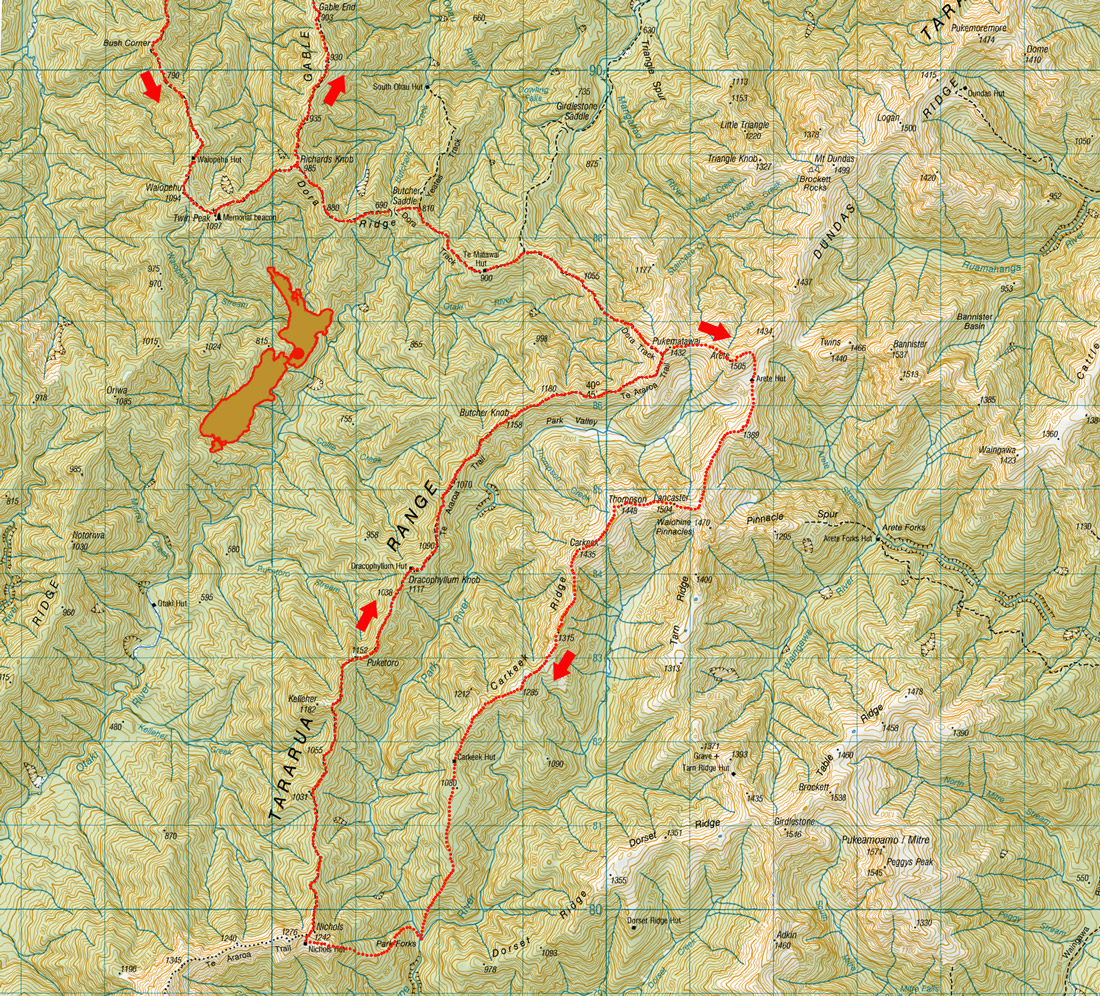
Carkeek from Poads Rd, August 2022
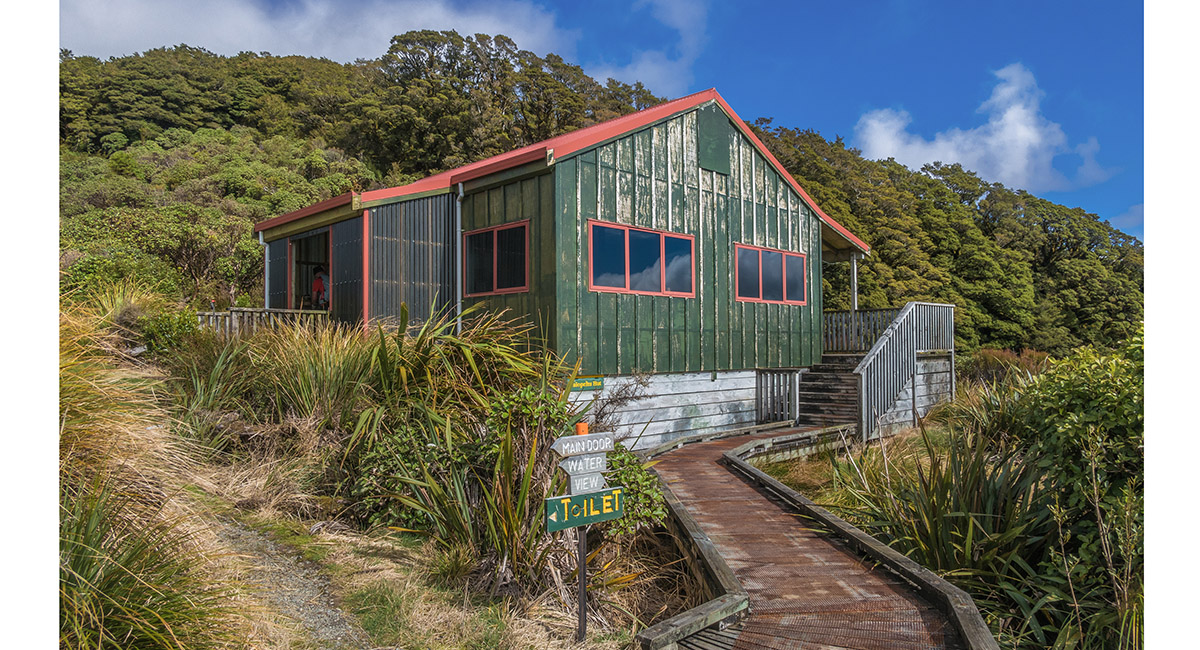
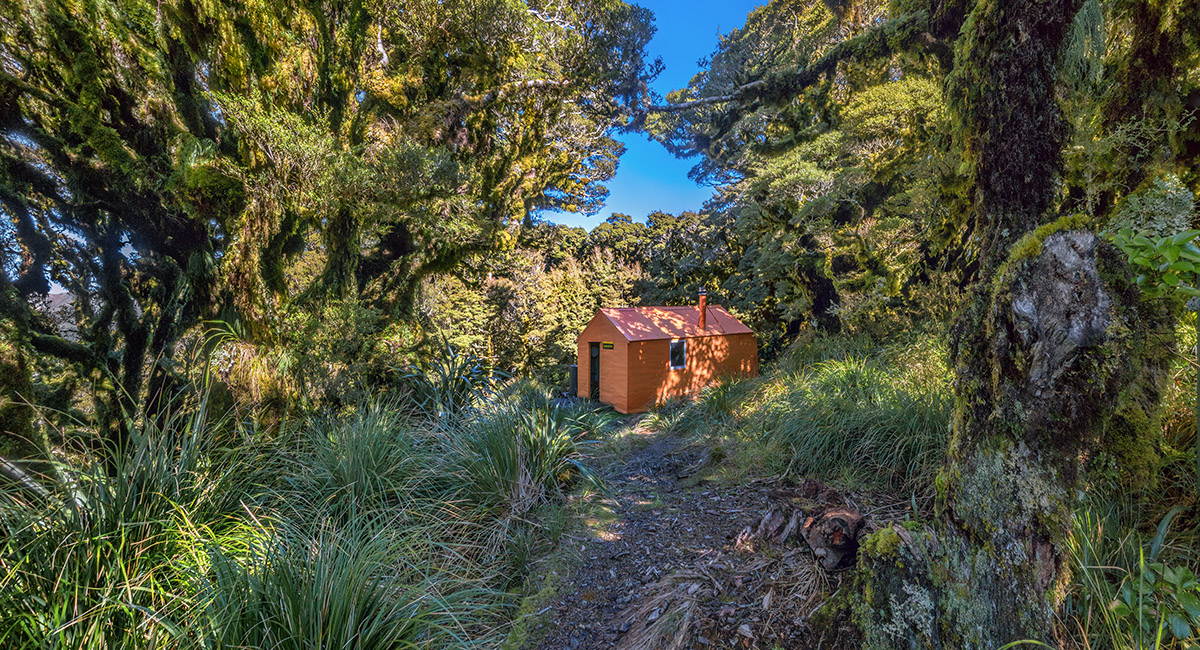
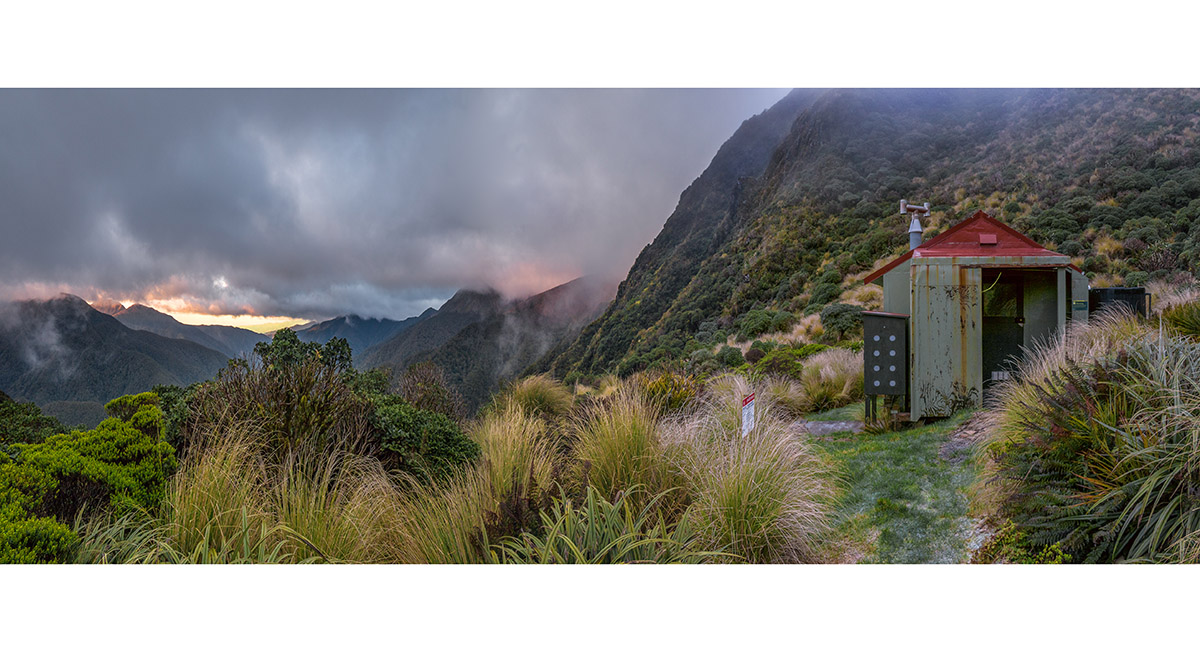
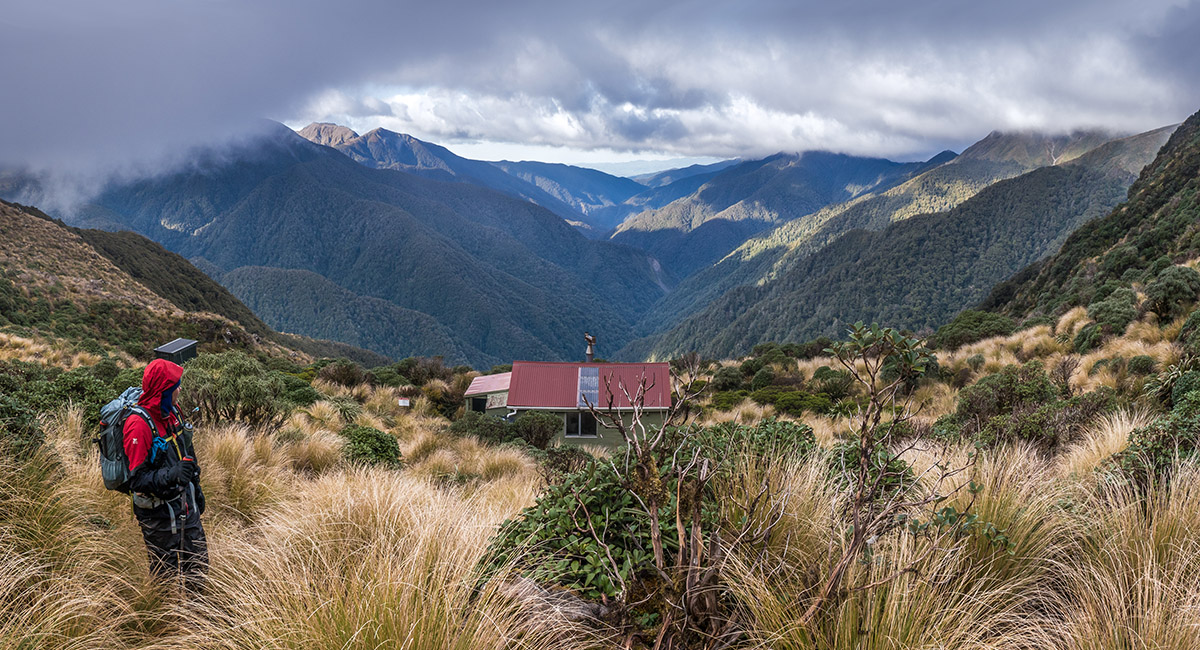
Waiopehu Hut (970m)

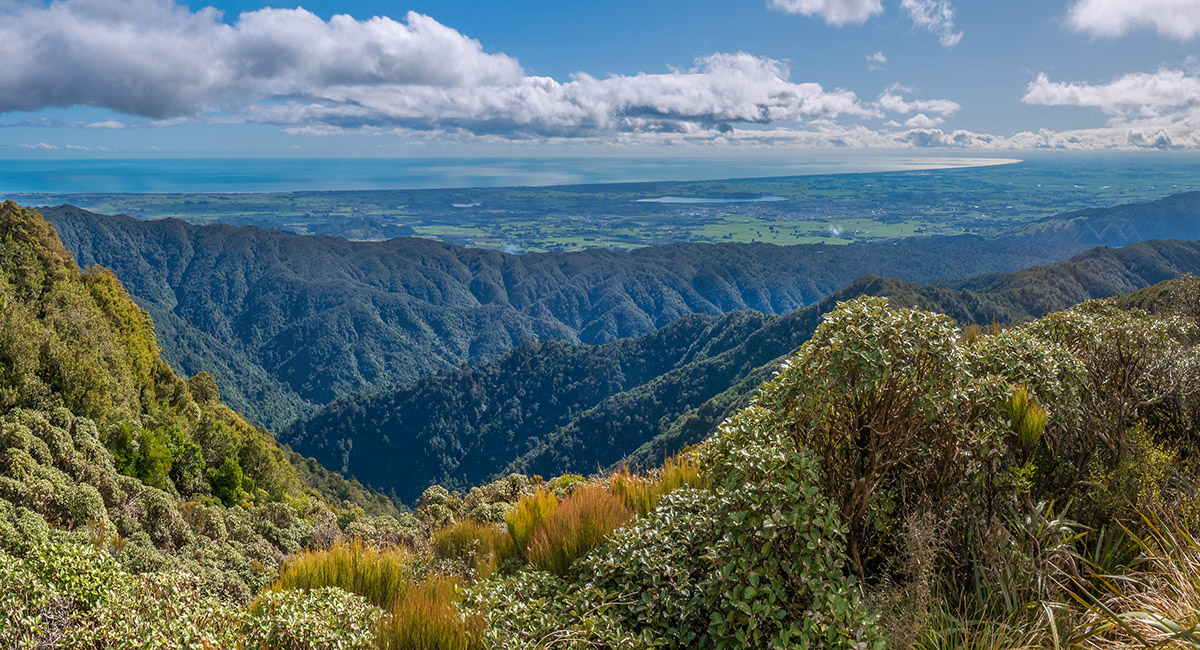
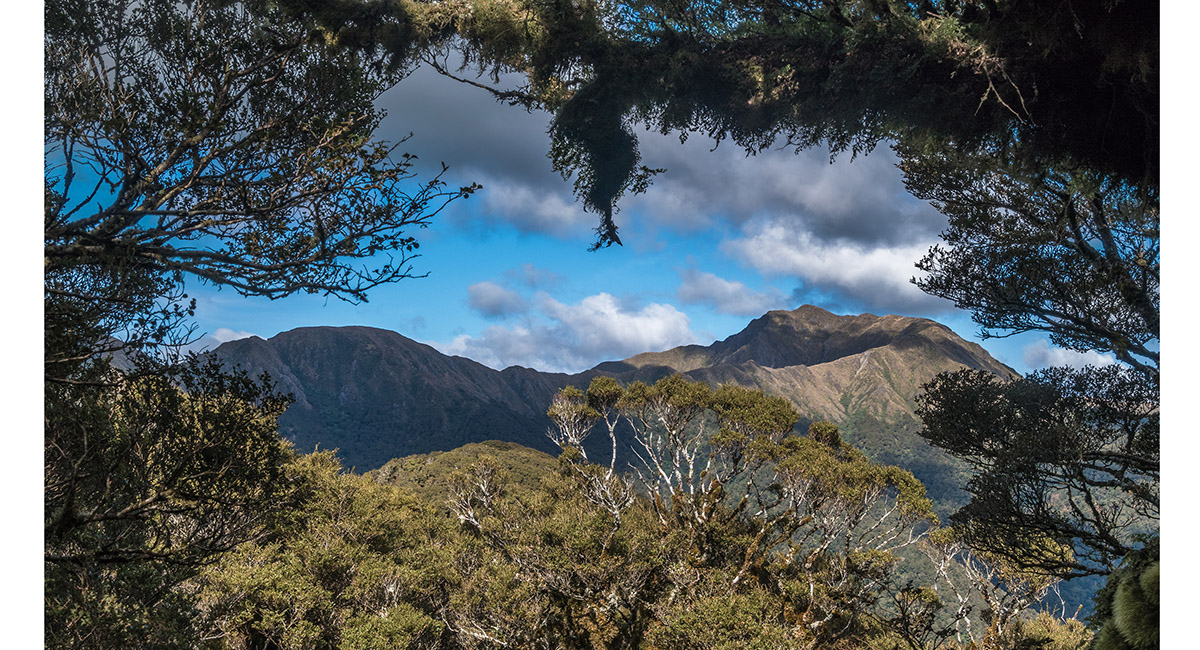
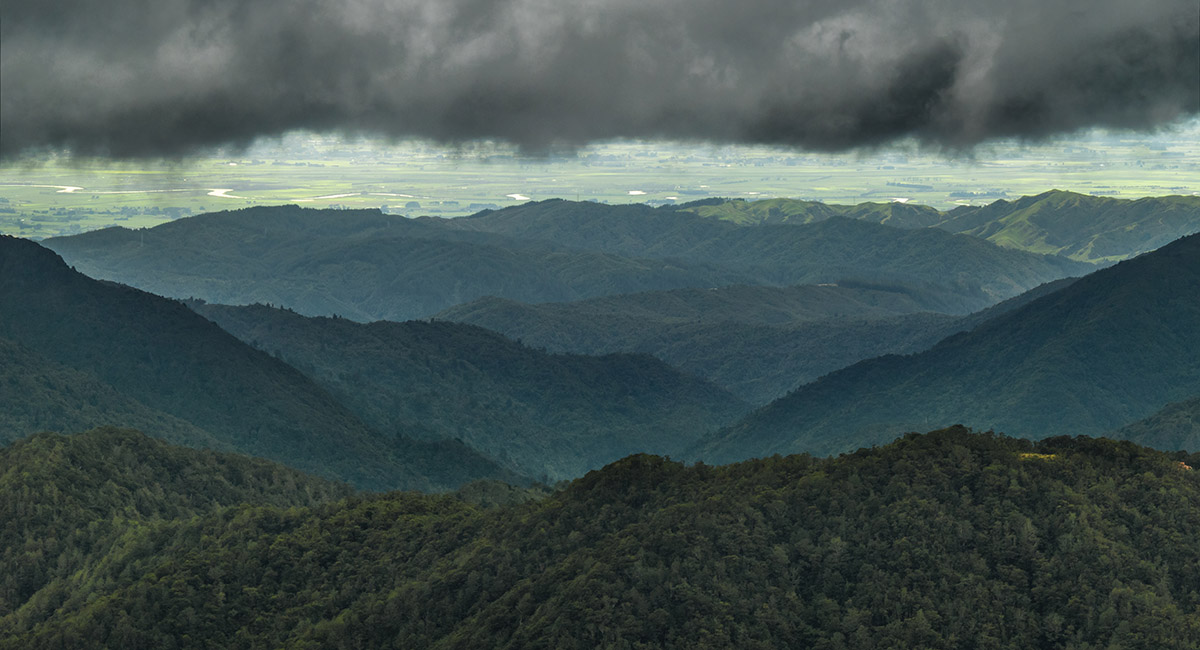
The view northwest to Levin from Waiopehu Hut

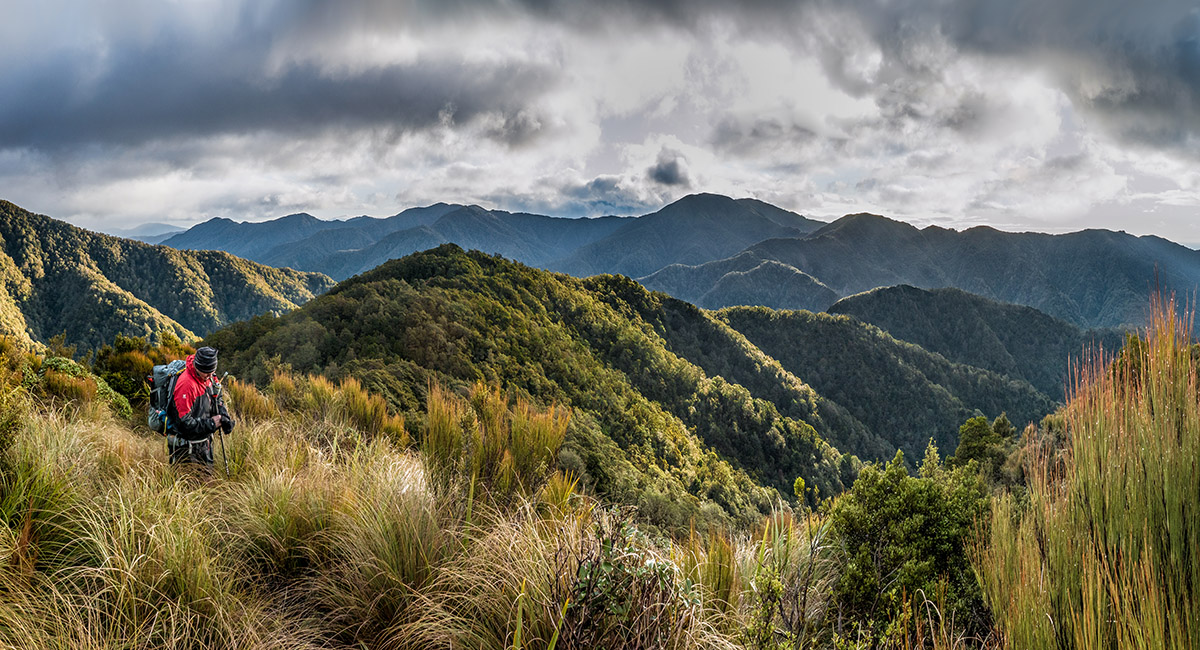
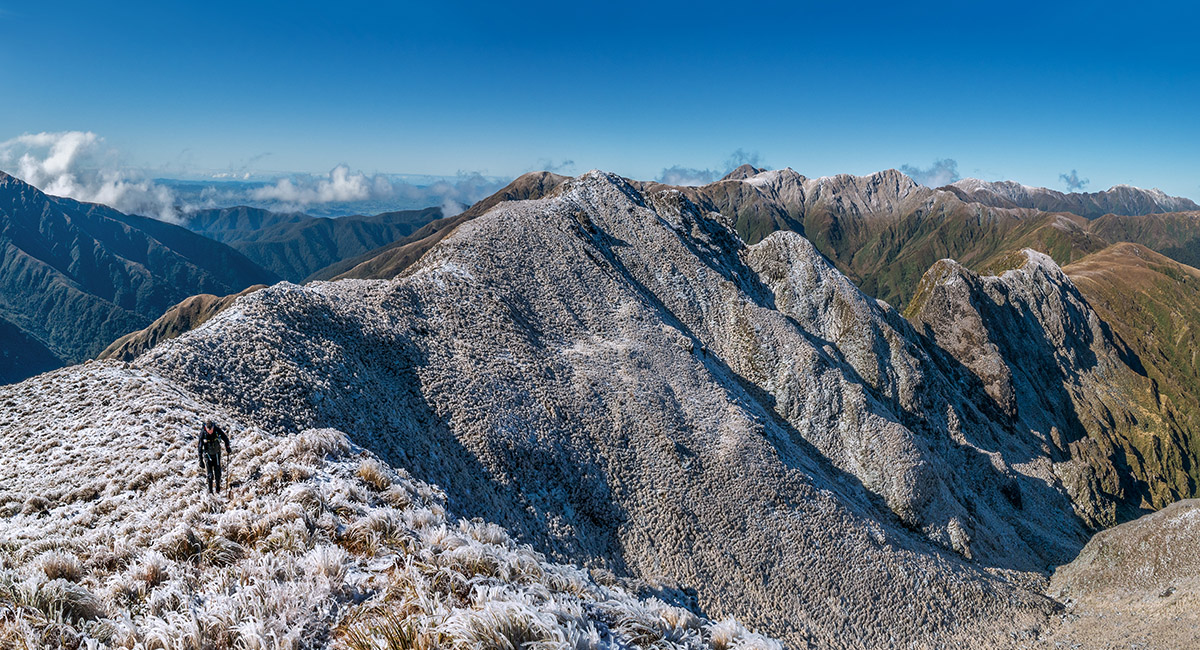
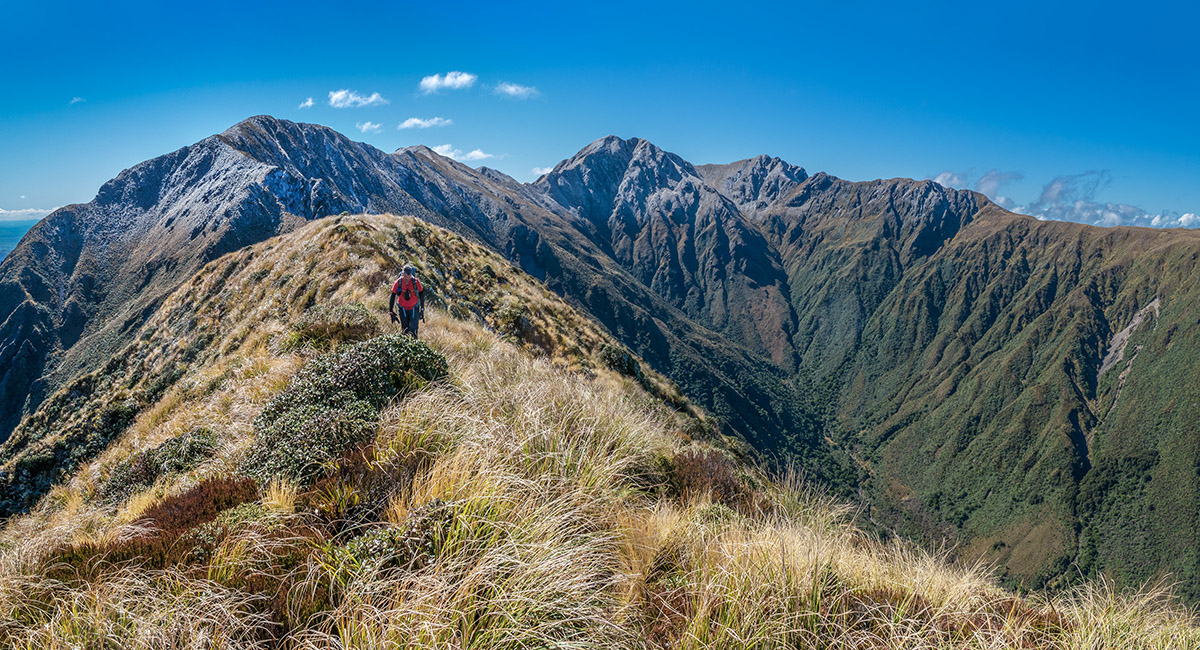
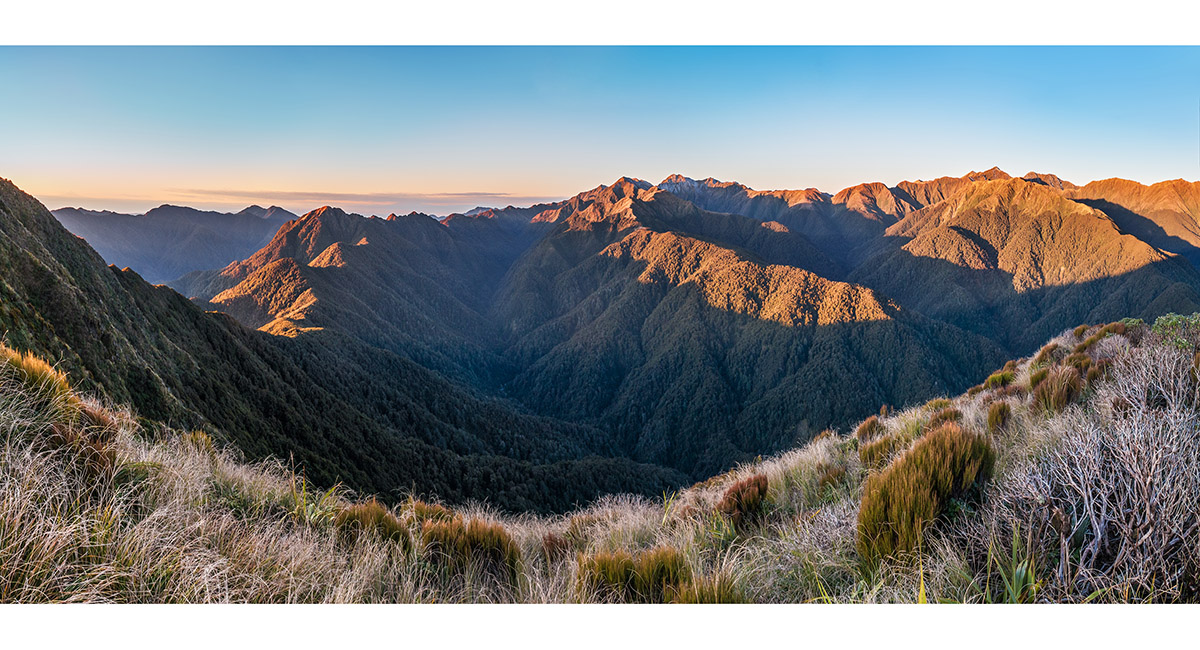
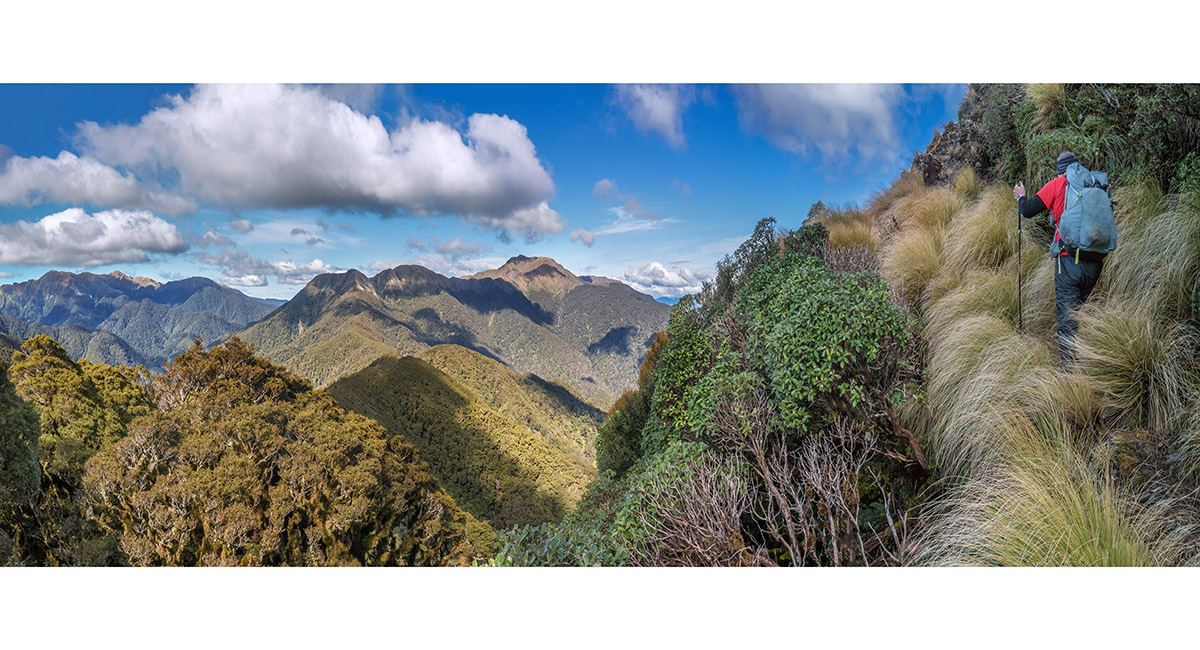
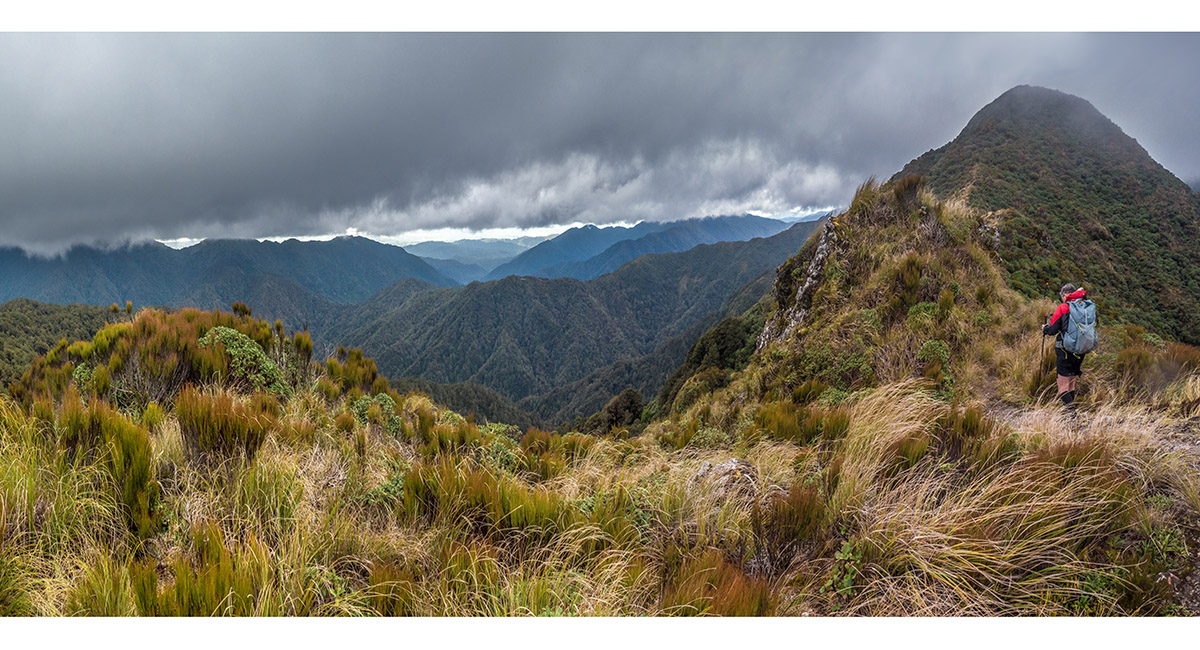
Looking east to the main range from near Twin Peak (1,097m)

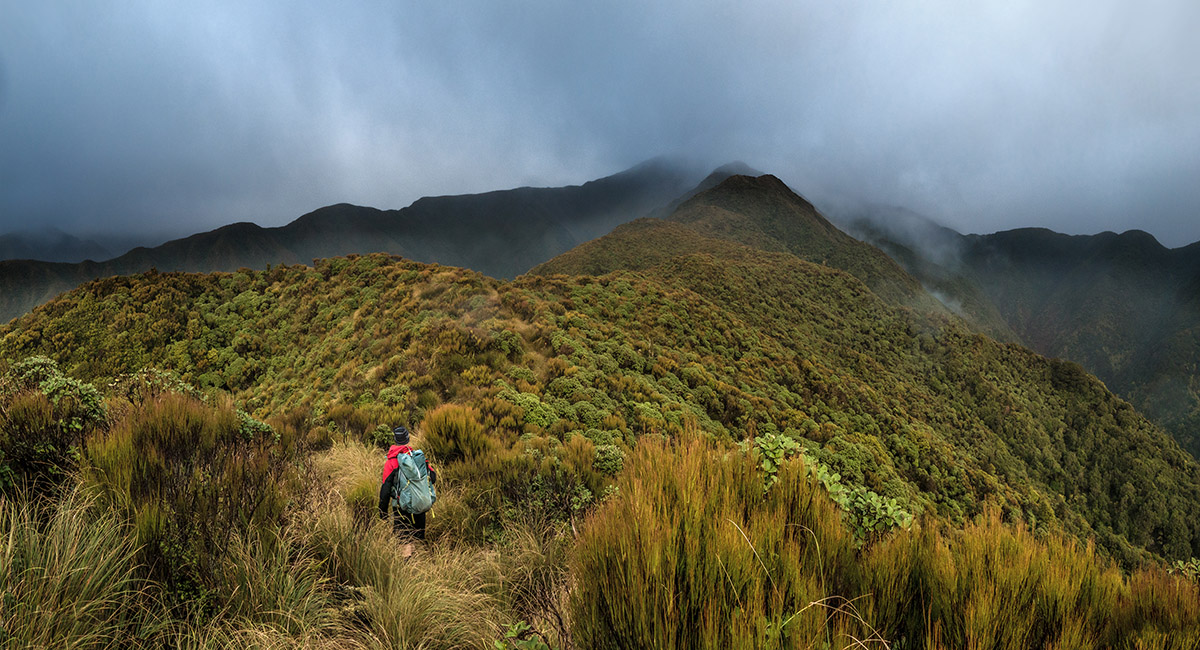
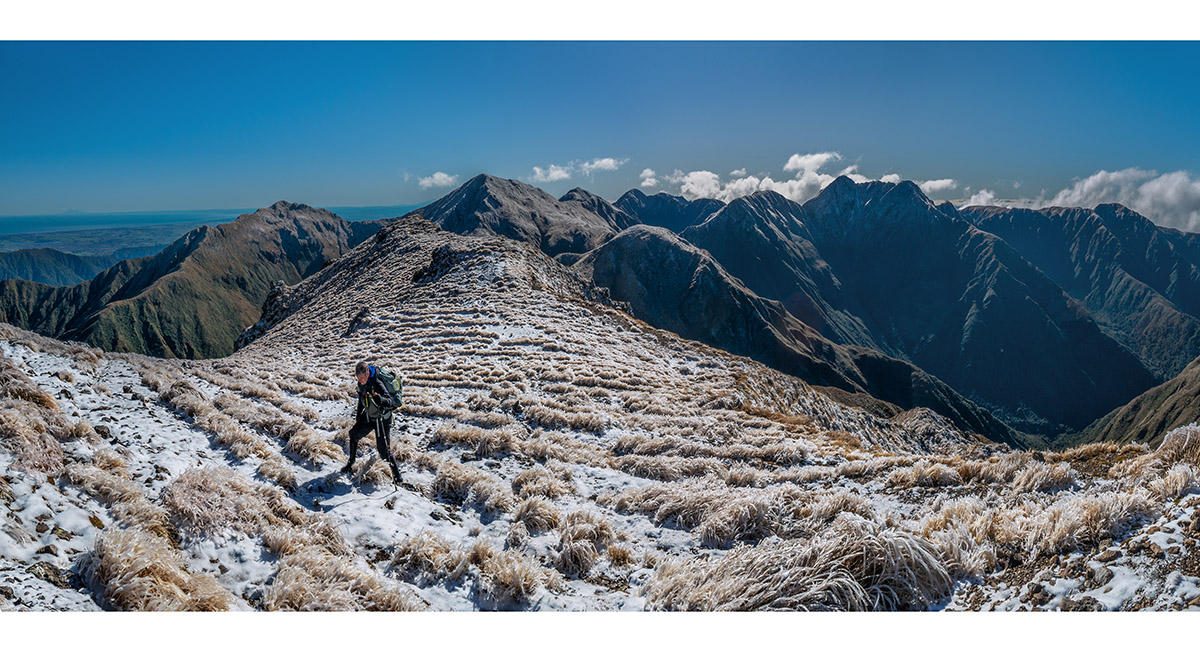
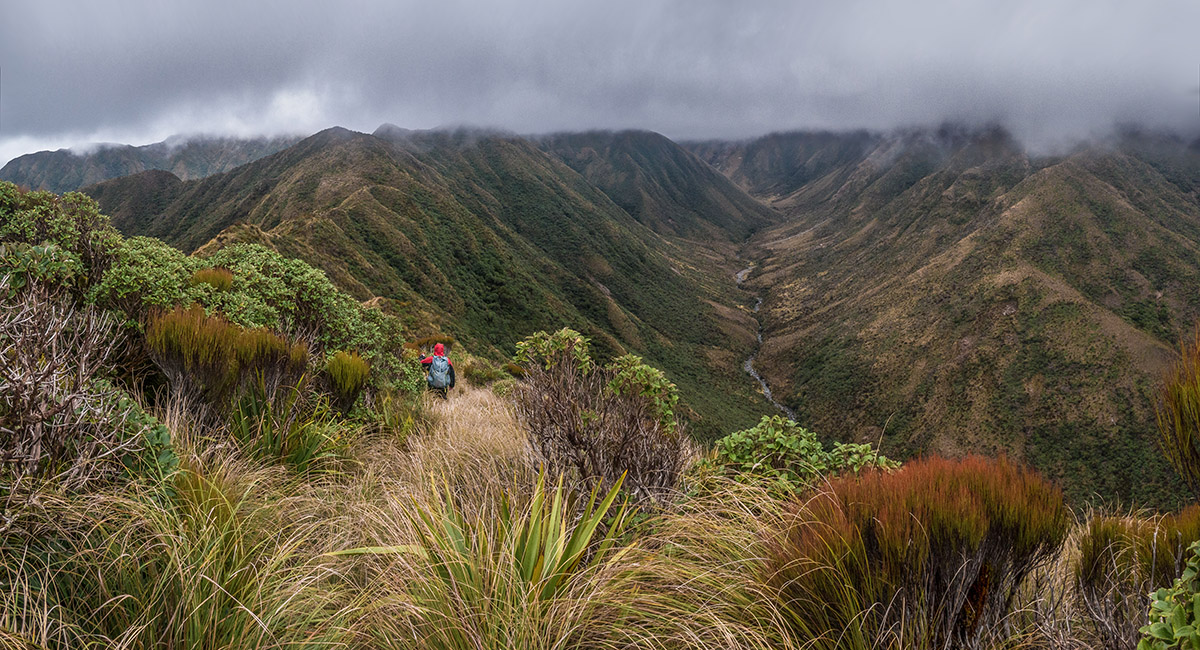
At about 1,000m, climbing towards Pukematawai

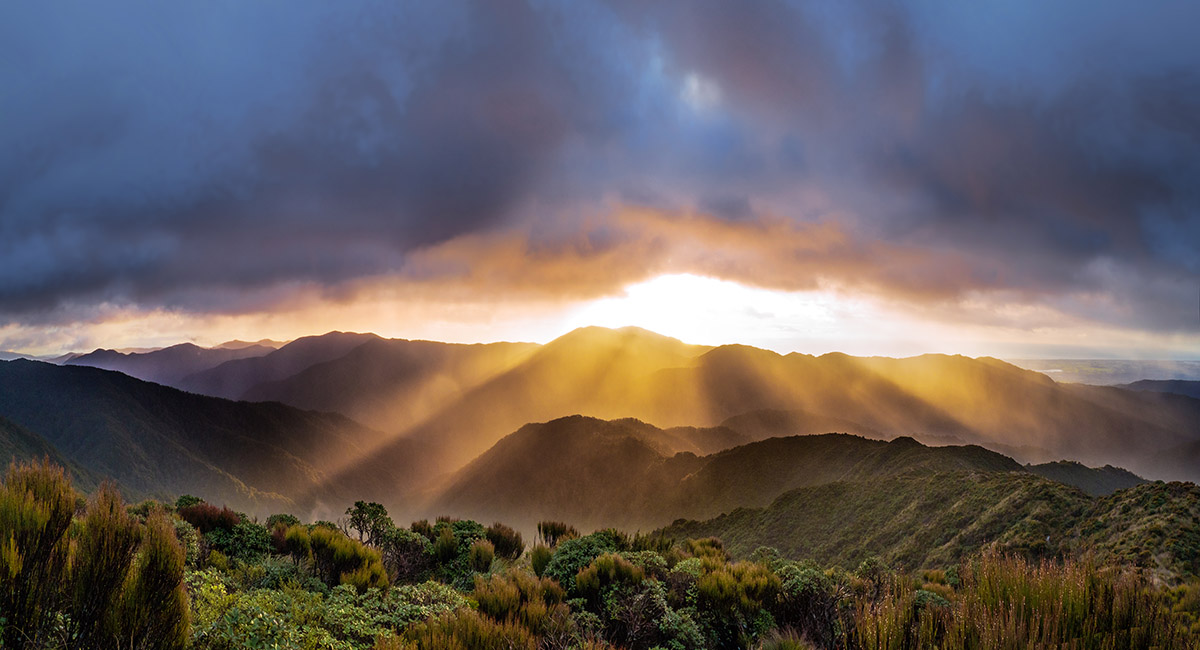
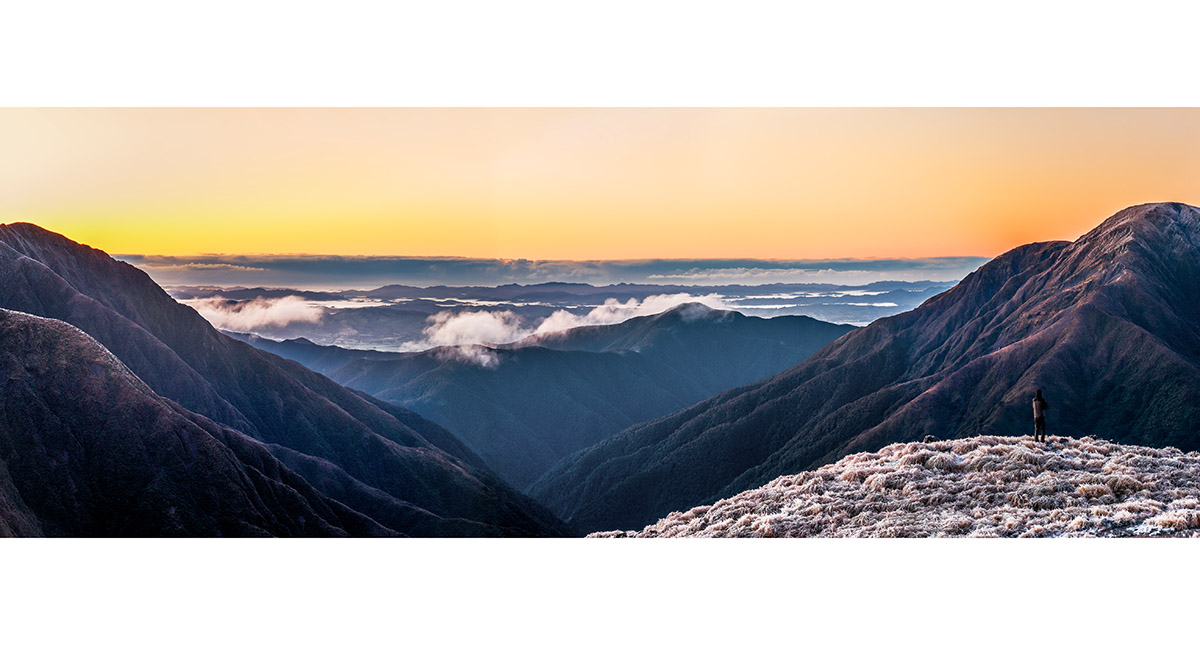
Sunset view northwest from about 1,050m on the trail to Pukematawai

Sunset view northwest from about 1,050m on the trail to Pukematawai


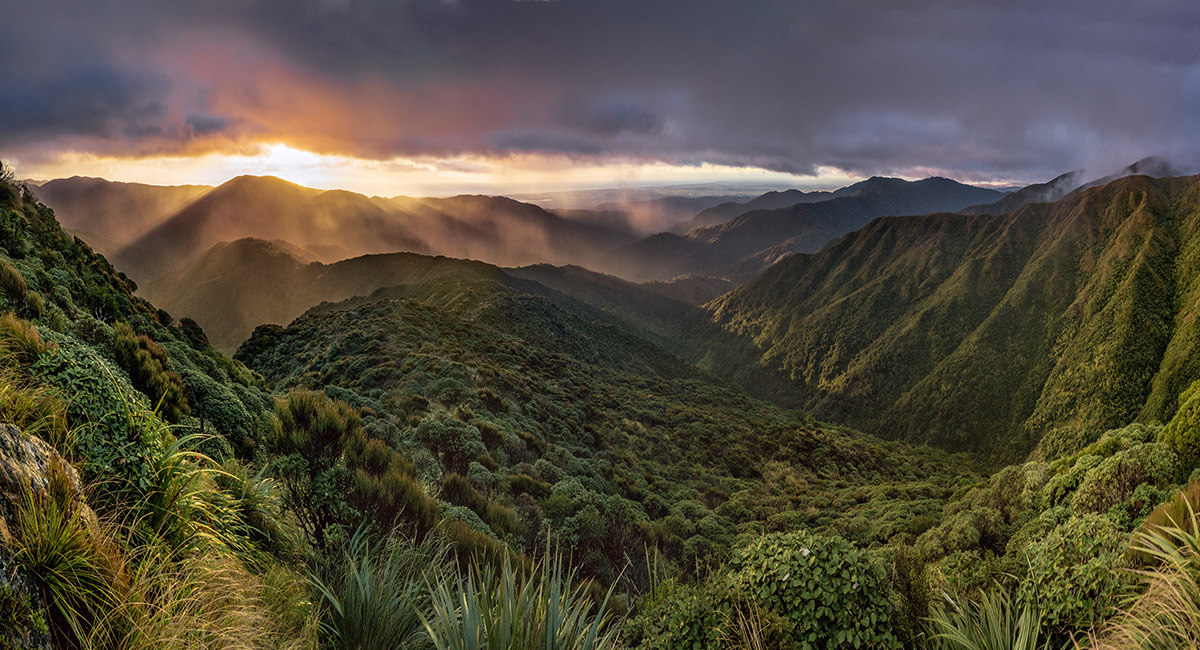
Sunset view northwest from about 1,100m on the trail to Pukematawai

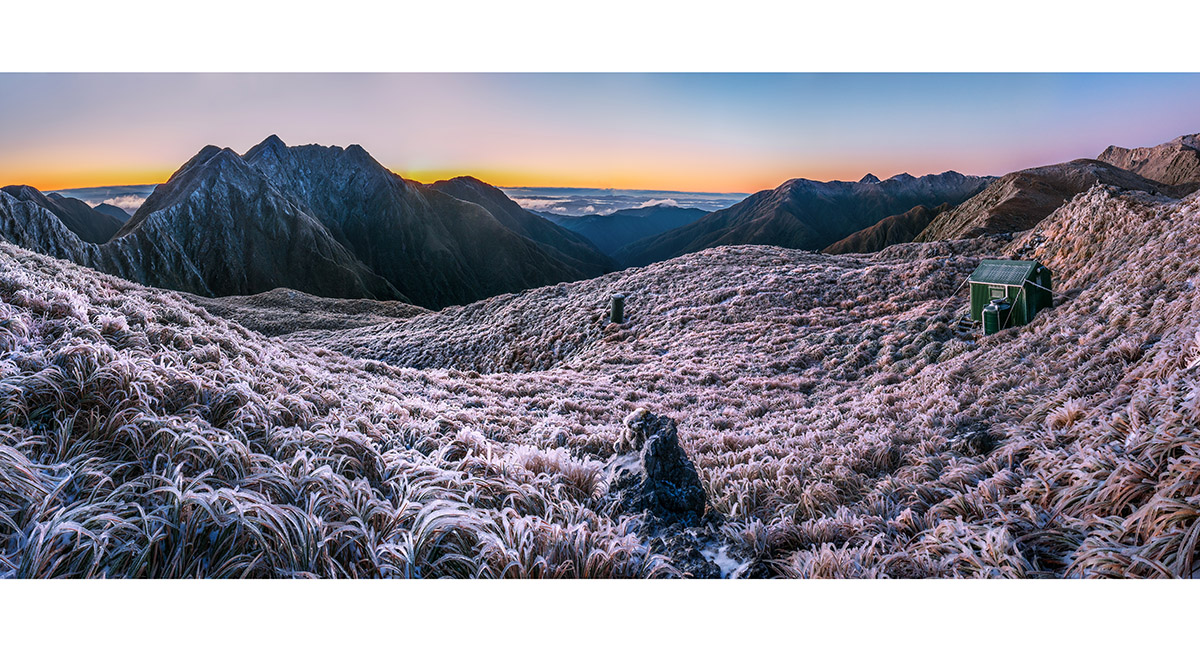
Dawn view of the Twins, Bannister and Waingawa (left) and Arete Hut (1,360m, right)

Dawn view of the Twins, Bannister and Waingawa (left) and Table Ridge (right) from near Arete Hut

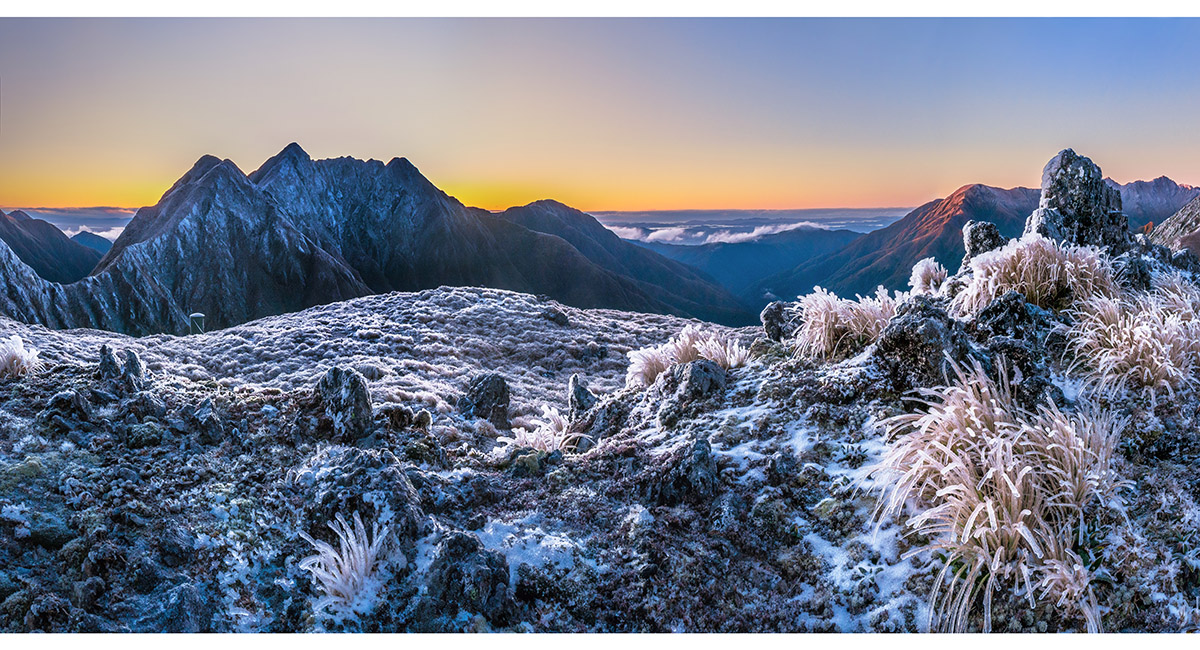
Dawn view east from near Arete Hut

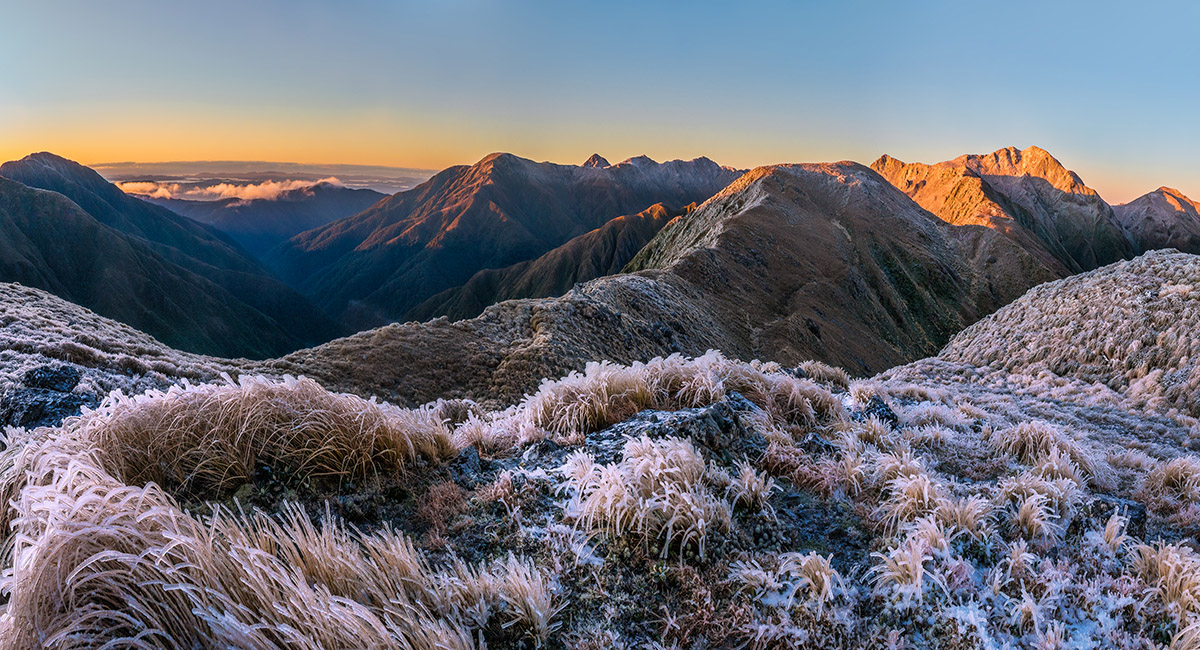
Dawn view of Waingawa (far left), Table Ridge (centre), Lancaster (1,504m, right) and Thompson (1,448m, far right) from near Arete Hut


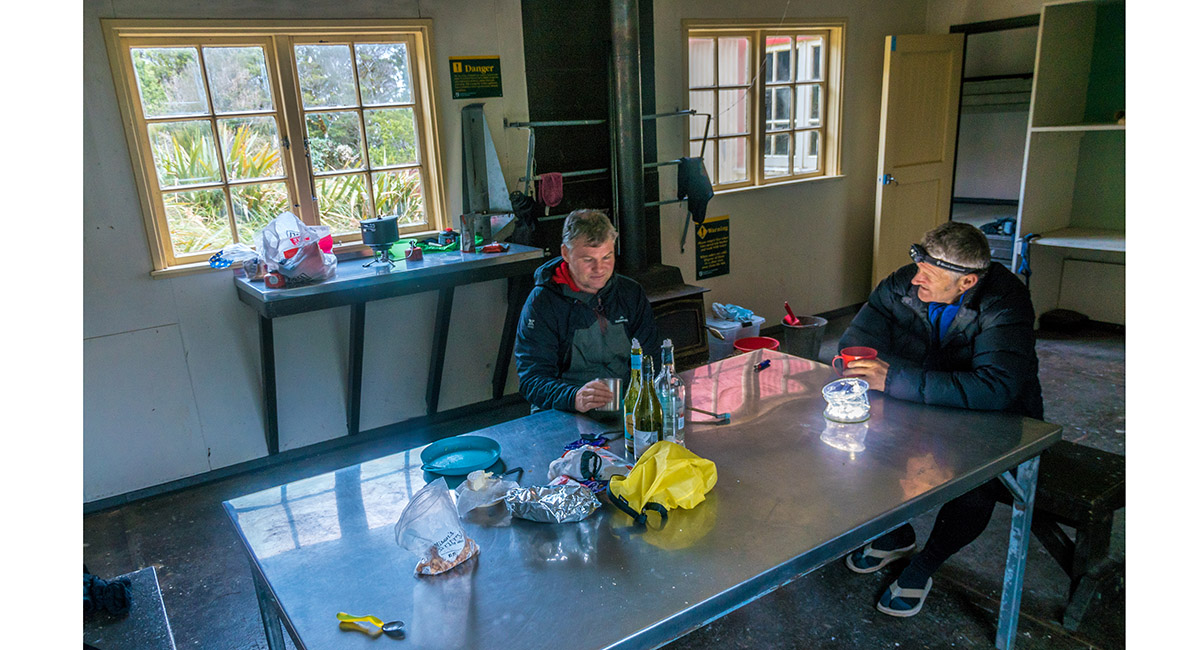
Arete Hut

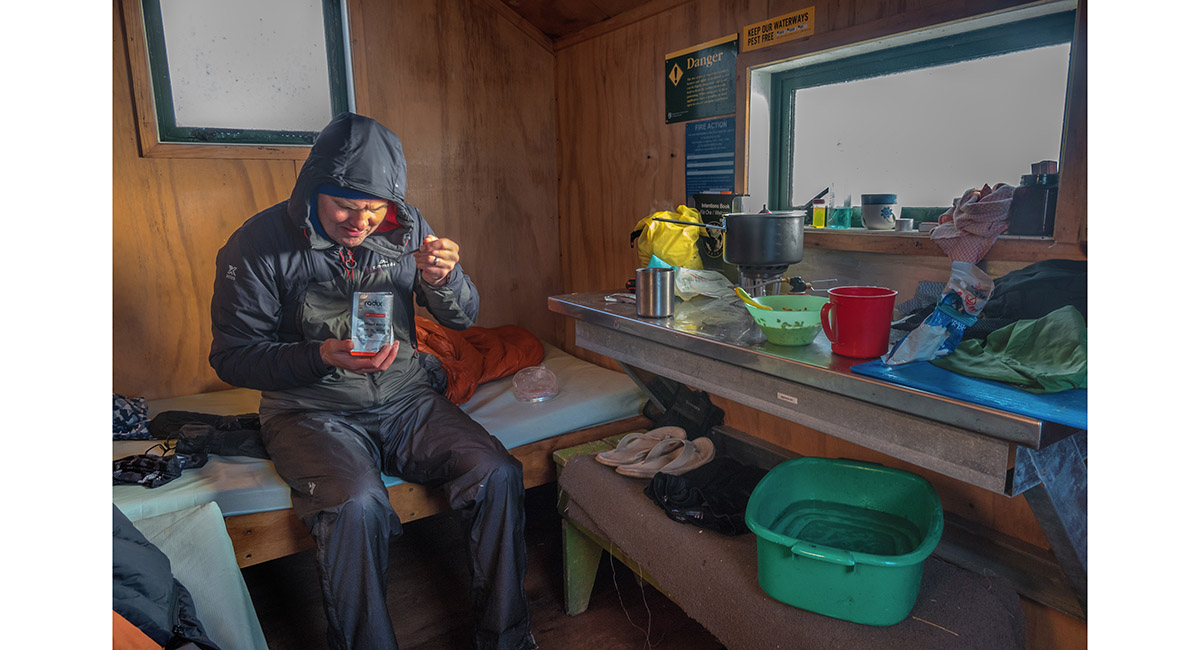
Inside Arete Hut


Heading south towards Lancaster (right), with Table Ridge and Mitre peaking from behind (centre)


The view back to Arete (left) and Bannister (right) from below Lancaster

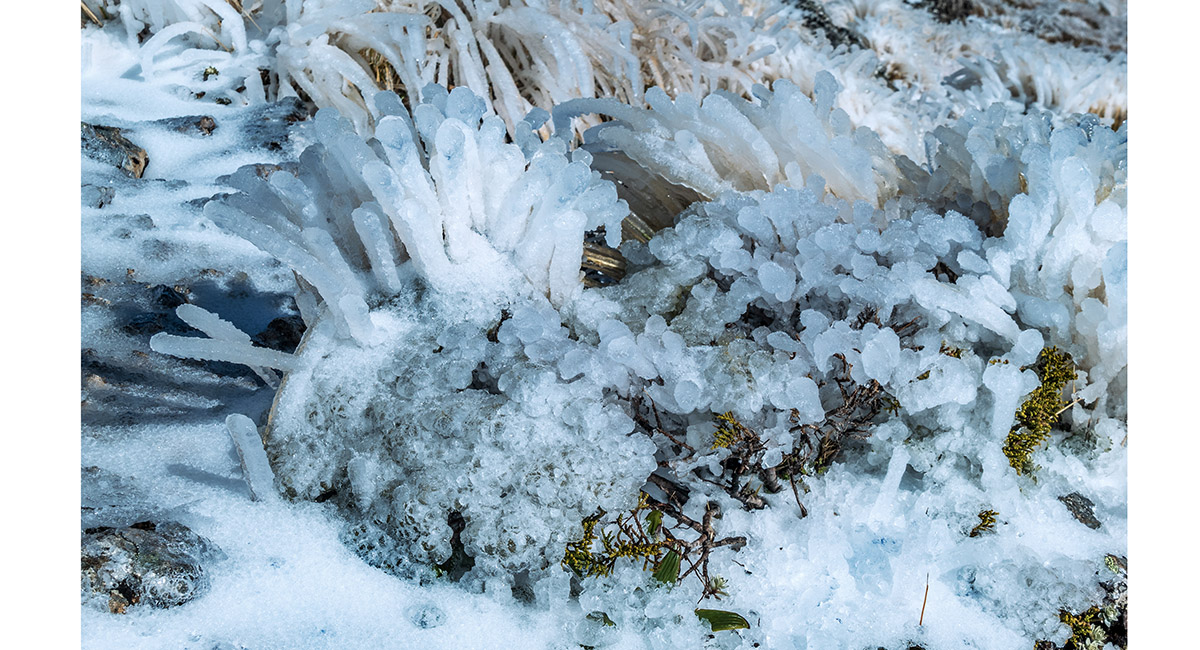
Rime ice at 1,400m

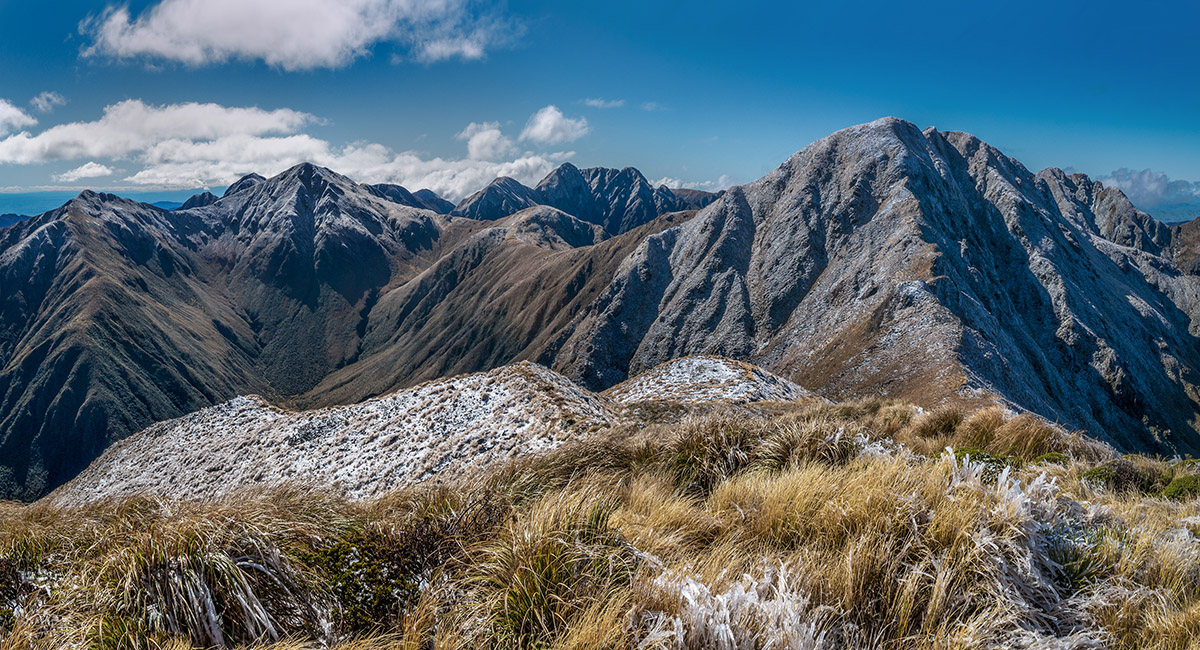
Nearing the summit of Lancaster (1,504m), with from left, Pukematawai (1,432m), Arete (1,505m), Pt 1434, Twins (1,460m & 1,466m), Bannister (1,537m) and Waingawa (1,423m). In the distance, between Pt1434 and the Twins, are Dundas, Logan and Pukemoremore

Nearing the summit of Lancaster (1,504m), with Waiohine Pinnacles (1,470m) centre and Tarn Ridge stretching to the right. Mitre (1,571m), Brocket (1,538m) and Girdlestone (1,546m) are left of centre on the skyline

A view from the west side of Lancaster to Thompson (1,448m), with Pukematawai right of centre, then Arete, Dundas, Logan, Pukemoremore, Twins and Bannister

From Thompson, looking down Carkeek Ridge to Carkeek (1,435m), Pt1315 and Pt1285. Mt Crawford (1,462m) is left of centre on the skyline

From Thompson, looking back to Lancaster (right), Twins and Bannister (centre), Arete and Pukematawai (left)

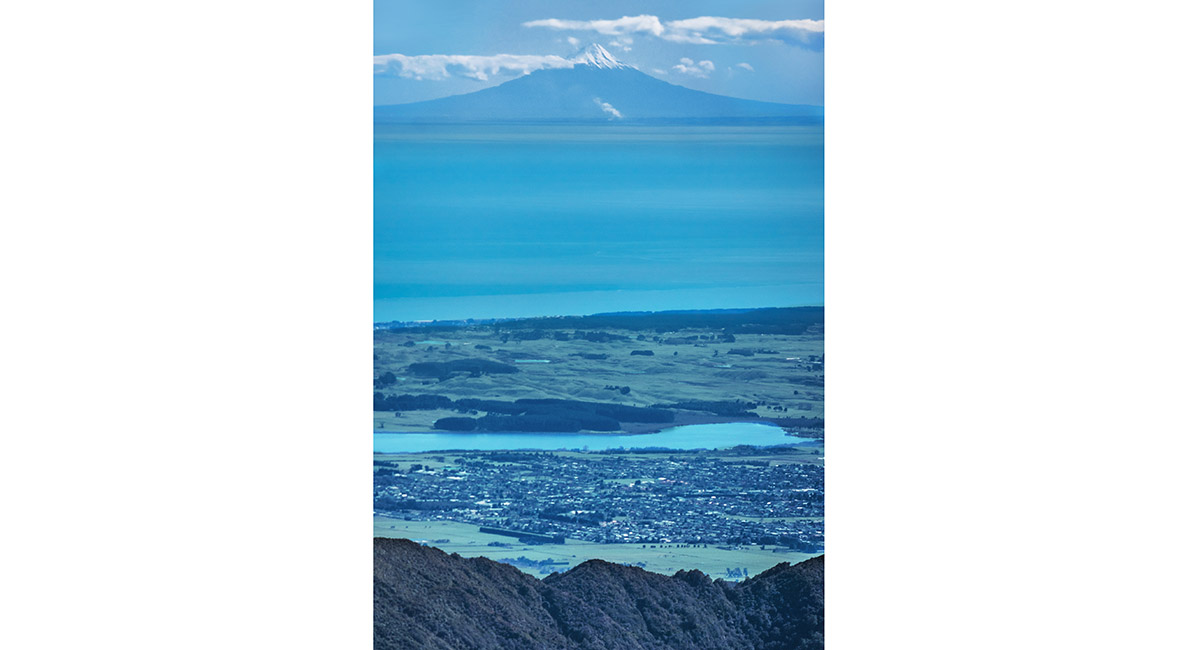
Mount Taranaki, from Thompson

Near Carkeek, looking back to Thompson (left) and Lancaster (centre)

From near Pt1315, looking southwest to Pt1295 and distant Mt Crawford (centre). Carkeek Hut is located just inside the treeline above Andy's head

A view south to the Broken Axe Pinnacles (1,425m) and McGregor (1,540m)

Carkeek Hut (1,070m)

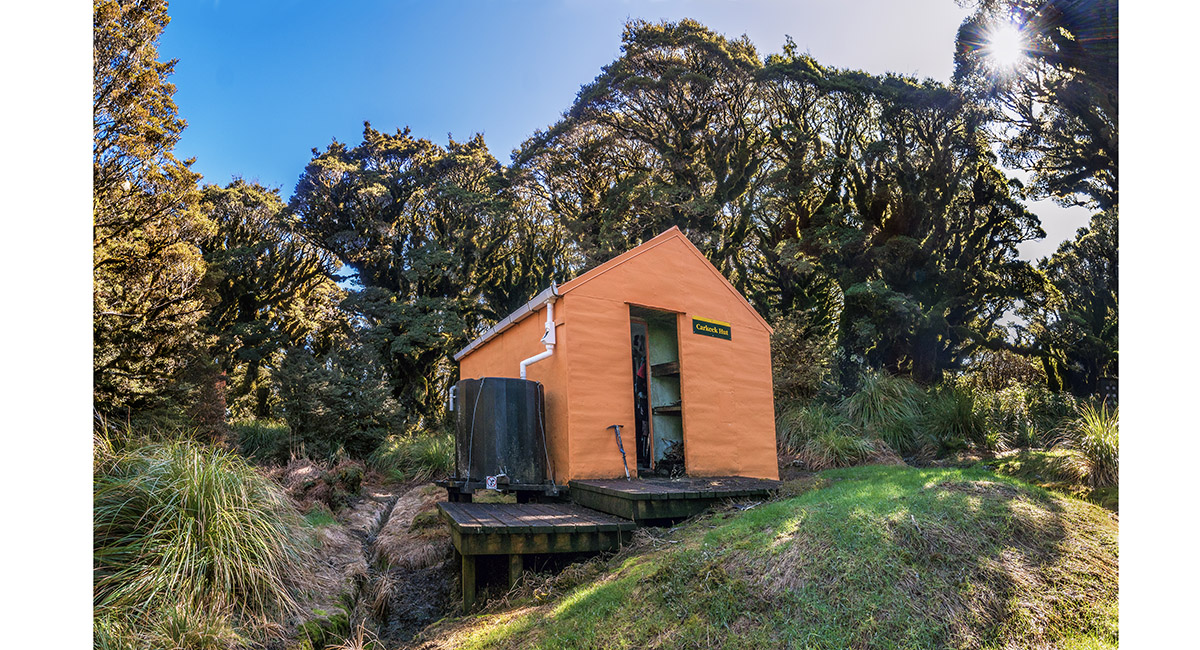
Carkeek Hut (1,070m)

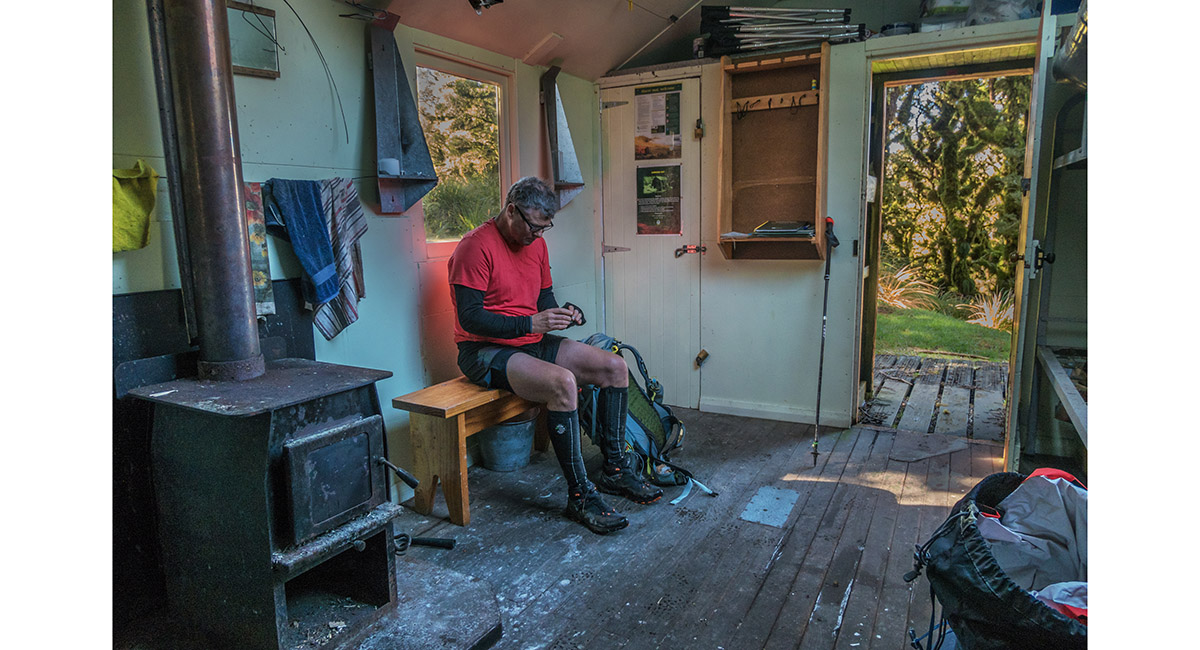
Inside Carkeek Hut

Down at 600m at Park Forks, with the DOC triangle indicating the base of the relentlessly steep 600m climb to Nichols

At dusk, just beneath Nichols (1,242m), looking back to Carkeek Ridge (centre) and the ridge we would follow the next day back up to Pukematawai (centre skyline)

Nichols Hut (1,160m)

Inside Nichols Hut

Departing Nichols Hut, with the view south down Crawford Creek. Mt Holdsworth (1,470m) is top left in sunlight

About to enter the treeline north of Nichols, with a view of the ridge leading eventually back up to Pukematawai. Park Valley is right and Carkeek Ridge far right

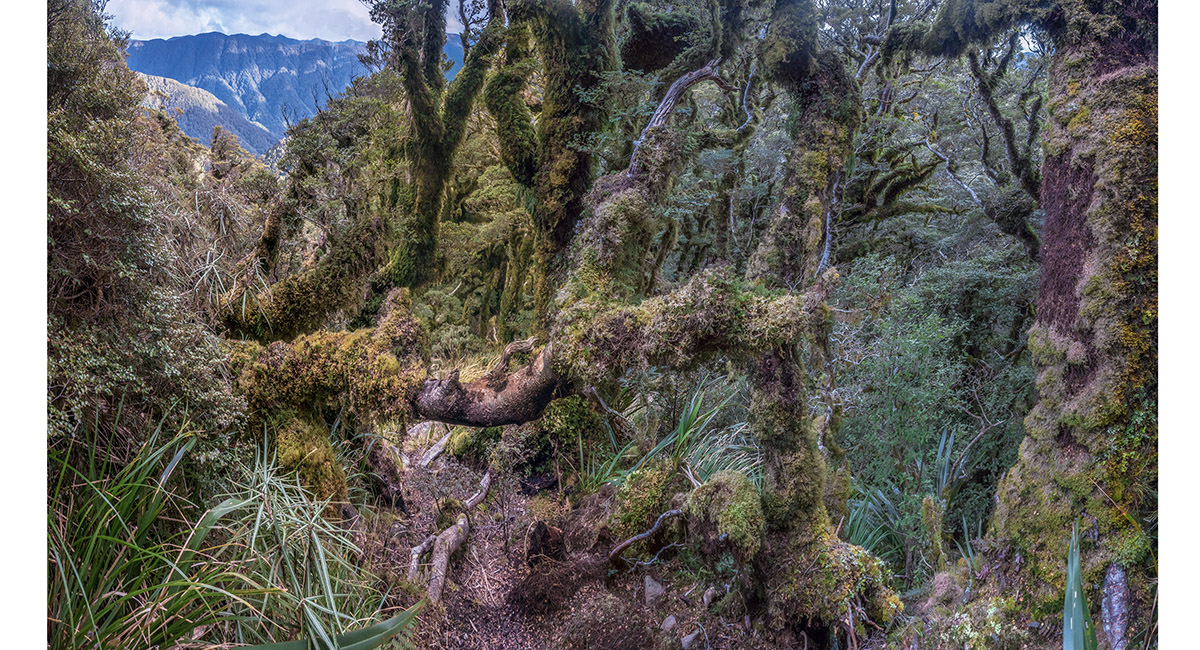
Moss covered trees on the trail south of Kelleher

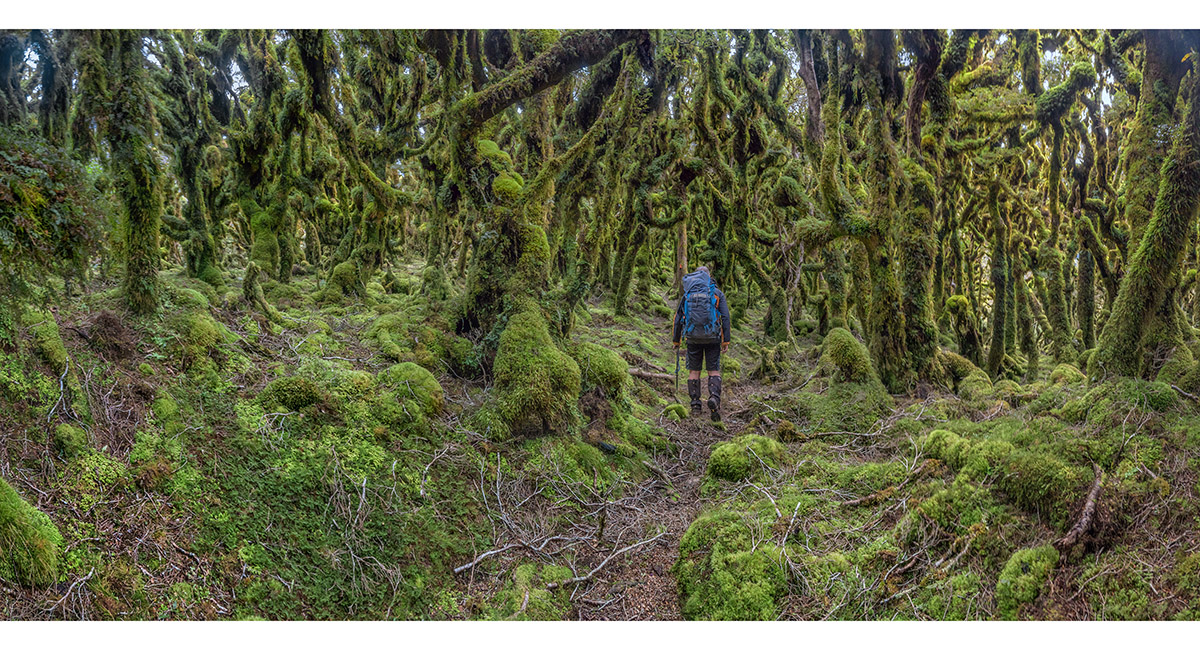
Goblin forest on the trail south of Kelleher

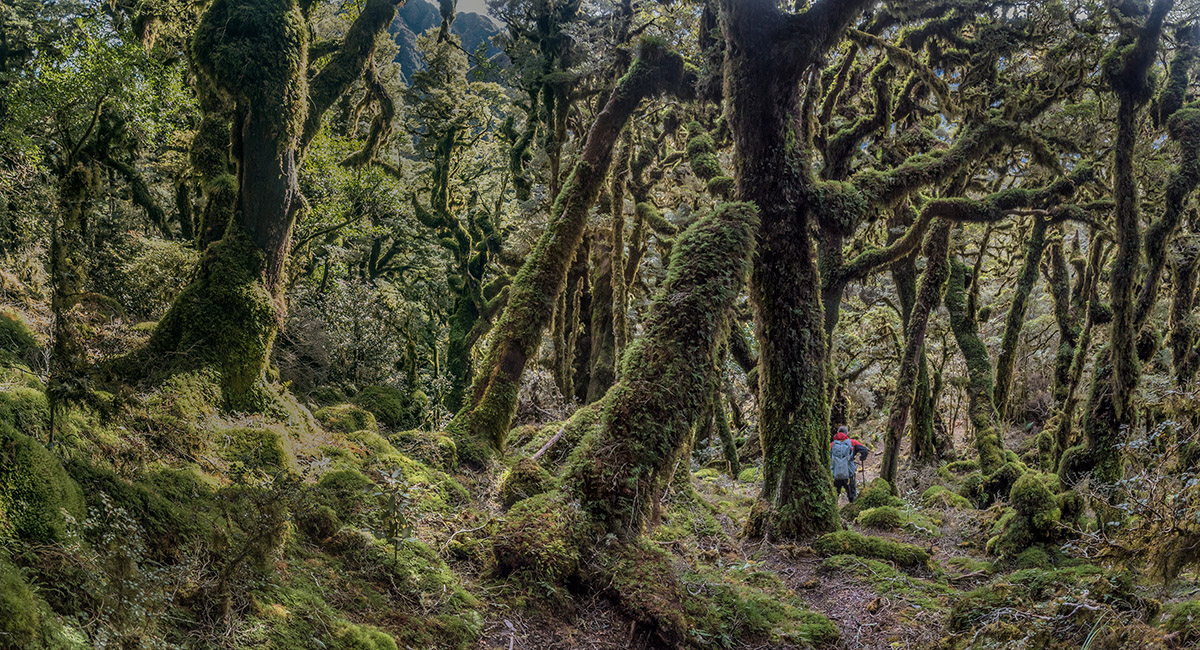
Goblin forest on the trail south of Kelleher

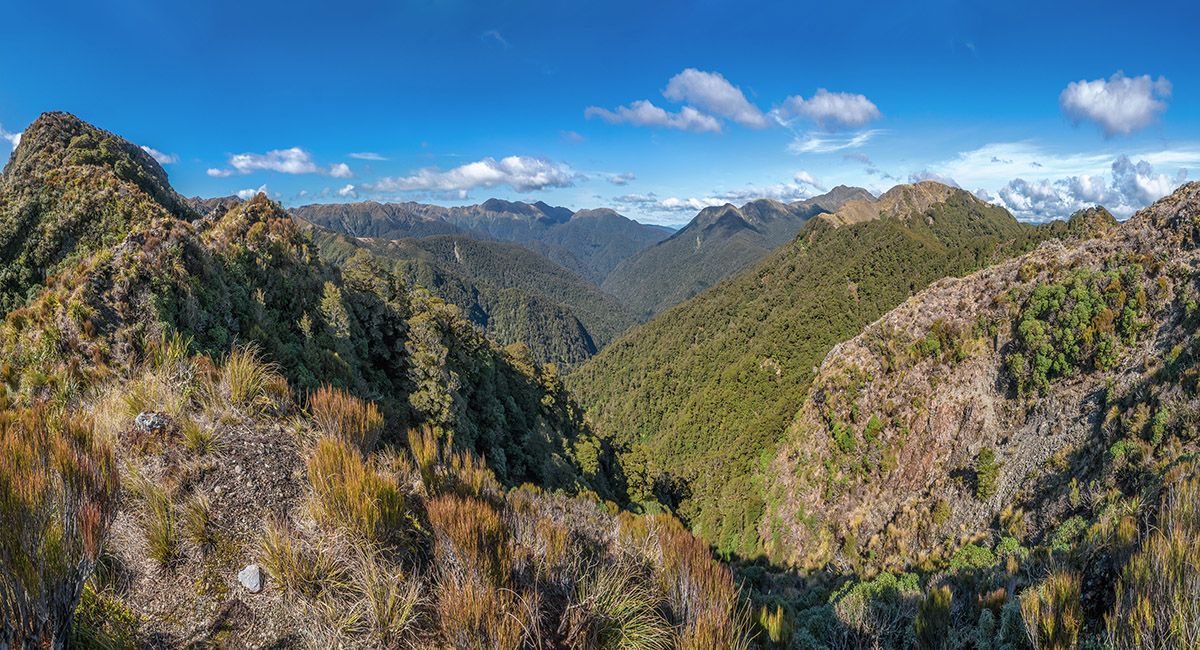
A view back to Mt Crawford

Climbing Kelleher (1,182m), with Mt Crawford centre, Nichols left of centre and the ridge we'd travelled to this point


Approaching Puketoro (1,152m), looking northeast to Pukematawai (centre)

A view back to Mt Crawford (right skyline) from Puketoro

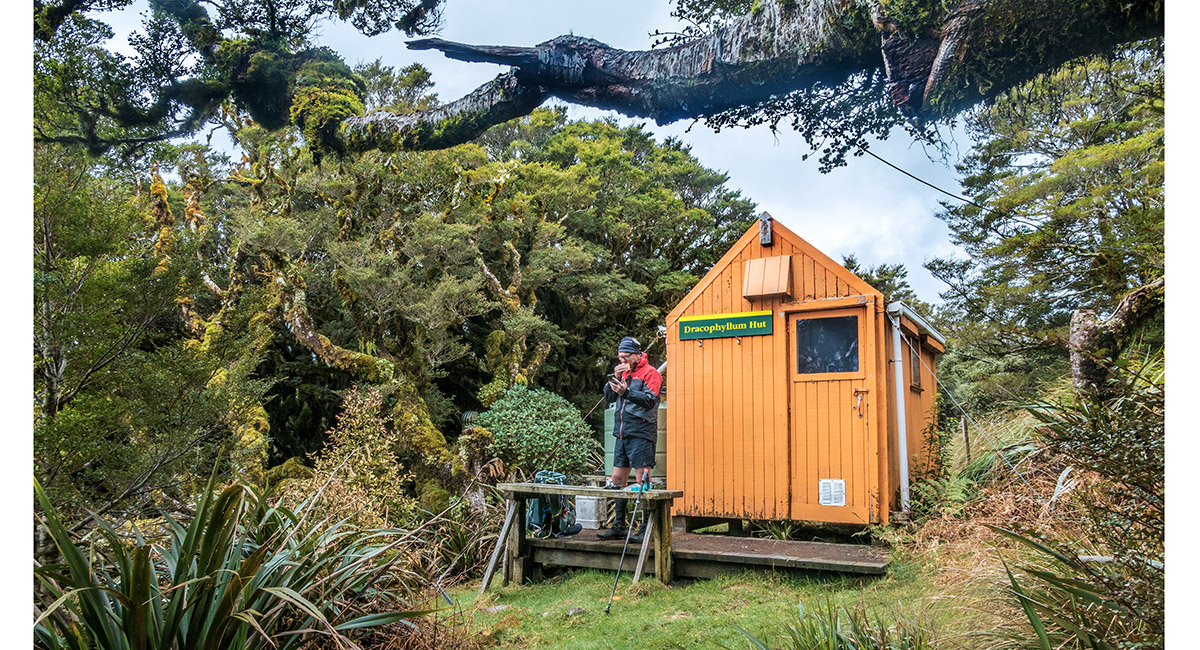
Dracophyllum Hut (1,090m)

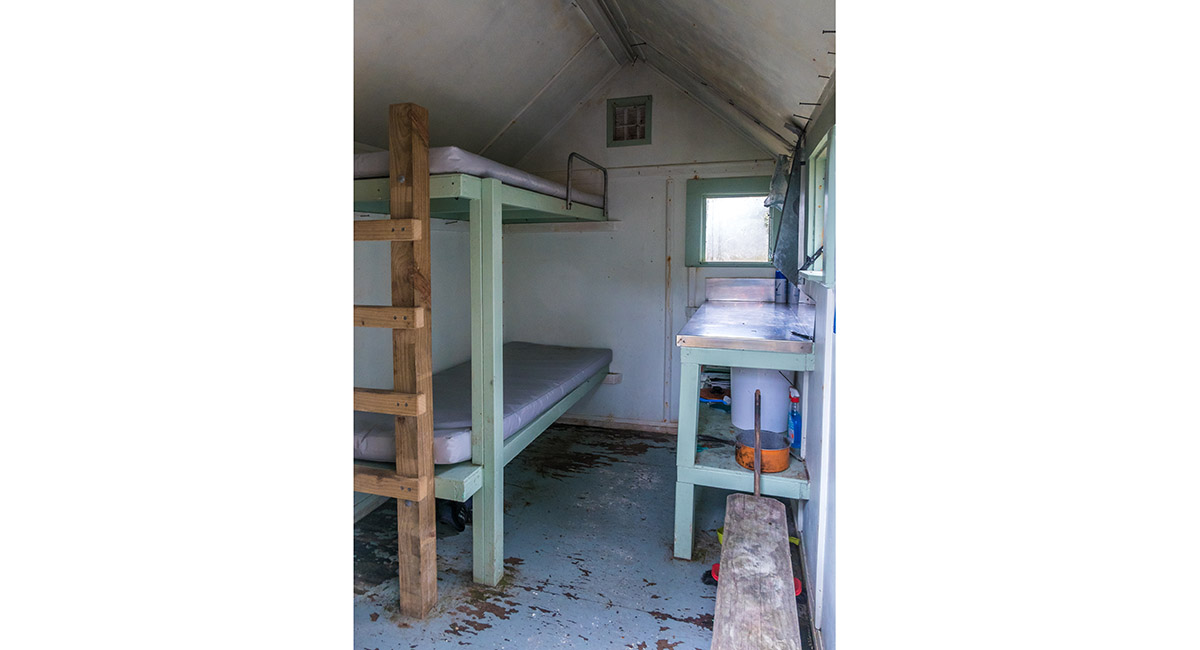
Inside Dracophyllum Hut

A view to Te Matawai Hut (900m) and helipad (far right), from south of Butcher Knob (1,158m)

A view north from near Butcher Knob

At about 1,180m, on the final stretch of ridge north of Butcher Knob, with Park Valley right

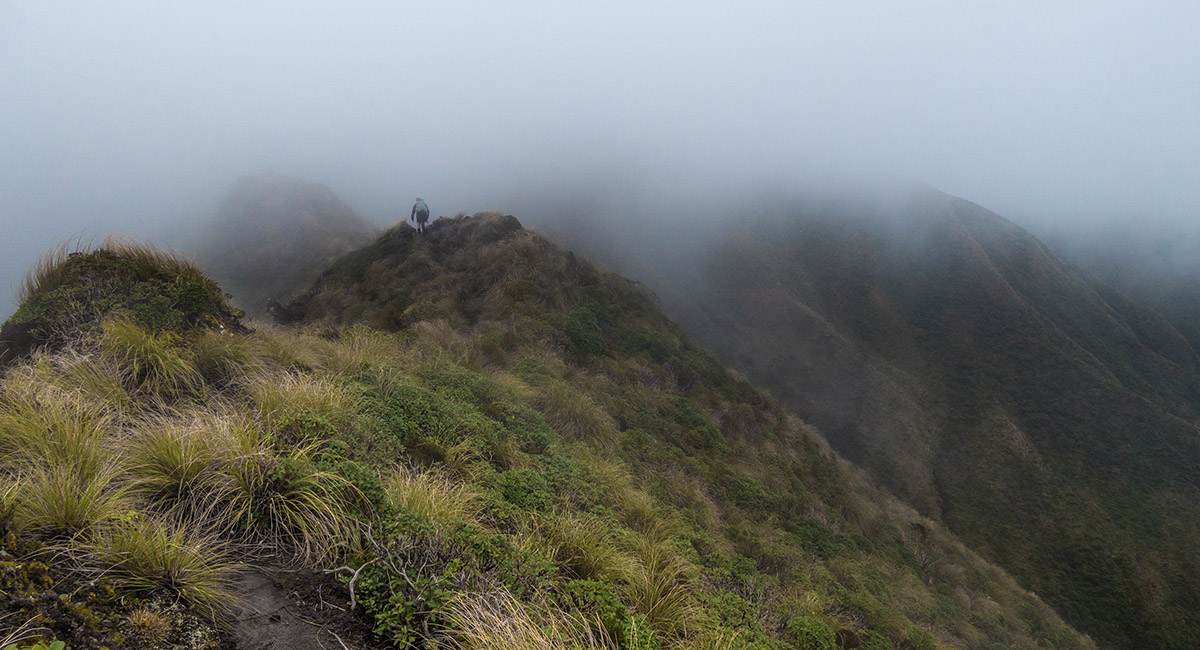
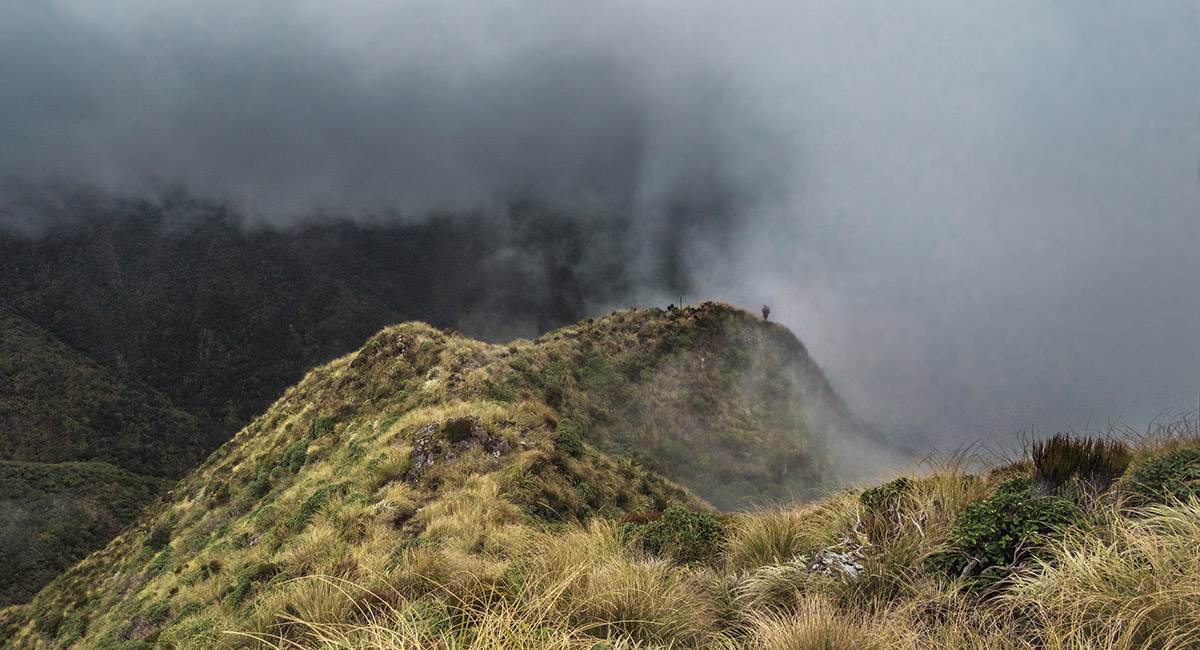
Climbing into the clag beneath Pukematawai

At about 1,200m, on the descent from Pukematawai to Te Matawai Hut

Te Matawai Hut (900m, right) emerges from the clag

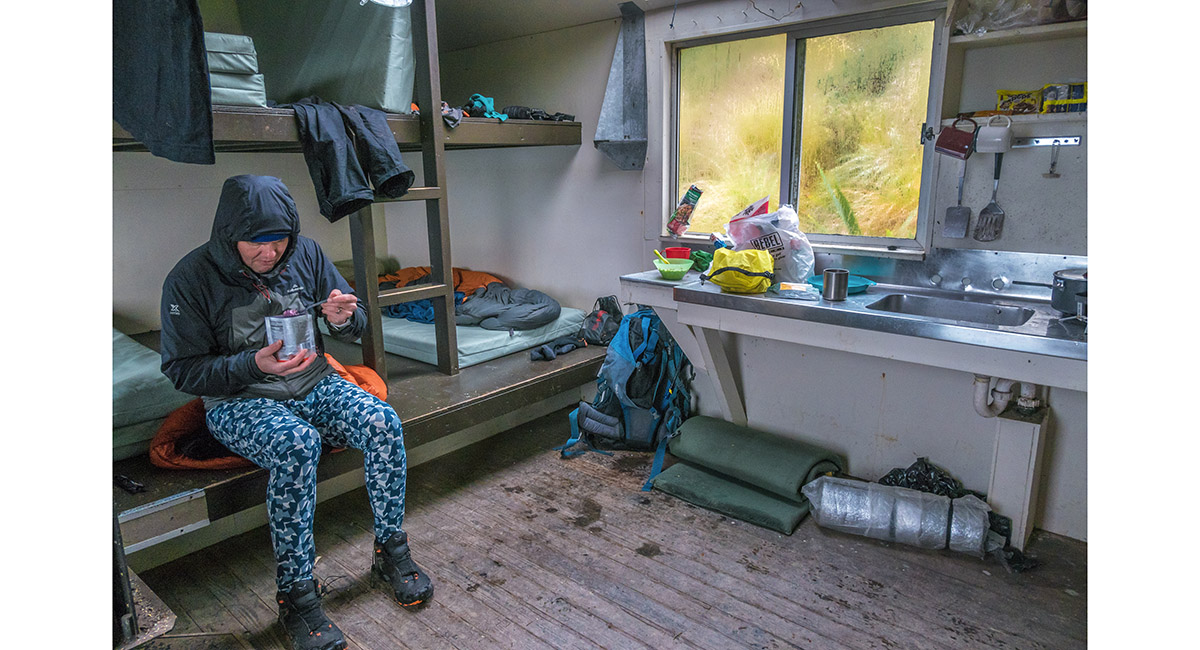
Inside Te Matawai Hut

Read about it Tararua heartland Wilderness Magazine Aug 2023 Worth sweating for # 20 Captivating Photography May 2023
To order a print or web resolution file of any image you see in this slide show, just right click the image, click “Copy Image URL” and paste in to the “Your message” box of our Contact Us form. Please also note, for each image, if you want a print or web resolution file. We will get back to you as soon as possible to confirm price and payment details.
Open Contact Us in a new window to paste Image URL(s) easily