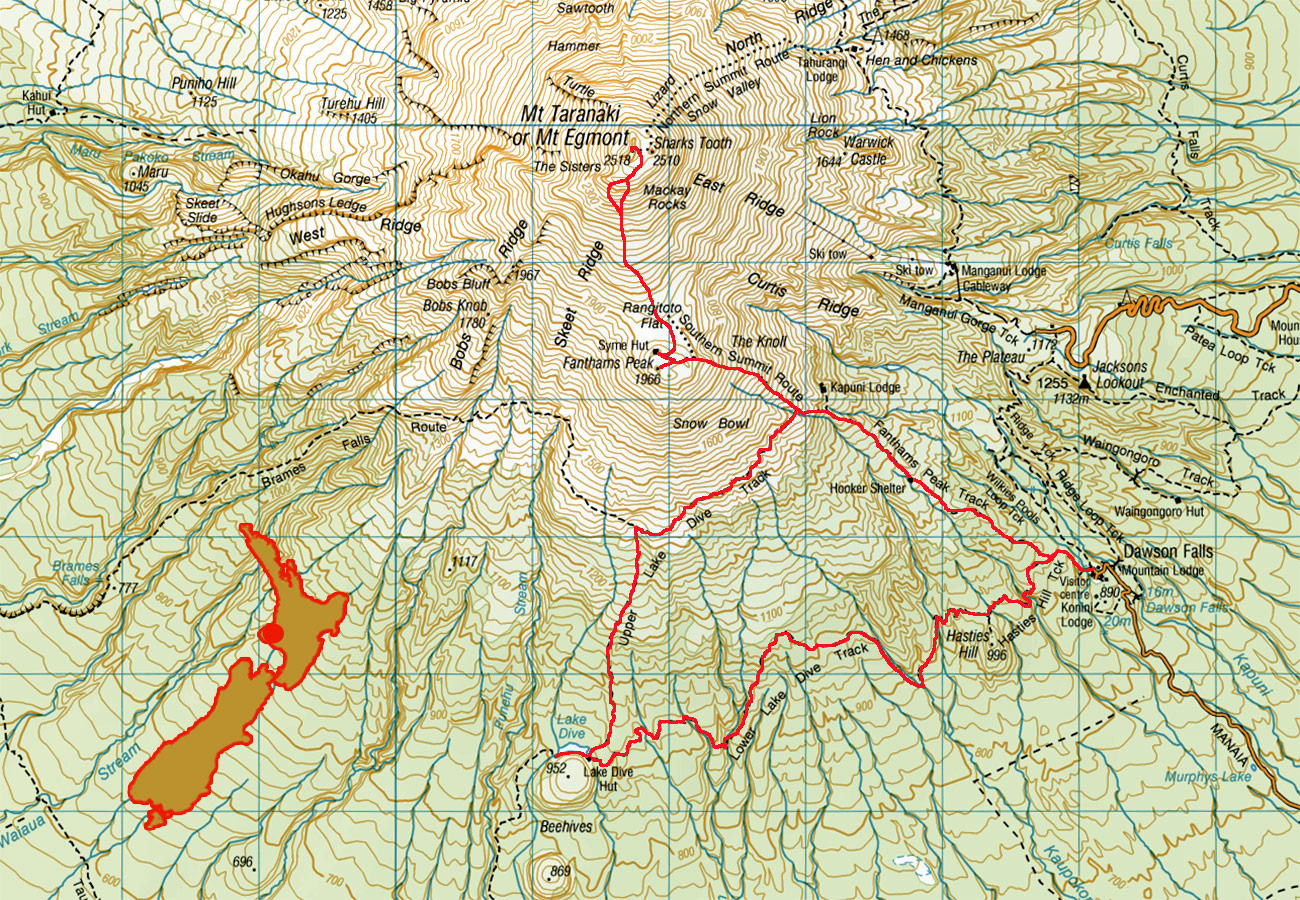
Mt Taranaki via Fantham’s Peak, Jul 2019
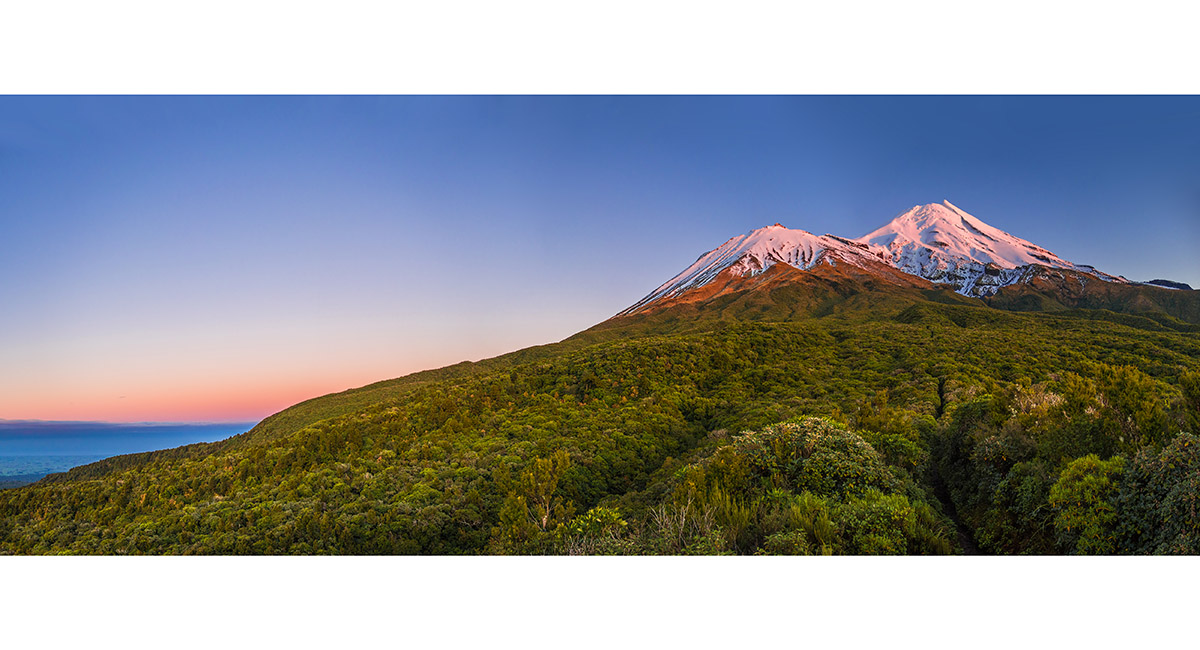
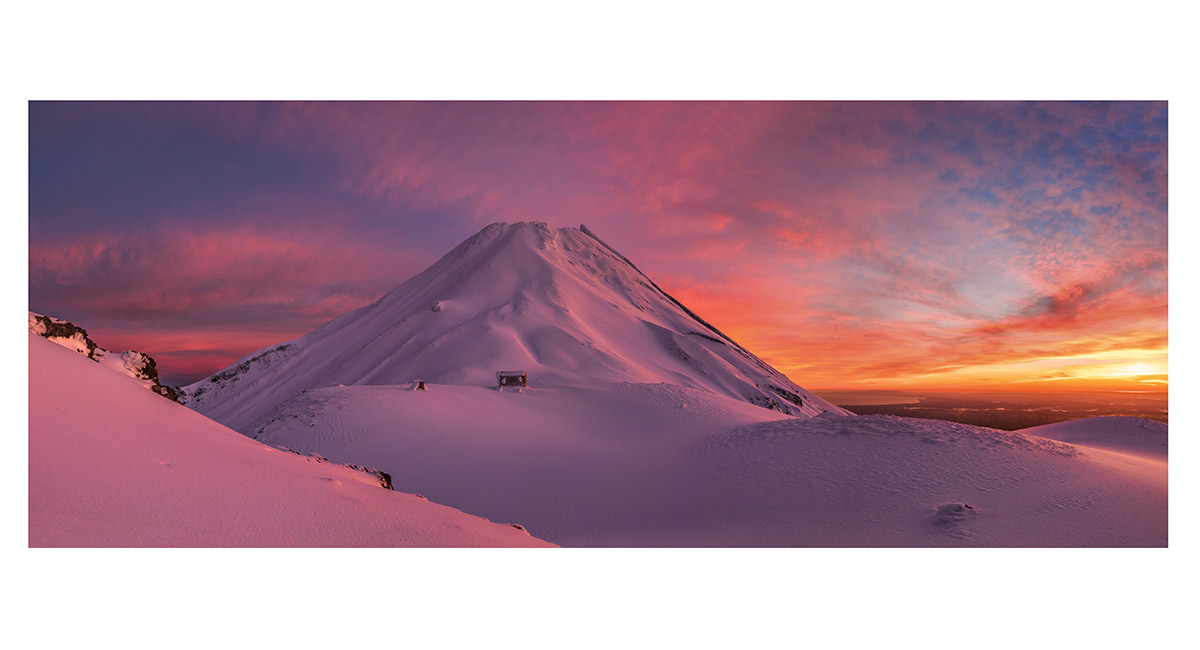
Looking northwest at dawn, from near Hooker Shelter (1,150m) to the summit of Mt Taranaki (far right, 2,518m) and Fantham's Peak (1,950m). For July the snowline was high and snow cover was thin and frozen solid, making a very straightforward climb feel edgier than normal


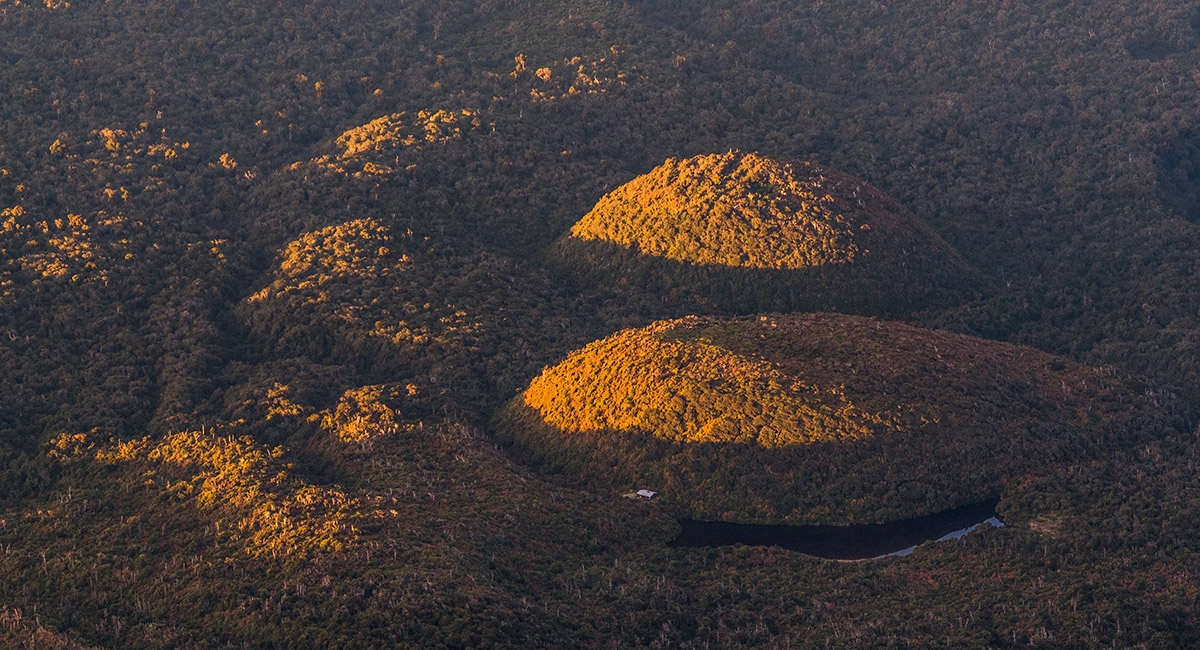
A view east from a little below Kapuni Lodge (1,300m)


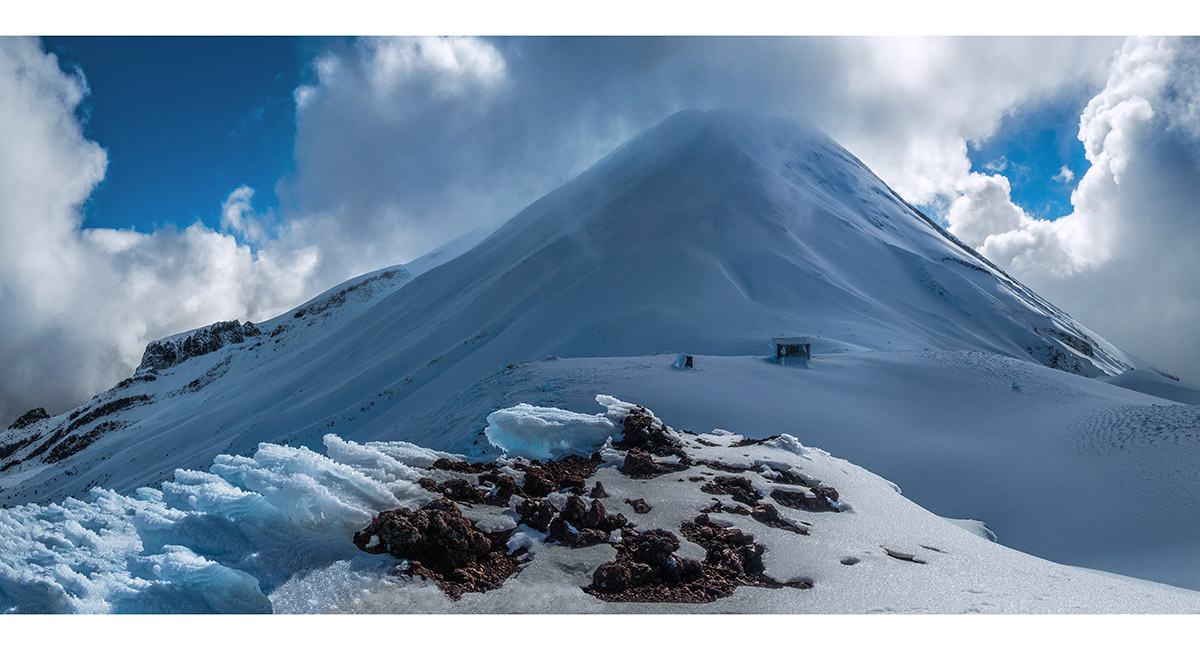
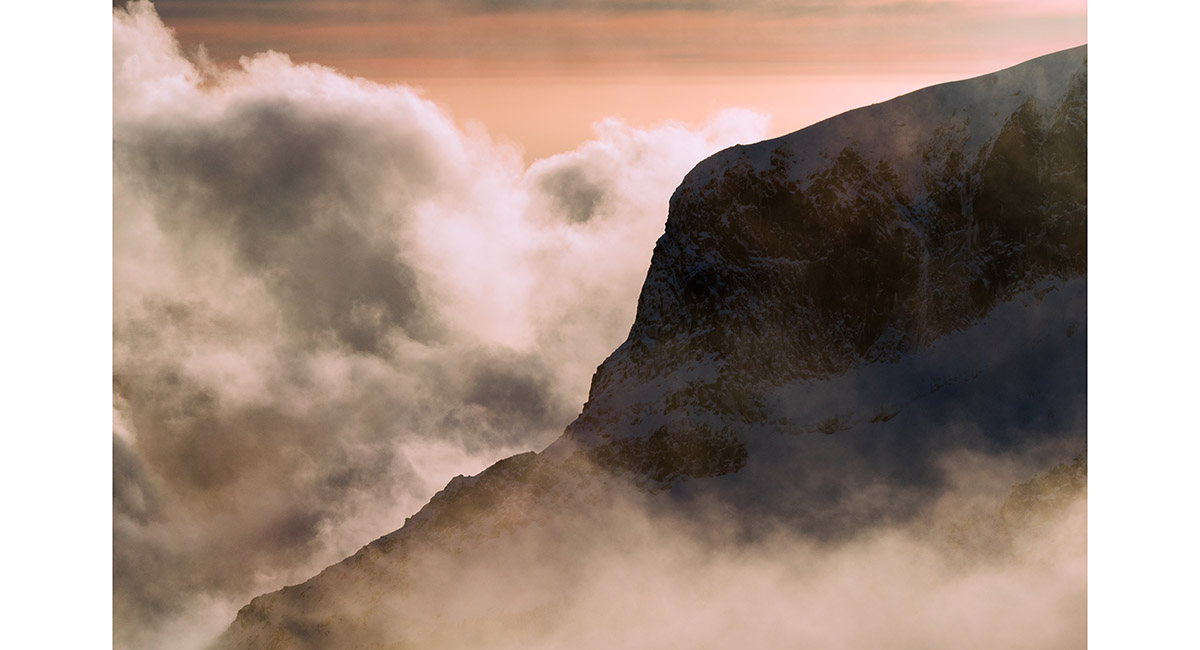
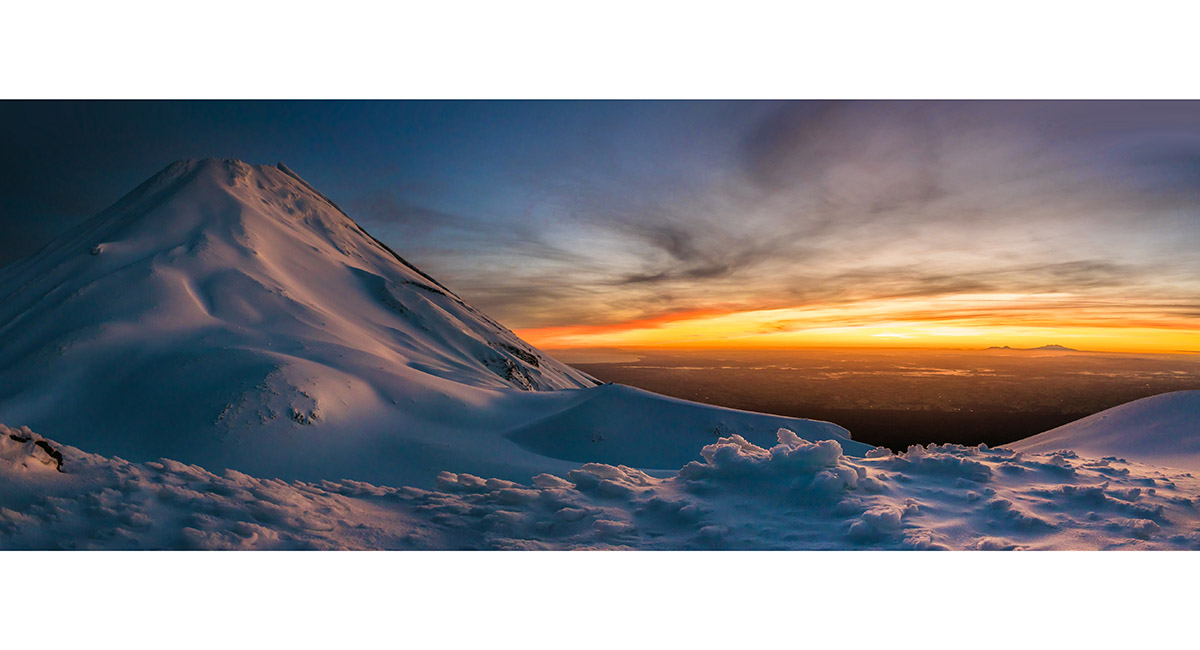
The south side of the top 500m of Mt Taranaki


A view of Mt Taranaki from the high point (1,966m) on the south side of Fantham's Peak

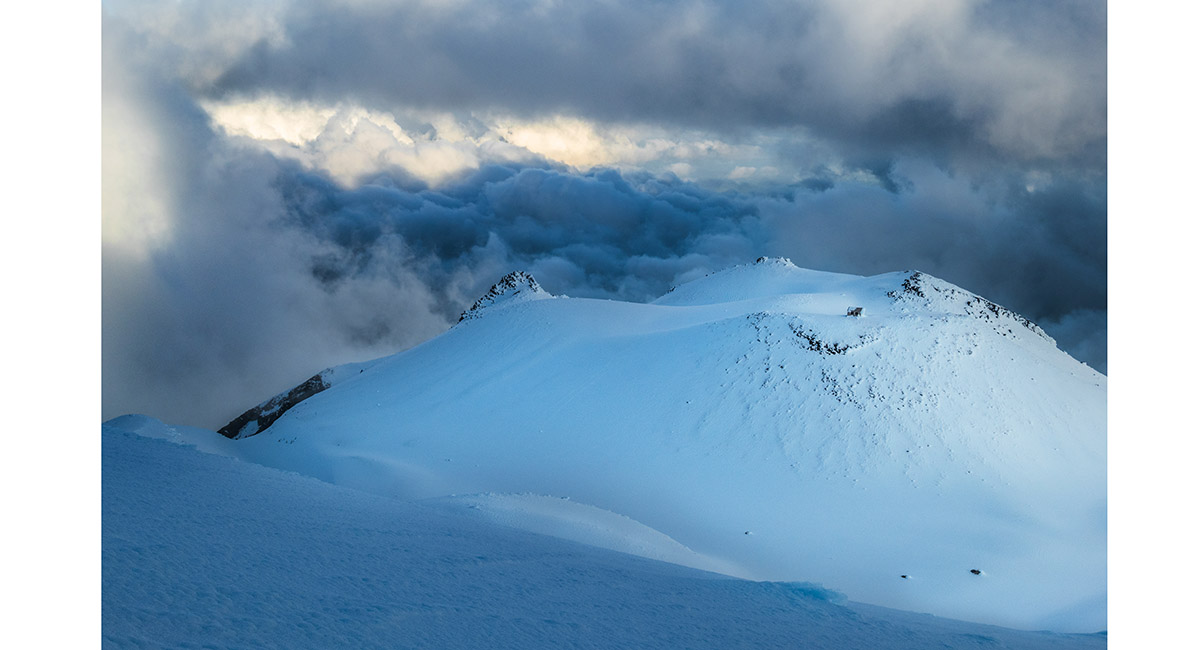
A view north to Mt Taranaki and east to Syme Hut

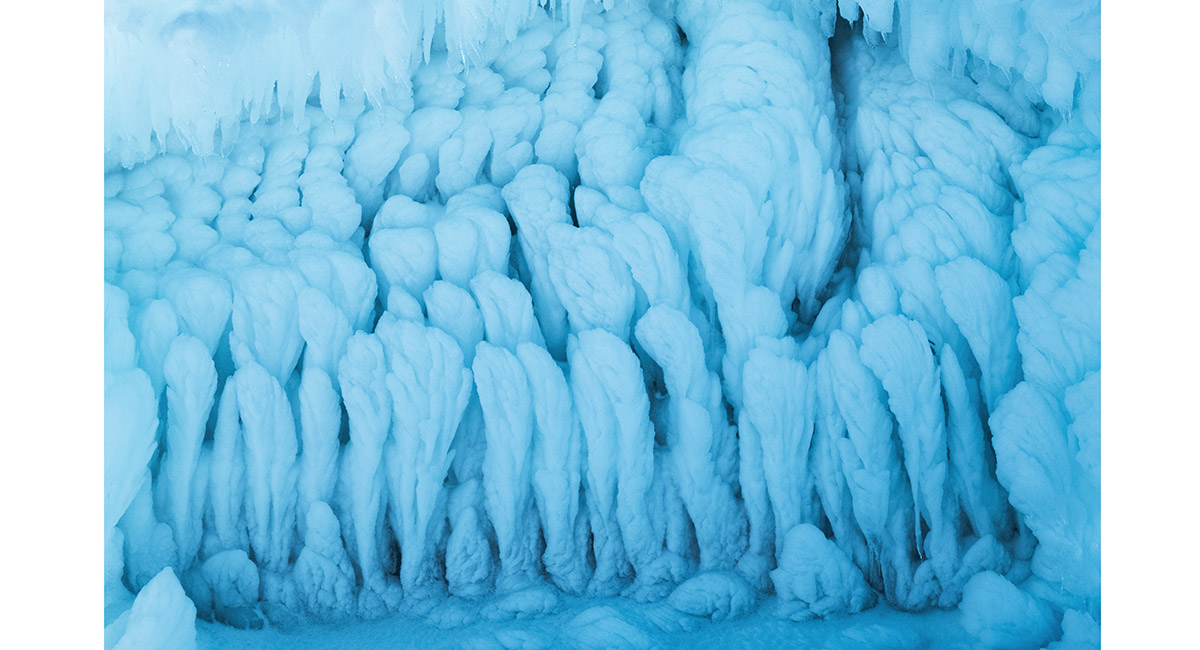
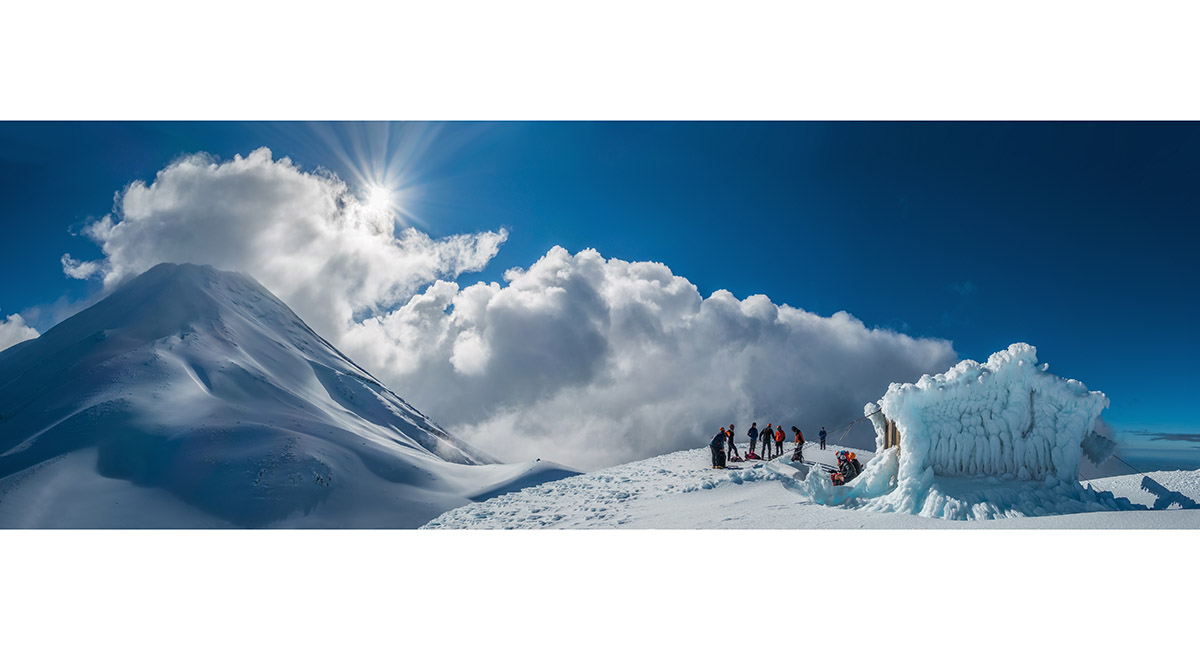
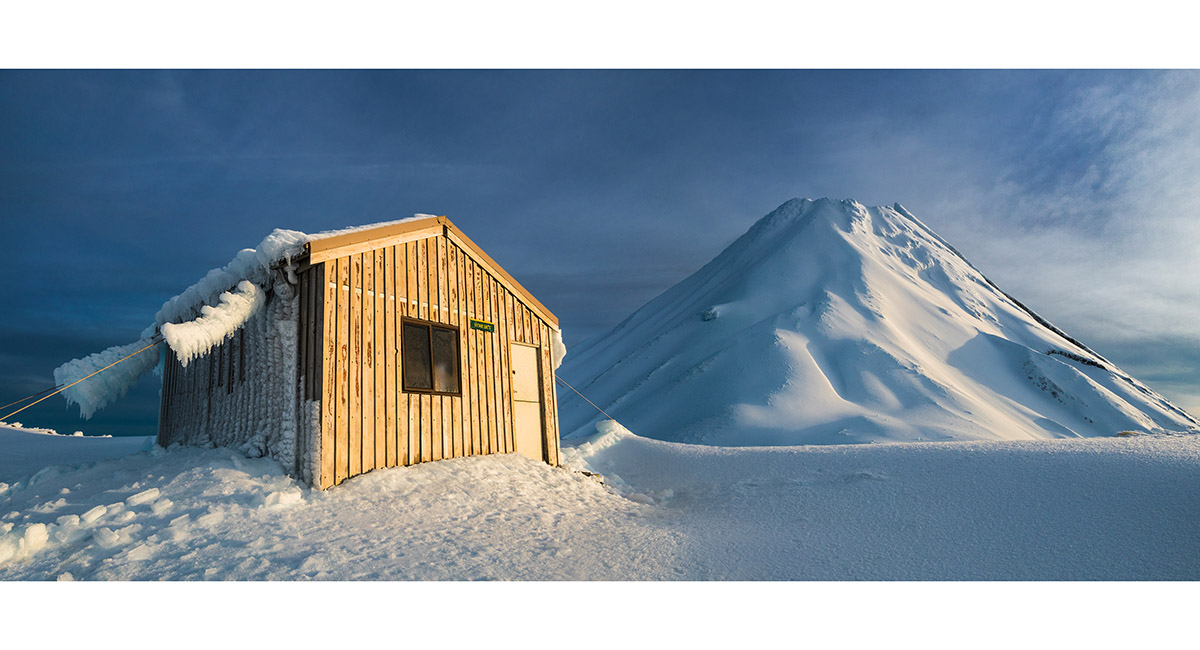
The ghostly looking rime ice that forms on the western end of Syme Hut

A view from Syme Hut (1,950m) to the south face of Mt Taranaki

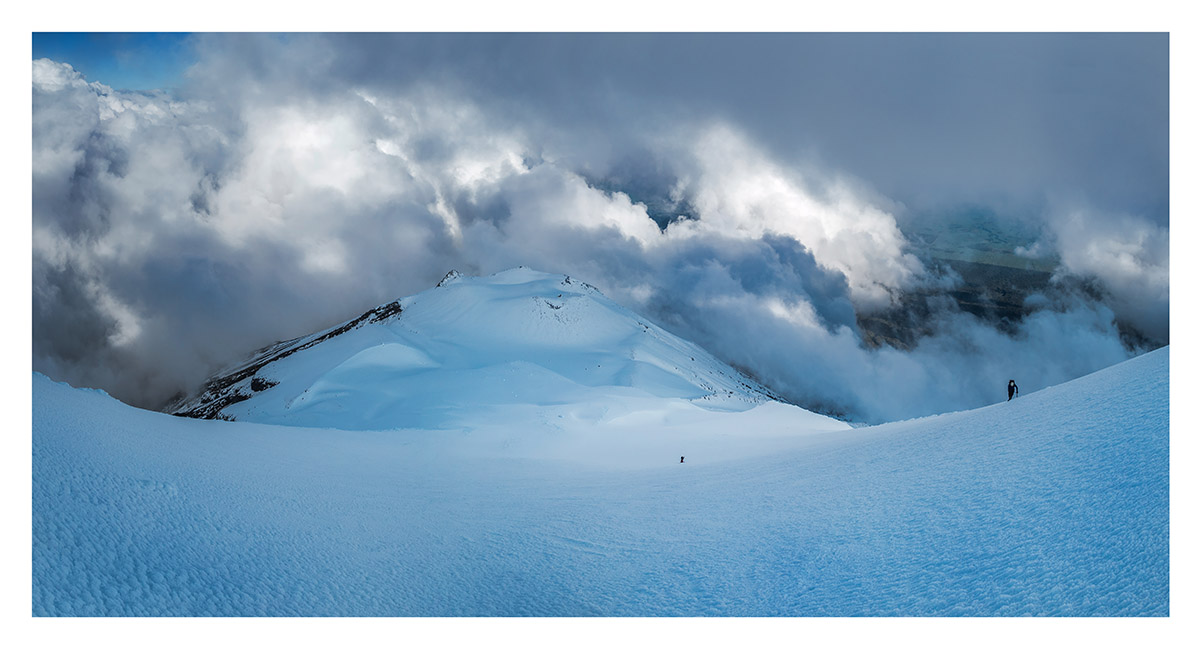
Mt Taranaki and Syme Hut from a high point on the western edge of Fantham's Peak


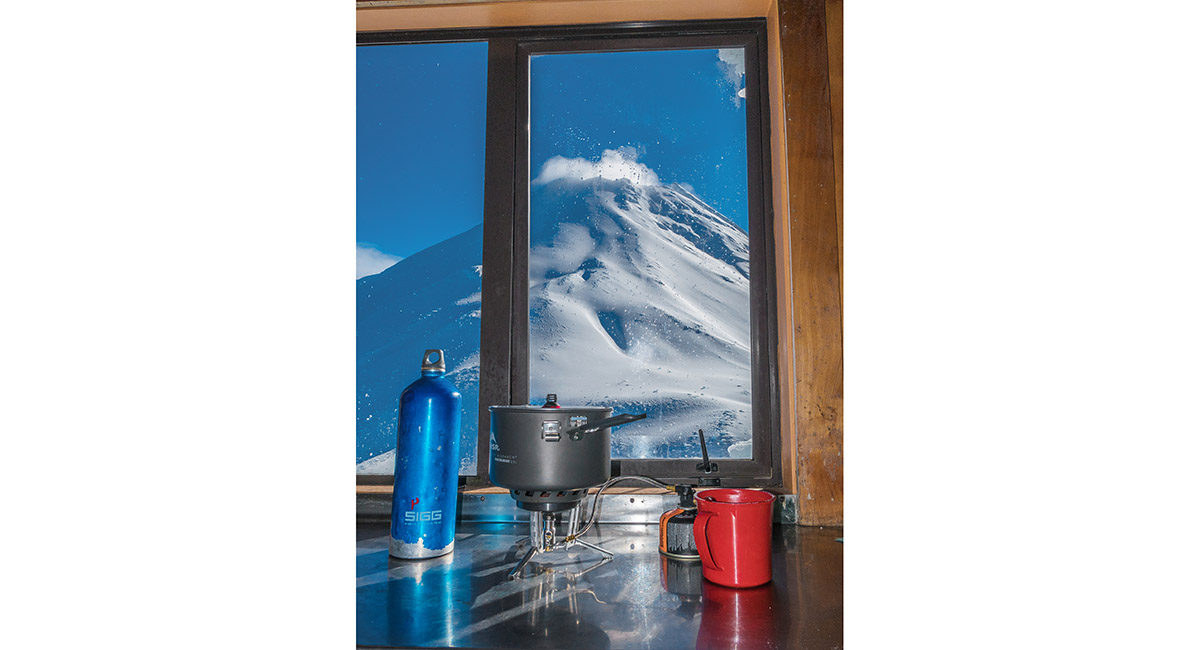
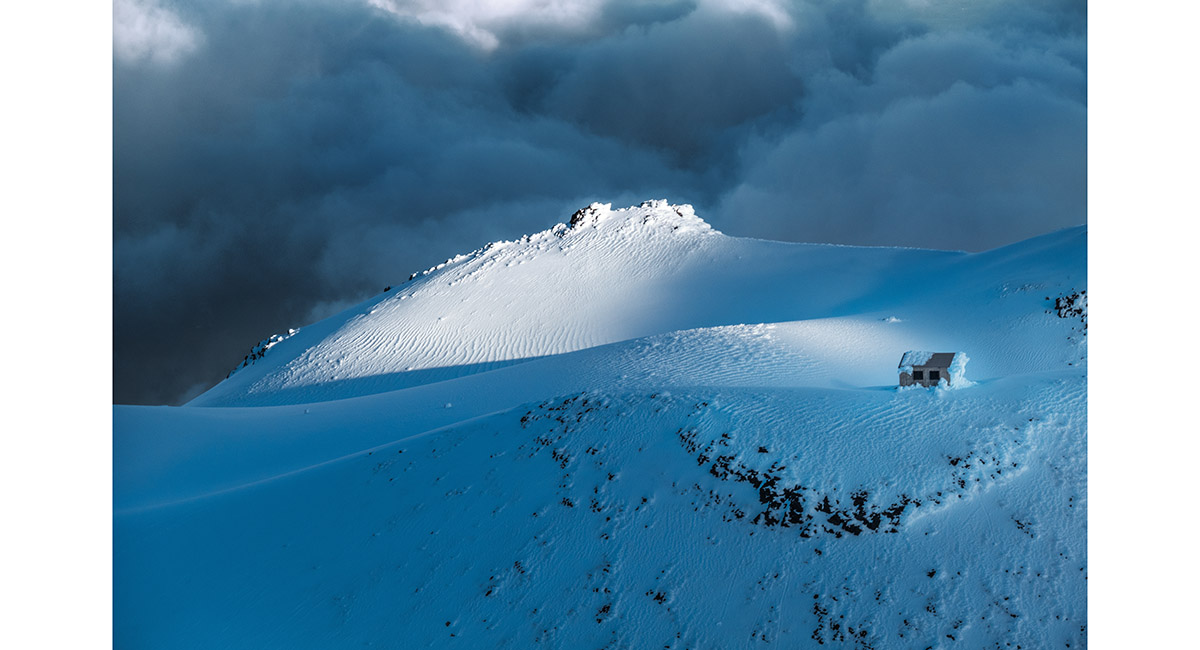
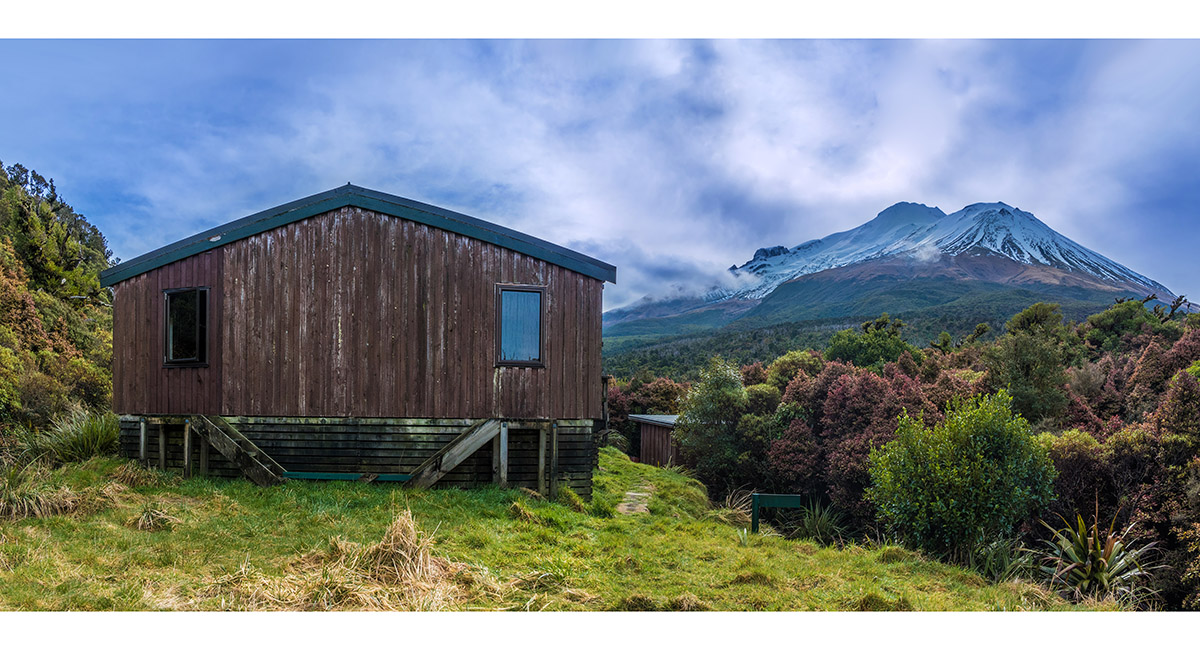
Syme Hut (1,950m)


Ice formations on Fantham's Peak


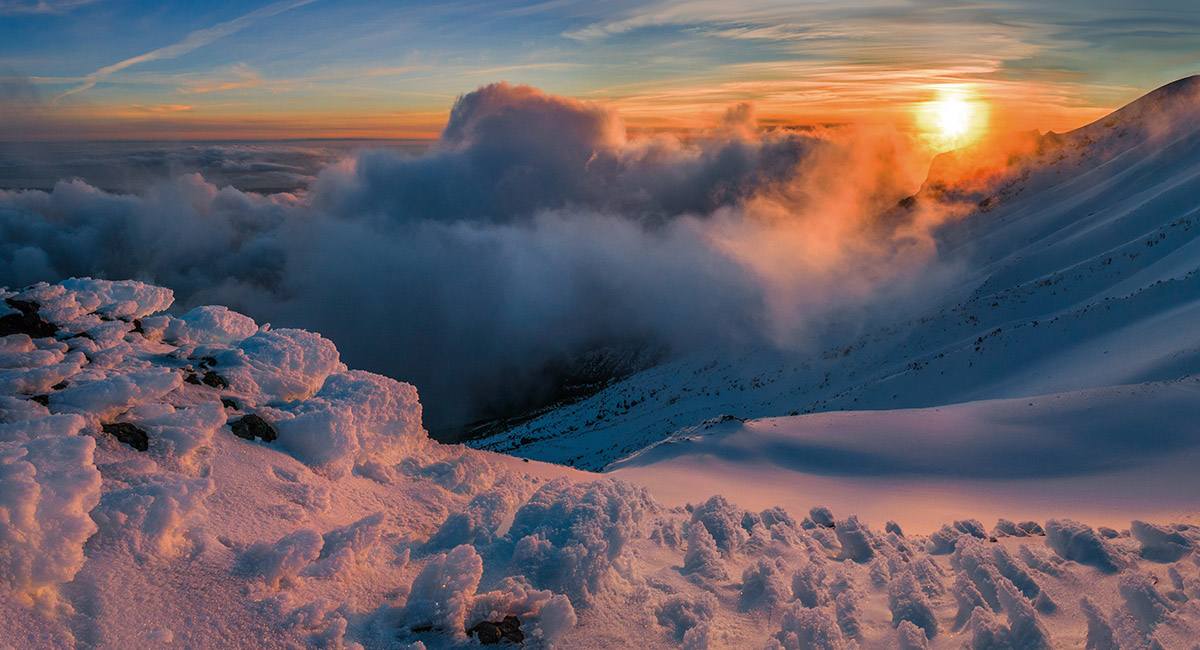
A view from about 2,100m on the climb of the south face, above Syme Hut

A view from about 2,200m on the climb of the south face, above Syme Hut


Looking northeast to the main summit (left) and the Shark's Tooth (centre), after just breaching the crater rim above the south face


Looking northeast to the main summit (2,518m) and the Shark's Tooth (2,510m - right)


On the main summit, taking photos of the Shark's tooth, just across the crater, to the east

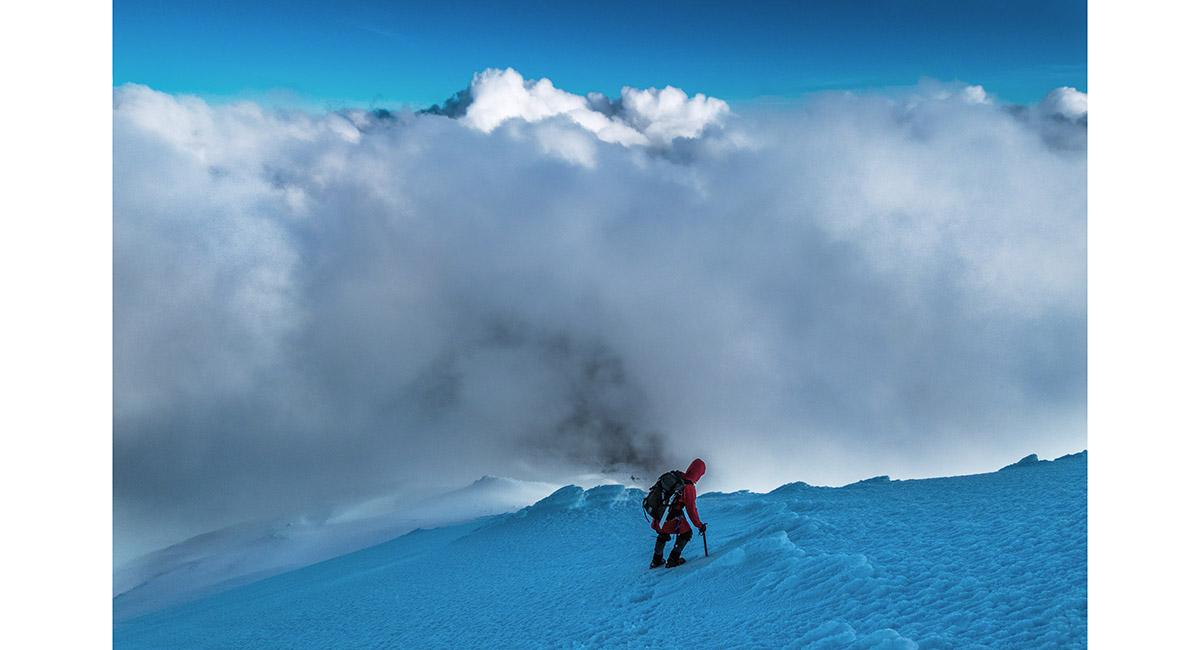
Descending the south face, here at about 2,400m

Looking east and down to Syme Hut, on the descent of the south face

Looking east and down to Syme Hut, on the descent of the south face


The rime ice formations on the western end of Syme Hut, at dusk

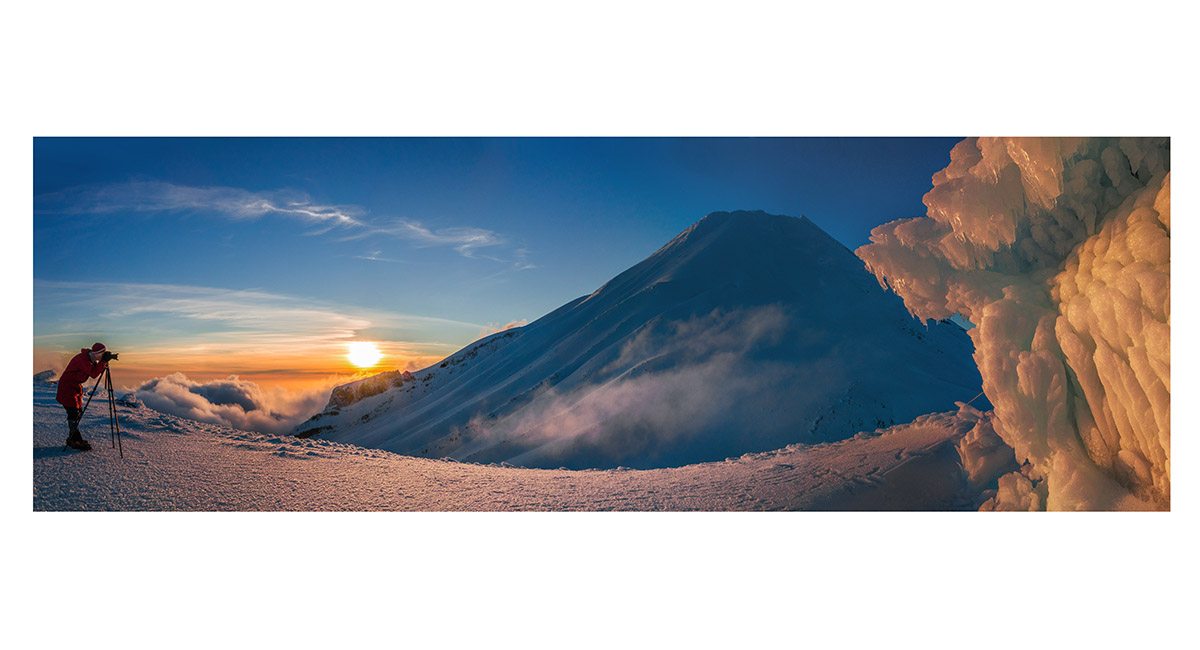
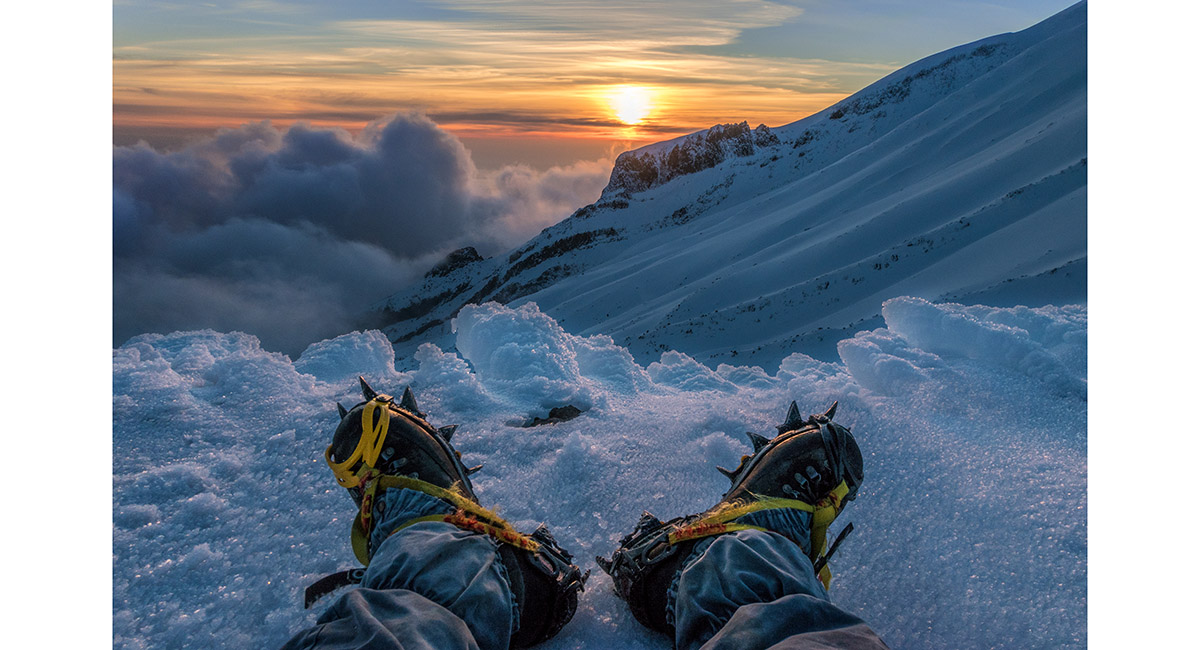
Shaun Barnett in action at sunset, with Mt Taranaki and the rime ice of Syme Hut

The view west to Bob's Ridge at sunset, from beside Syme Hut

The view west to Bob's Ridge at sunset, from beside Syme Hut

Taking a load off while contemplating Bob's Ridge, at sunset

The view north to Mt Taranaki and east to the rising sun and Mt Ruapehu, from near Syme Hut

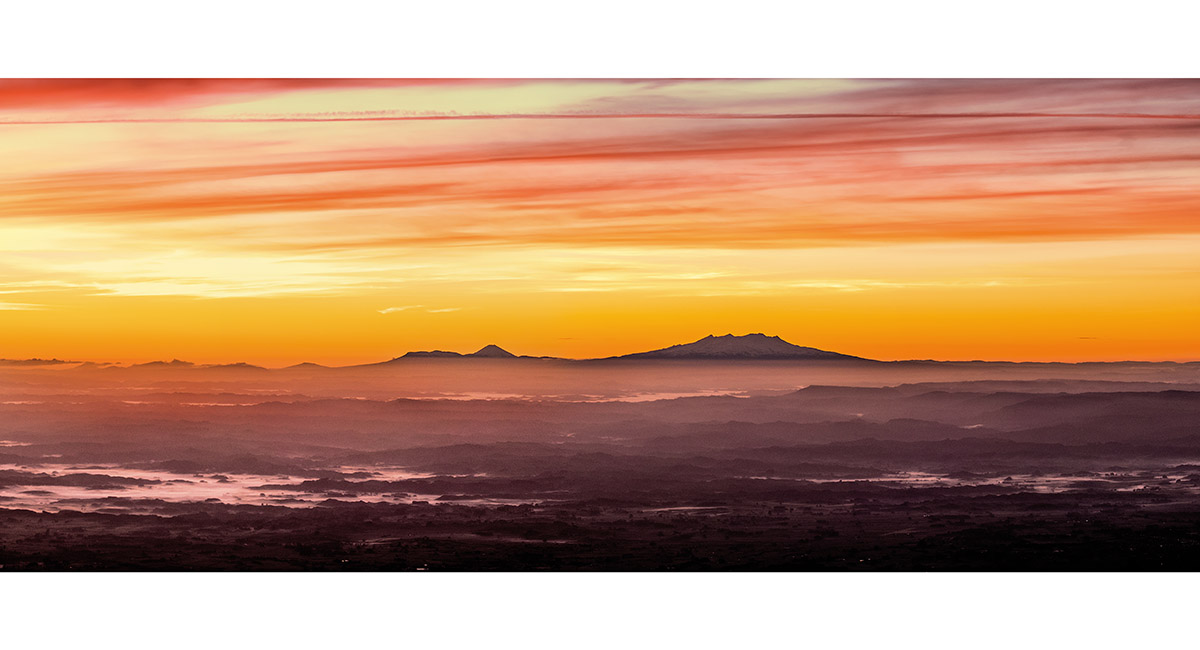
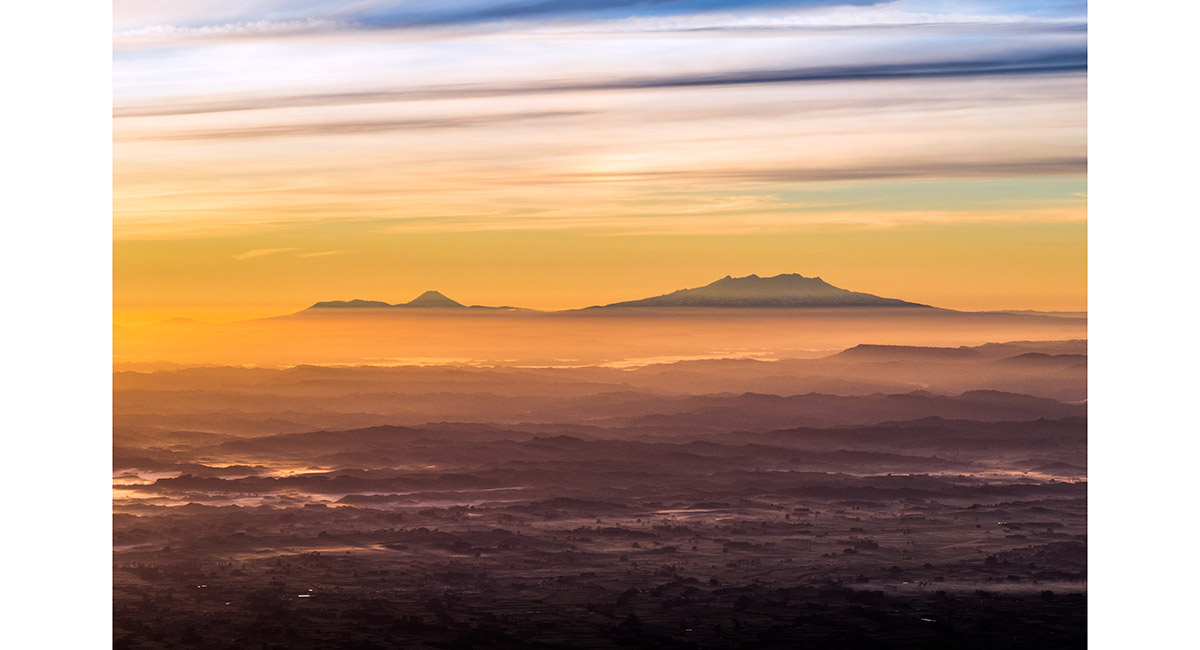
From left, Mounts Tongariro, Ngauruhoe and Ruapehu, from Fantham's Peak at dawn


Looking south across the sastrugi on Fantham's Peak, at dawn. Mt Ruapehu is far left on the horizon


Looking east, across Fantham's Peak, at dawn to, from left, Mounts Tongariro, Ngauruhoe and Ruapehu

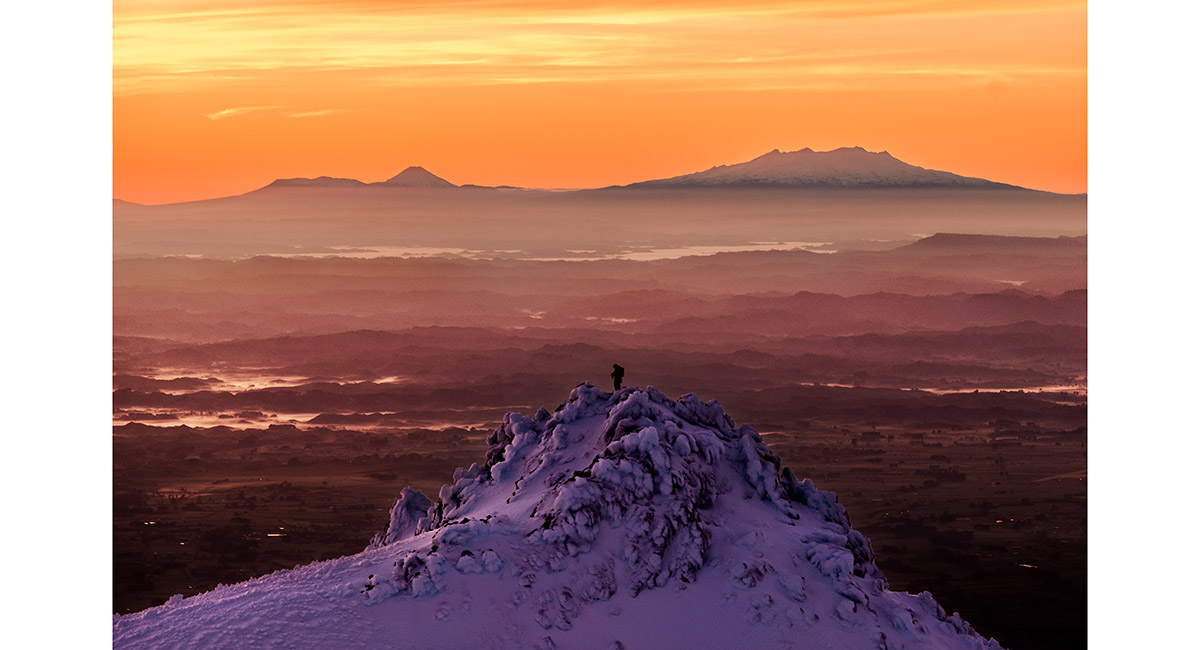
Looking east, across Fantham's Peak, at dawn to, from left, Mounts Tongariro, Ngauruhoe and Ruapehu

Looking north and east from the western edge of Fantham's Peak to Mt Taranaki, at dawn

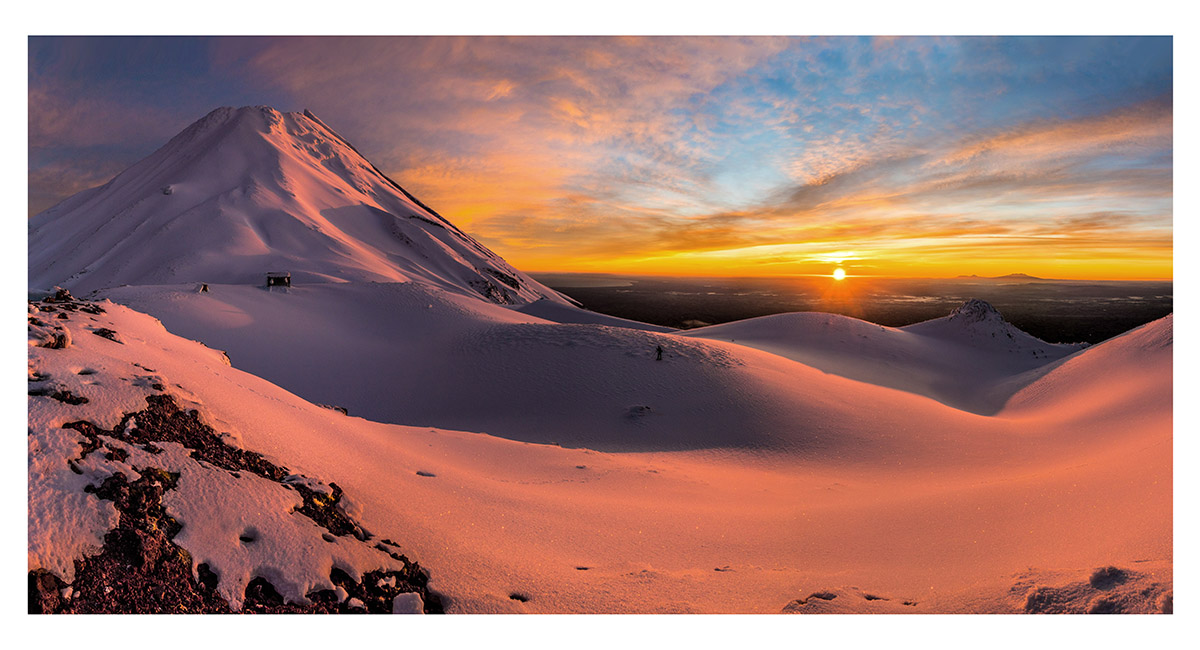
Looking north and east from the southern edge of Fantham's Peak to Mt Taranaki, at sunrise


Looking east, across Fantham's Peak, at sunrise, to Mounts Tongariro, Ngauruhoe and Ruapehu

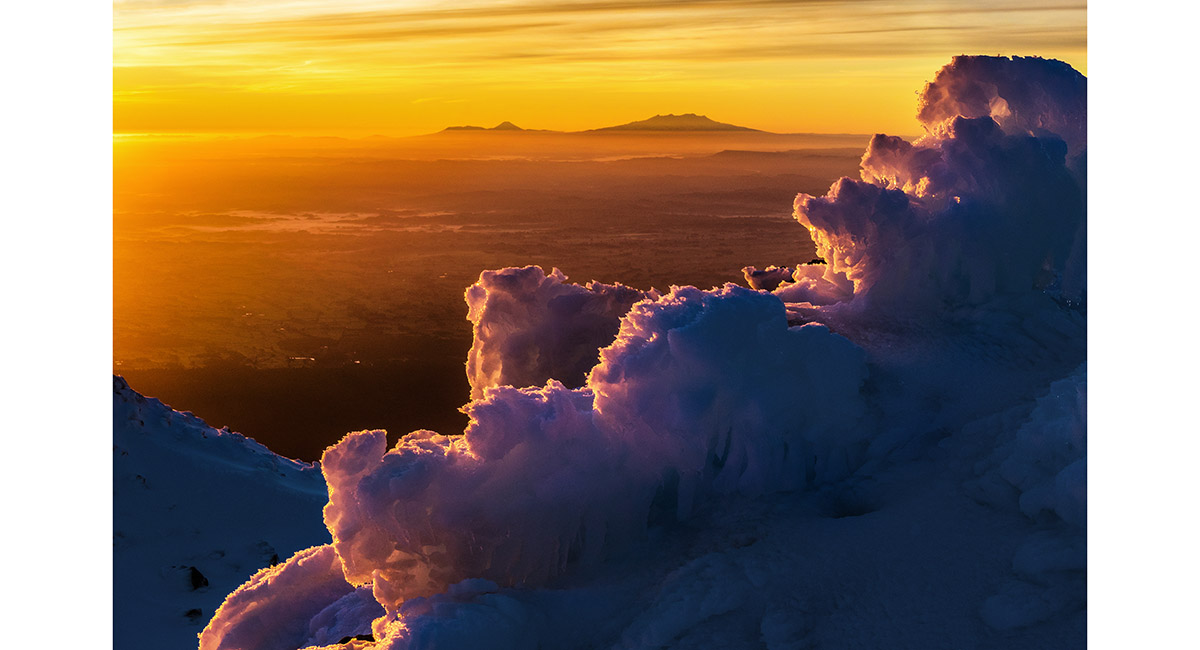
Looking east, beyond rime ice on Fantham's Peak, at sunrise, to Mounts Tongariro, Ngauruhoe and Ruapehu

Looking north and east from the southern edge of Fantham's Peak to Mt Taranaki, at sunrise. The shadow of Mt Taranaki is far left

Looking east, from Fantham's Peak at dawn to, from left, Mounts Tongariro, Ngauruhoe and Ruapehu


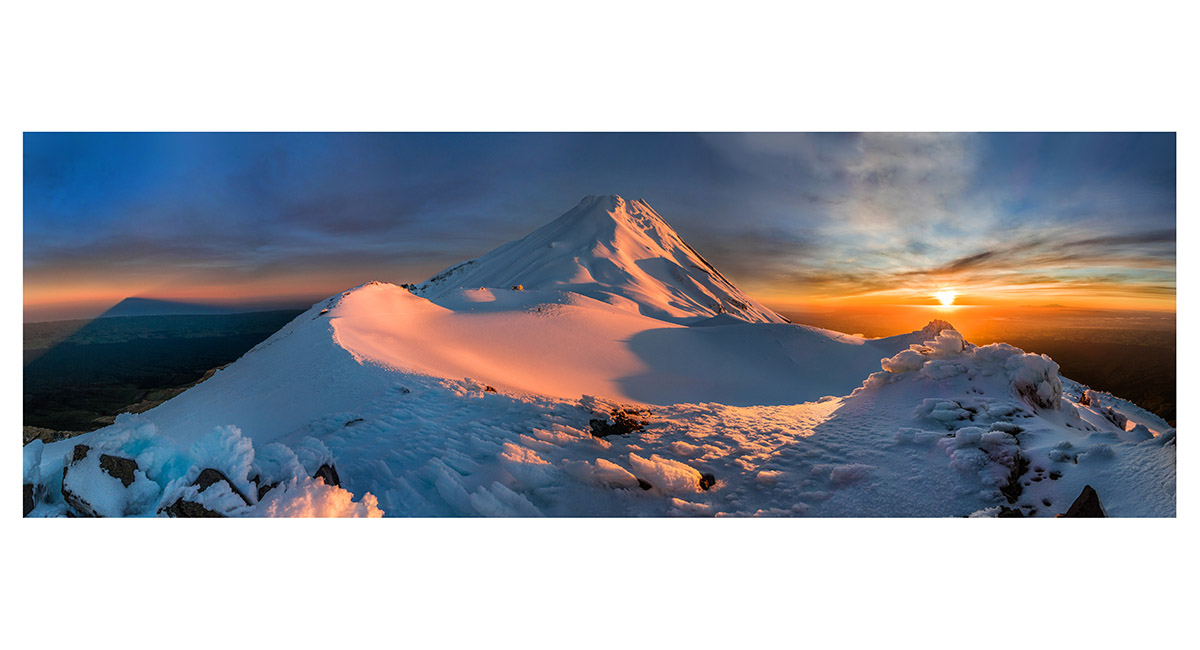
Mt Taranaki and Syme Hut, after sunrise


Looking east, from Fantham's Peak after sunrise to, from left, Mounts Tongariro, Ngauruhoe and Ruapehu

Viewed from Fantham's Peak at sunrise, to the south and over 1,000m below, are the Beehives (closest 952m and 869m). Lake Dive and Lake Dive Hut are in shadow in the foreground

Syme Hut and Mt Taranaki after sunrise, Fantham's Peak


Heading east to descend from Fantham's Peak, with Mounts Tongariro, Ngauruhoe and Ruapehu on the horizon


Heading east to descend from Fantham's Peak, with Mounts Tongariro, Ngauruhoe and Ruapehu on the horizon

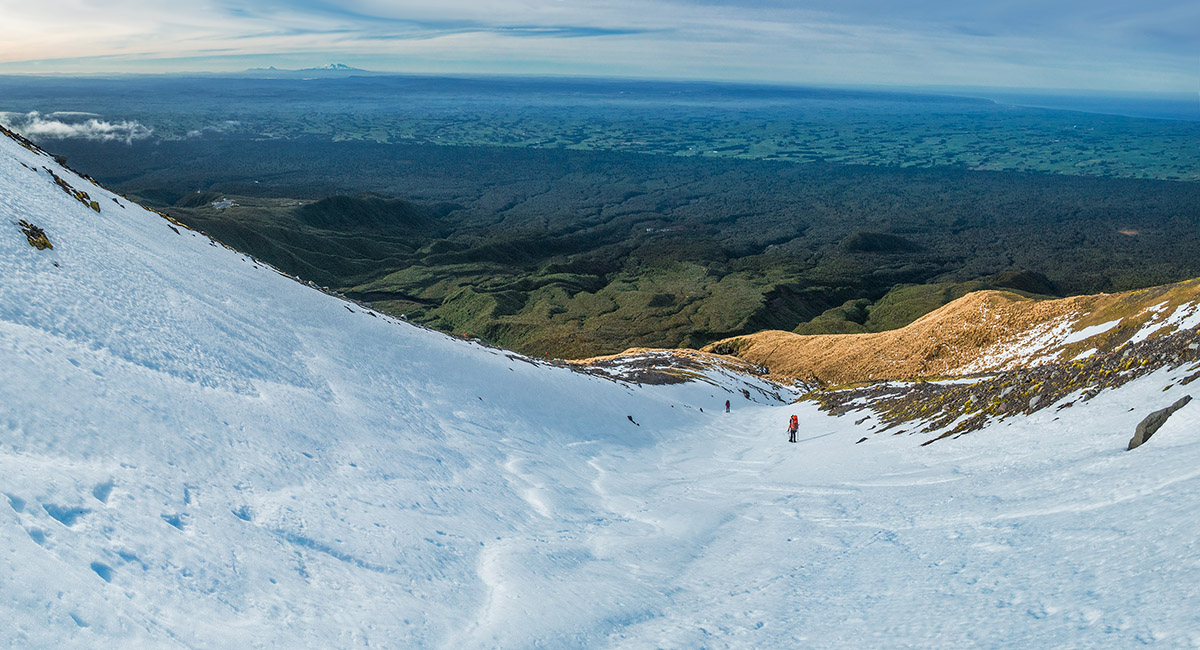
Looking southeast, at about 1,650m, on the descent of Fantham's Peak


A view southwest from about 1,300m, to Lake Dive and Hut (900m)

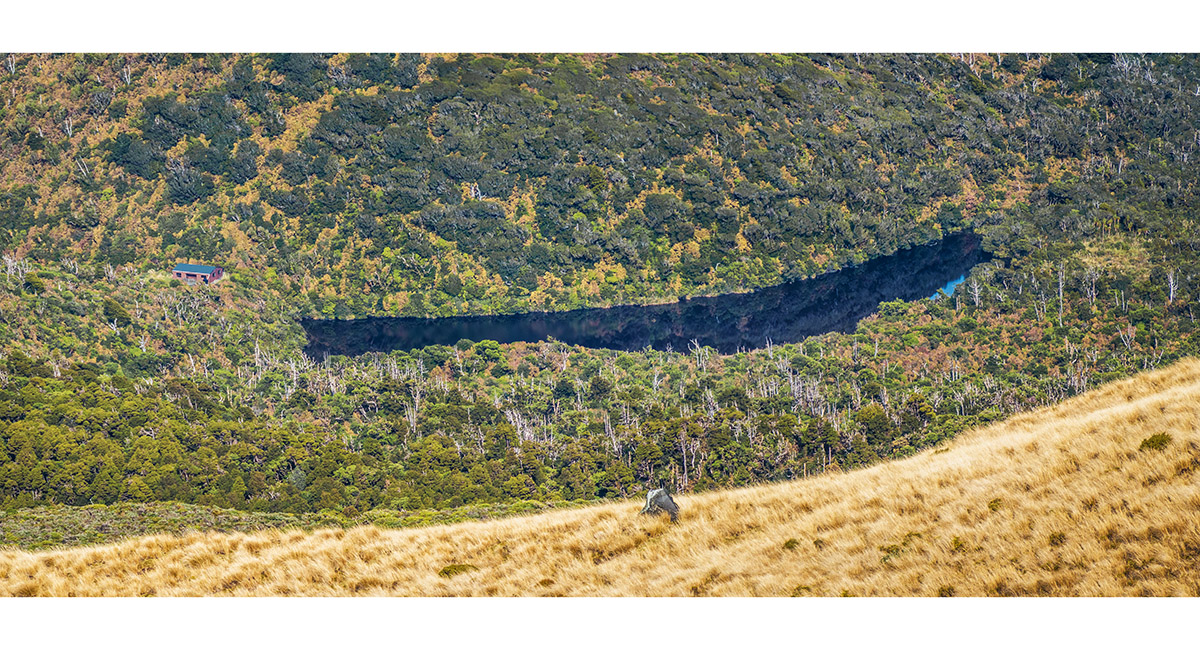
Lake Dive and Hut (900m)

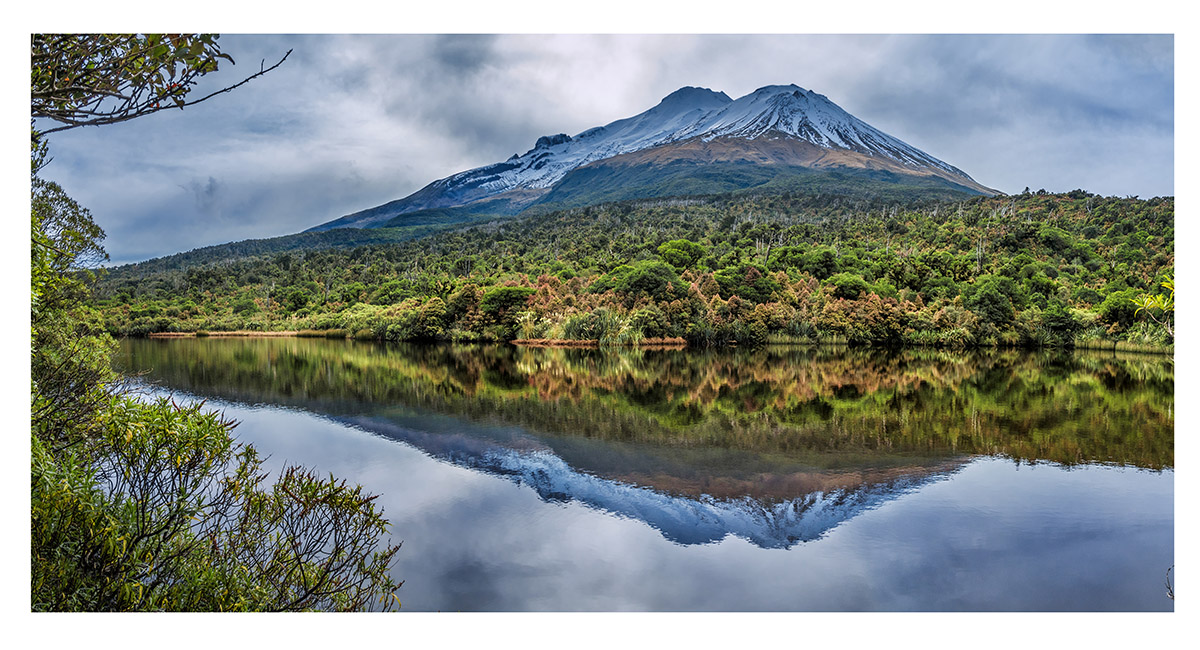
The south side of Mt Taranaki, reflected on Lake Dive


A mirror reflection on Lake Dive

Lake Dive Hut (900m) and Mt Taranaki (main summit - 2,518m and Fantham's Peak, right - 1,950m)

Read about it Thin and hard Vertigo August 2019 Worth sweating for # 1 NZ Photographer February 2020 Blue view Wilderness Magazine March 2020 Syme Hut in winter Wilderness Magazine June 2020
To order a print or web resolution file of any image you see in this slide show, just right click the image, click “Copy Image URL” and paste in to the “Your message” box of our Contact Us form. Please also note, for each image, if you want a print or web resolution file. We will get back to you as soon as possible to confirm price and payment details.
Open Contact Us in a new window to paste Image URL(s) easily