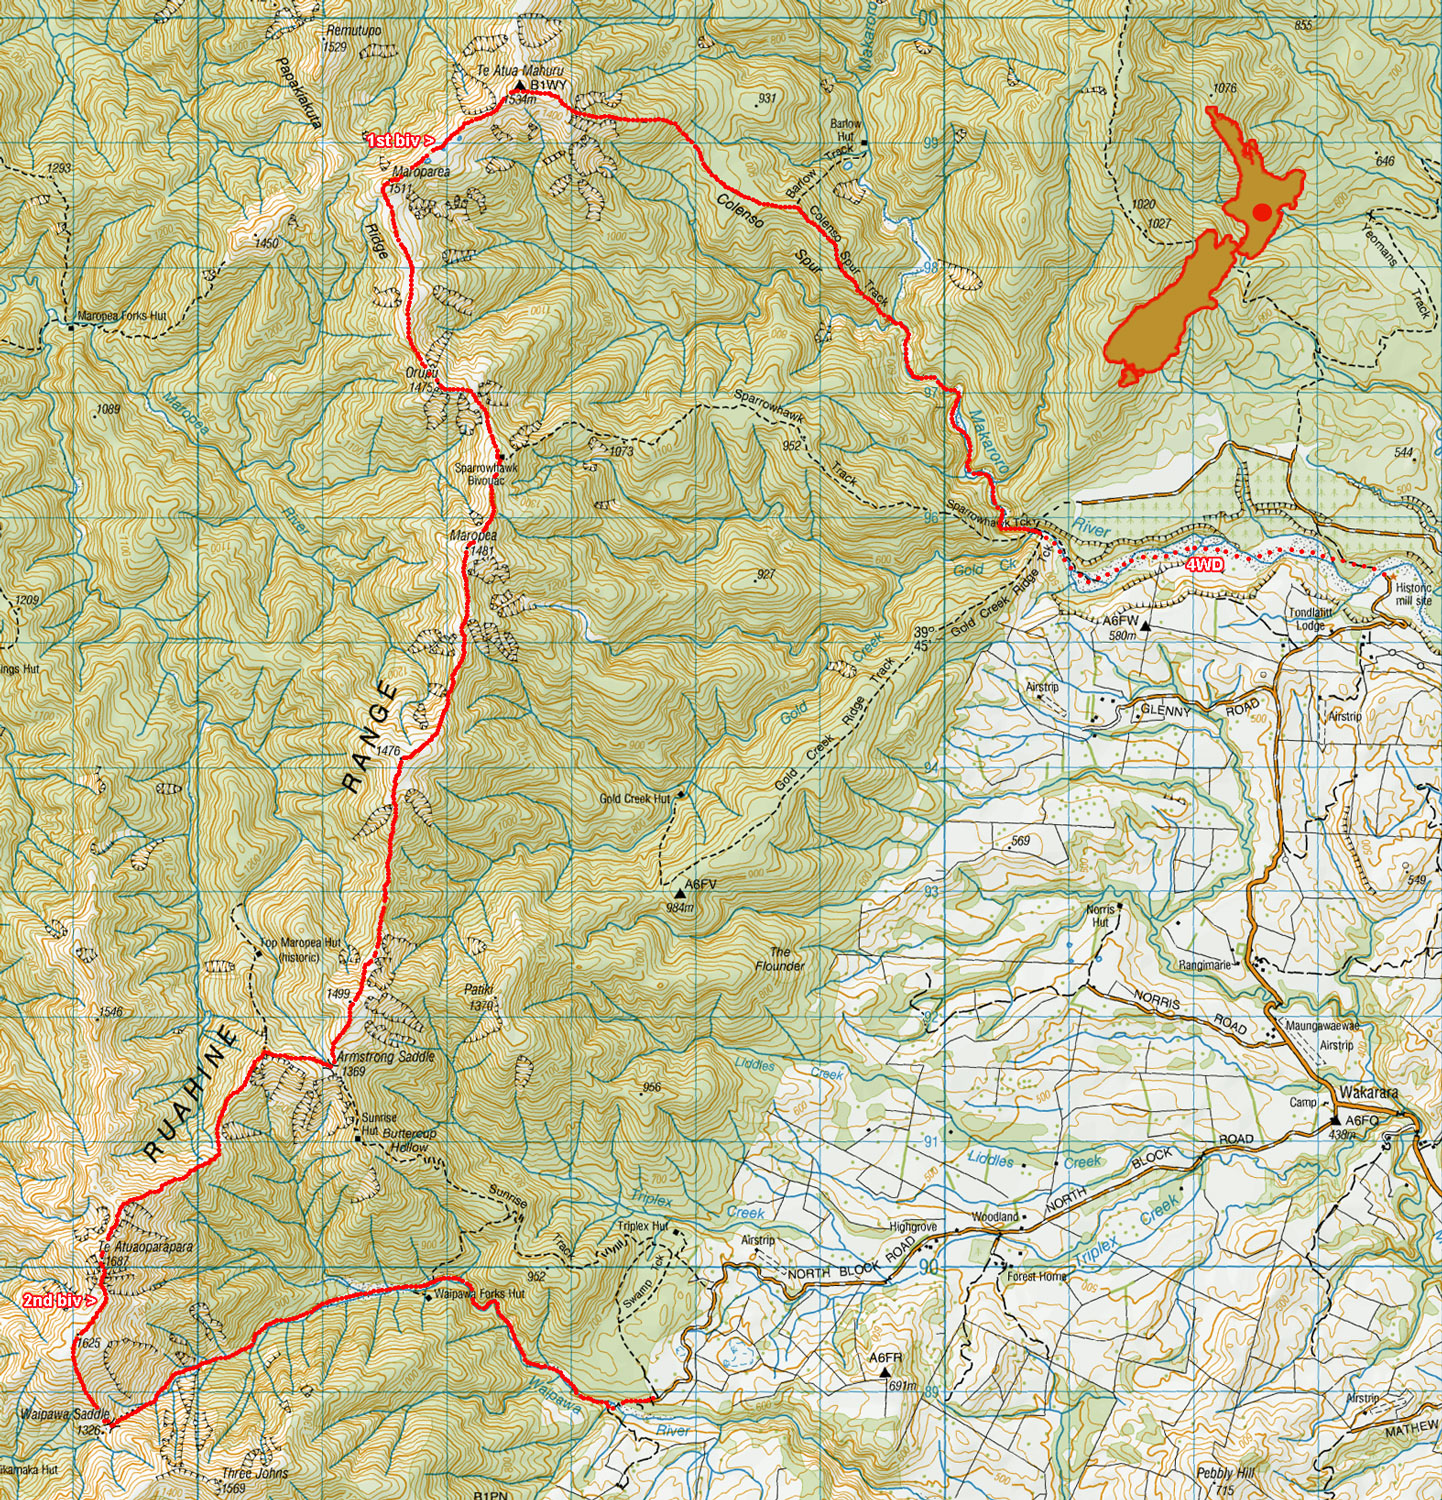
Eastern Ruahine Ranges – Colenso Spur to Waipawa River, March 2021

Looking west from Wakarara Road to Colenso Spur and Te Atua Mahuru (1,534m - far right), south along the range over Maroparea (1,511m), Orupu (1,475m), Maropea (1,481m), Point 1,476m, Point 1,499m and Te Atuaoparapara (1,687m - far left in cloud)

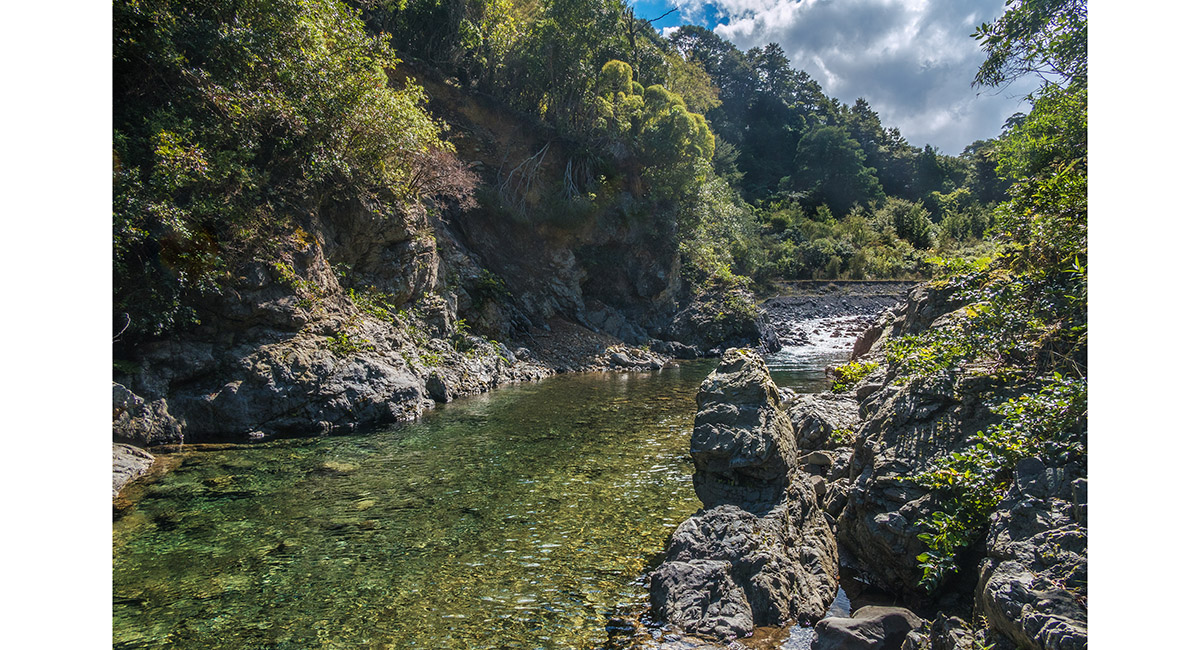
Makaroro River, at about 500m


Makaroro River, near where Colenso Spur ascends on the true right at about 550m


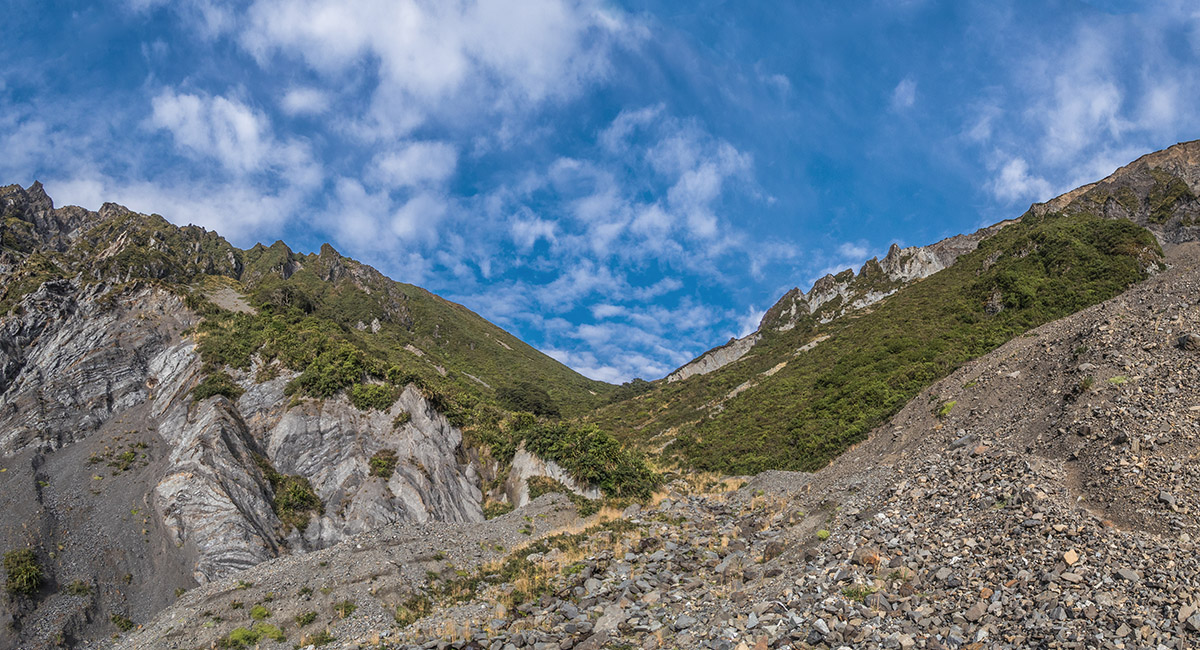
Looking north across the bluffs beneath Te Atua Mahuru (1,534m)


A stag taking stock of me, after plunging 500 or so vertical metres down a steep scree slope to stay clear of me - fair enough - there's nothing more deadly than a human


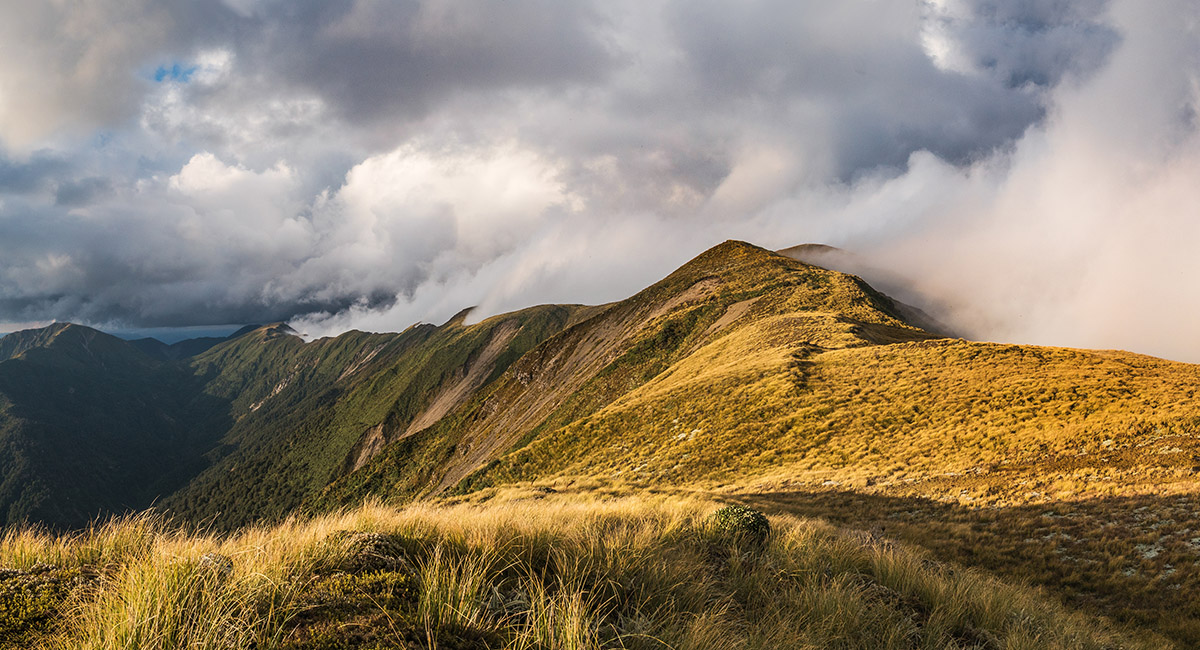
Looking west from Te Atua Mahuru, to Remutupo (1,529m - right) and Papakiakuta Ridge. My bivvy spot is left, along the main ridge, southwest towards Maroparea


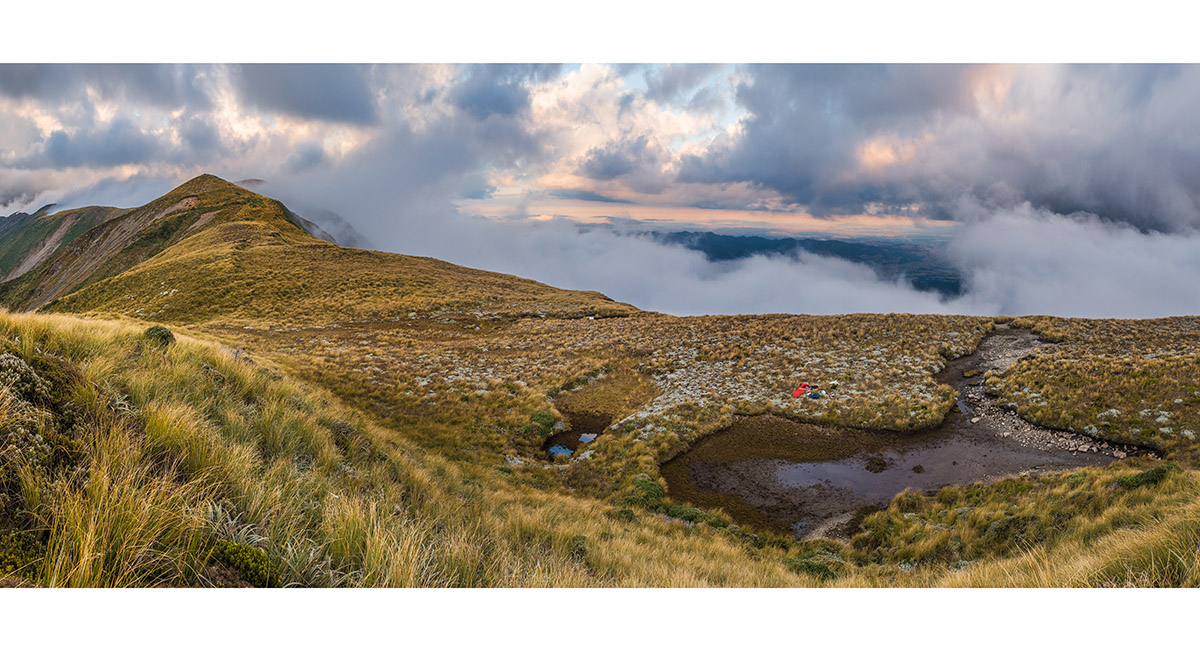
At my bivvy spot at about 1,470m, between Te Atua Mahuru and Maroparea

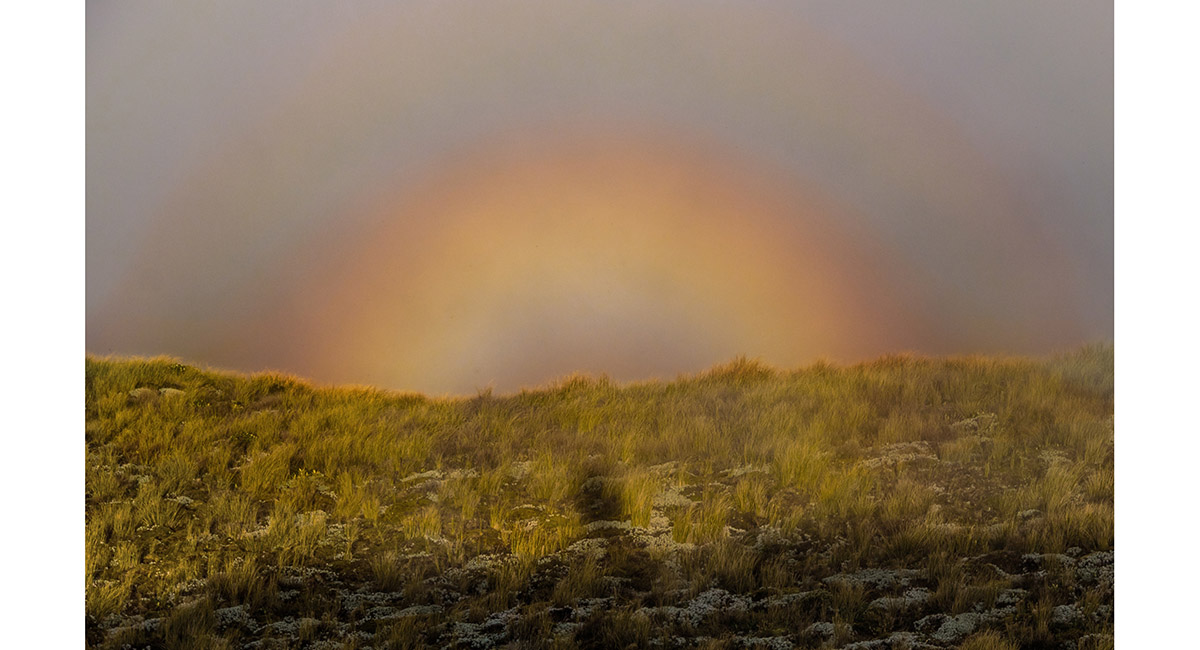
A brocken spectre

The dusk view north, past Te Atua Mahuru to Tupari (1,527m - in cloud) and Rangiwhakamataku (1,505m - far left)

Te Atua Mahuru left and my bivvy spot


The main ridge leading north to Tupari

Dusk view south to Maroparea (1,511m - right) and further south along the main range, mostly hidden in cloud at left


The sun rising over Hawkes Bay to the east

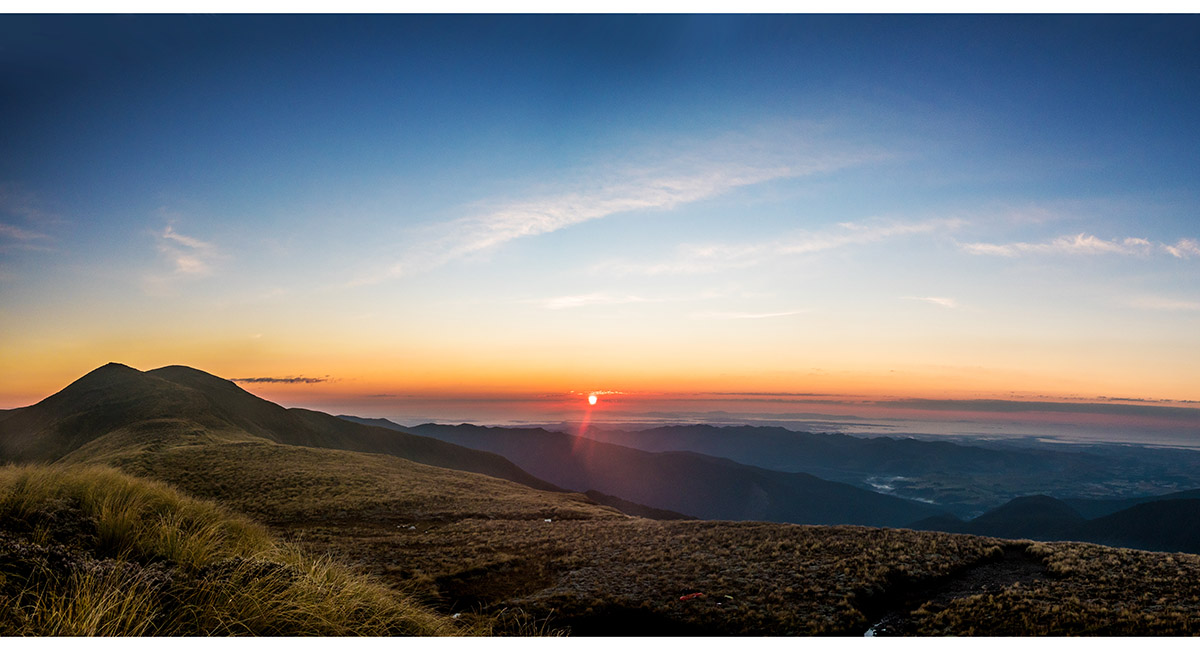
The sun rising over Hawkes Bay to the east, Te Atua Mahuru at left


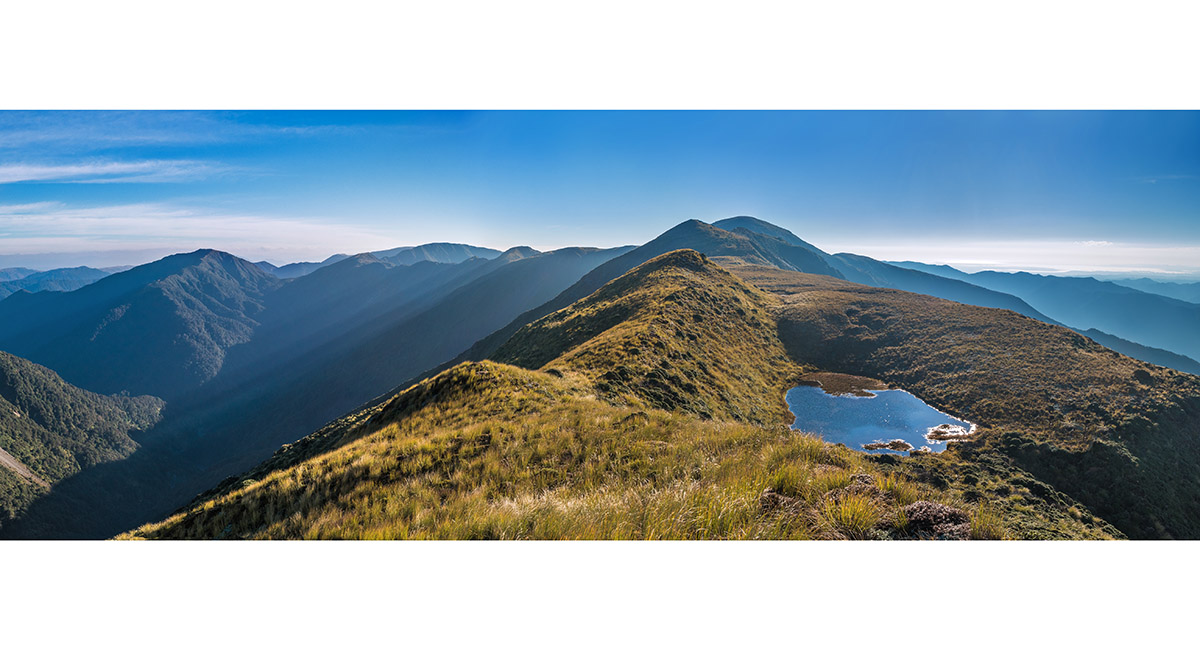
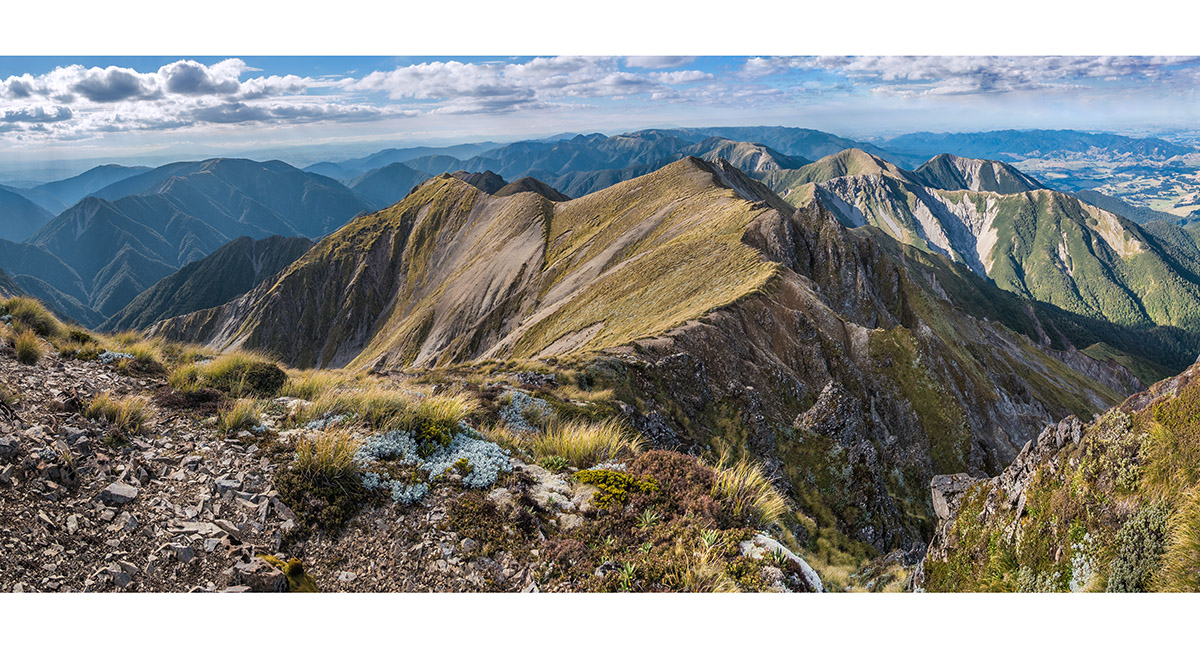
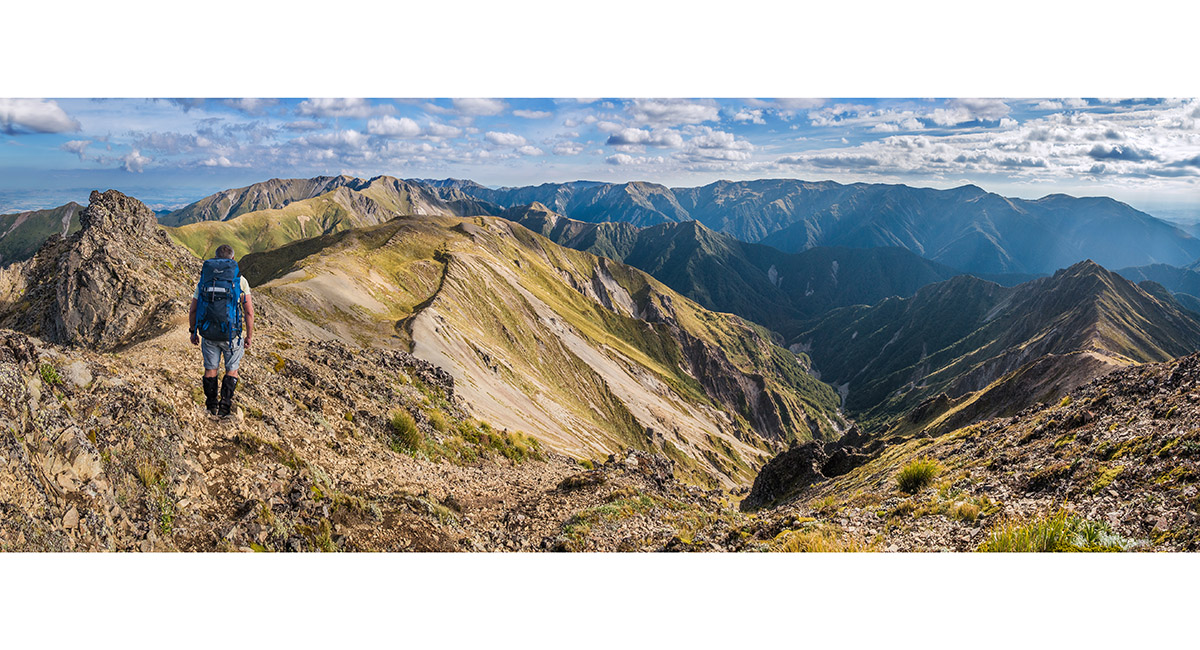
A dawn view south, past Maroparea, to the route for my day, all the way along to Te Atuaoparapara 8 hours distant (1,687m - mid-left skyline)

Looking north from Maroparea, back to Te Atua Mahuru (right) and Rangiwhakamataku (left)

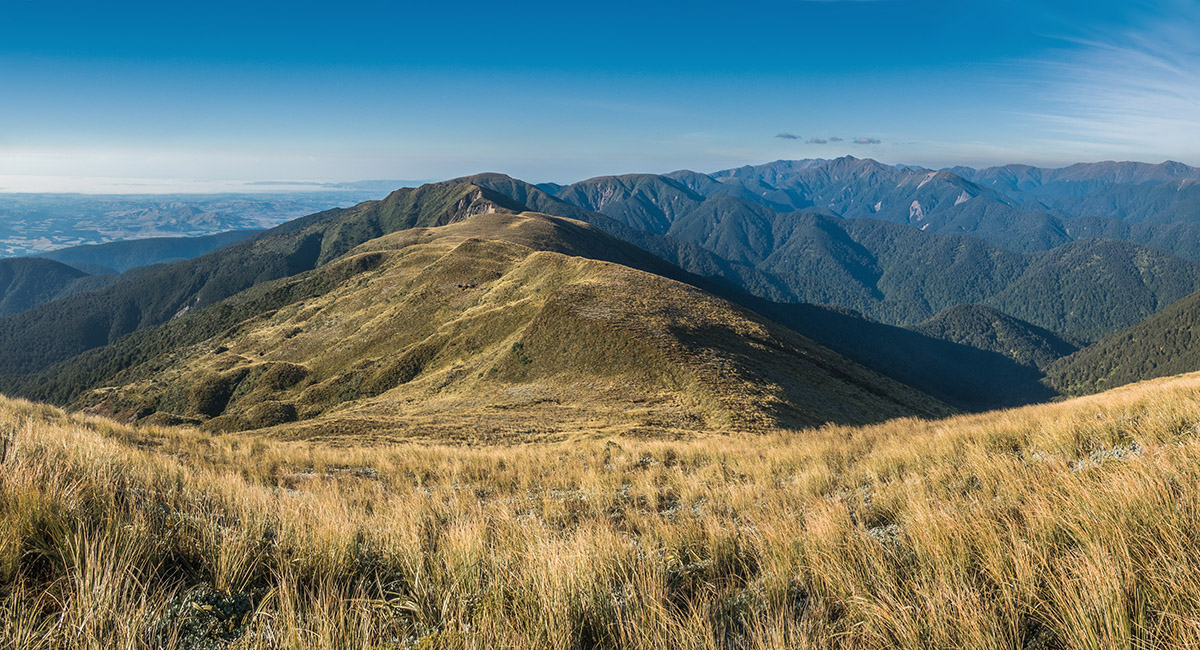
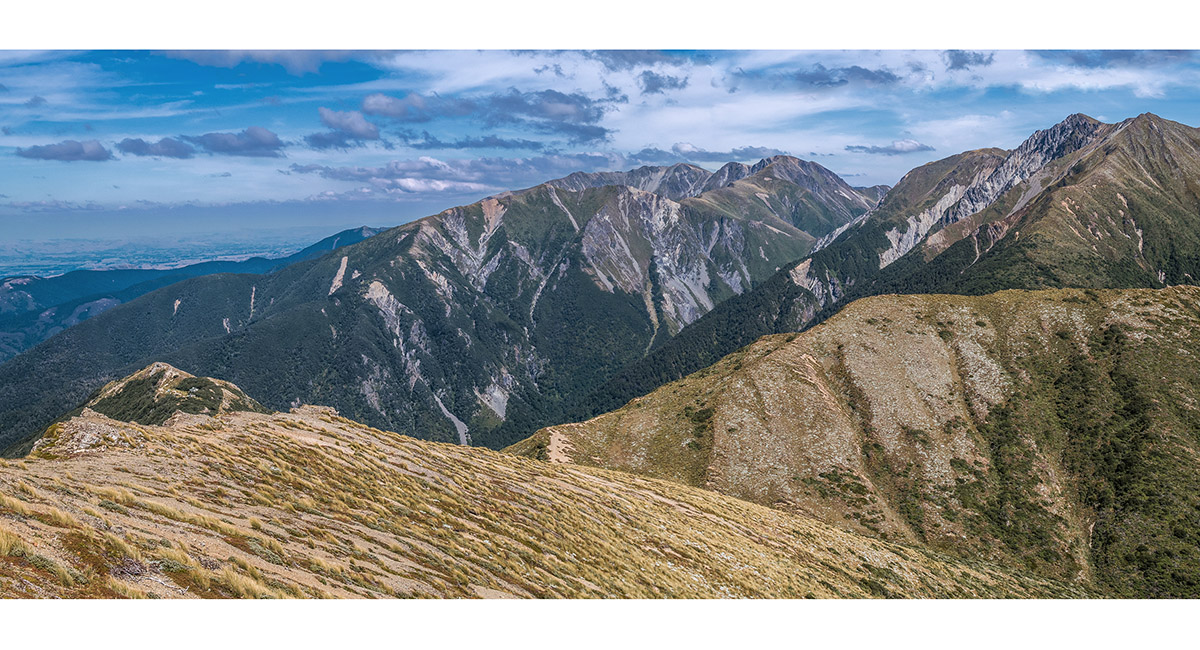
Looking south from Maroparea, directly along the ridge over Orupu to Maropea, then right, over the ridge tops to Armstrong Saddle, and then up to Te Atuaoparapara (the skyline high point right of centre)

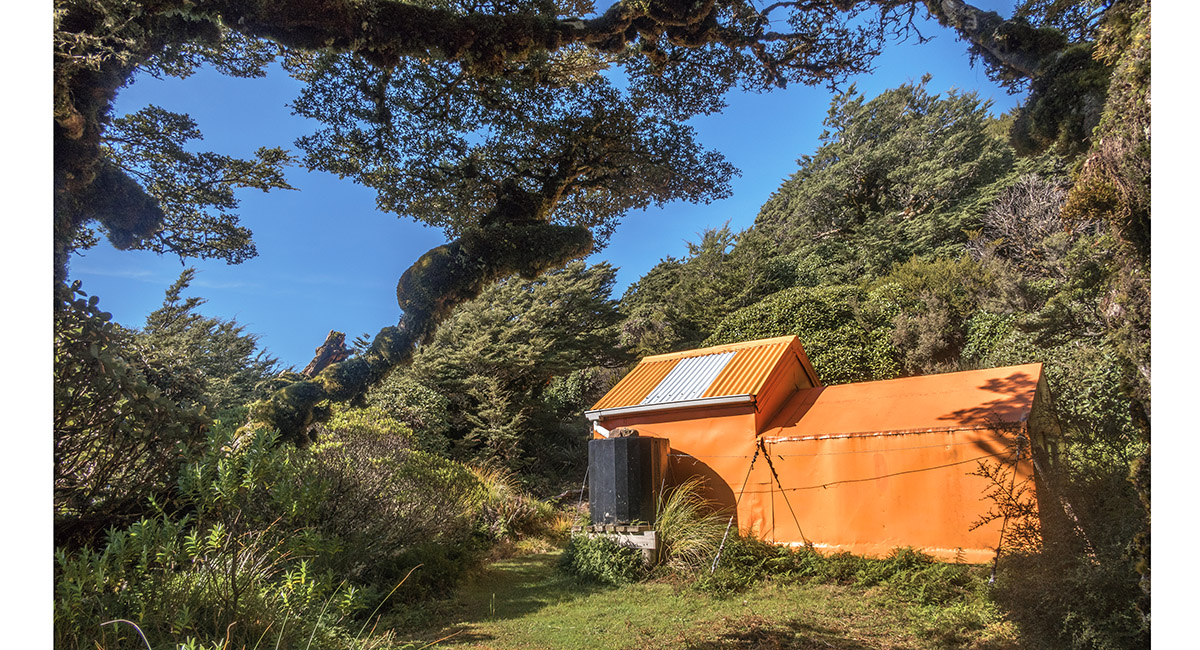
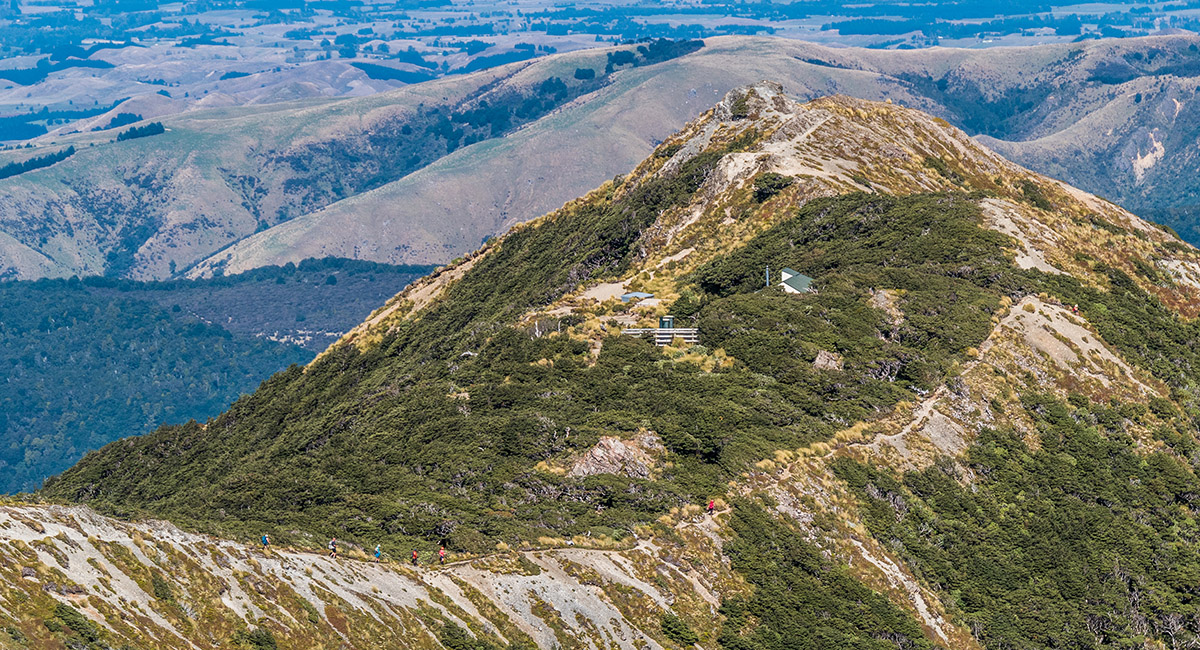
Sparrowhawk Biv (1,360m)


A bunk view to the front door of Sparrowhawk Biv (1,360m)

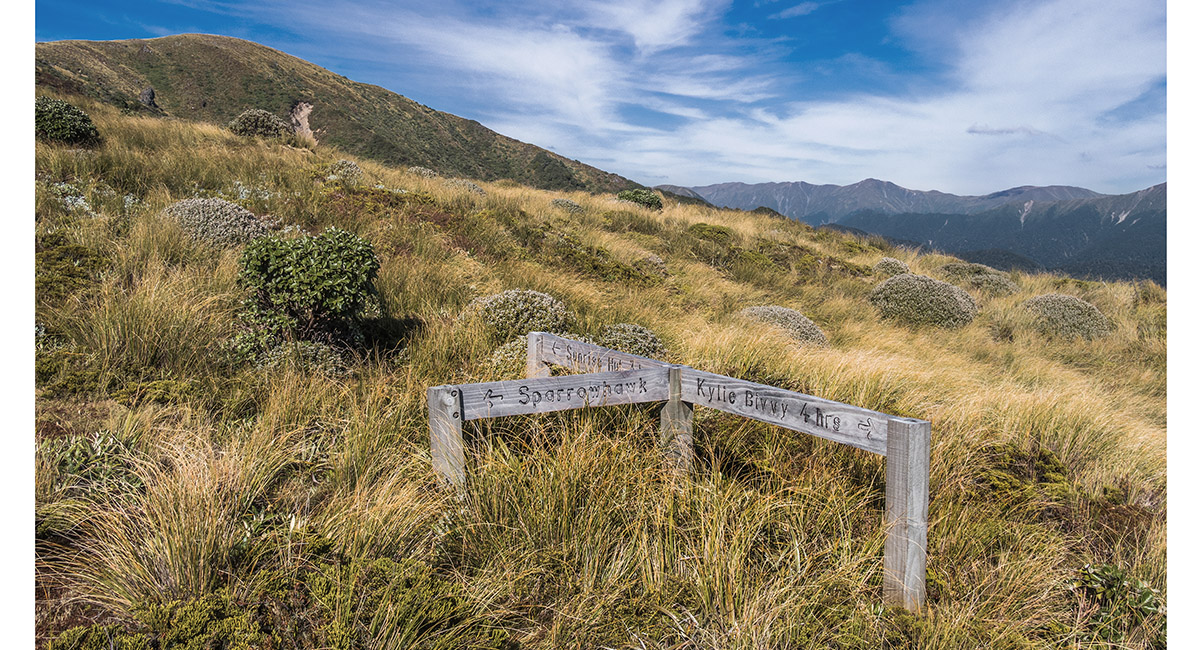
At the trail junction just west of Sparrowhawk Biv


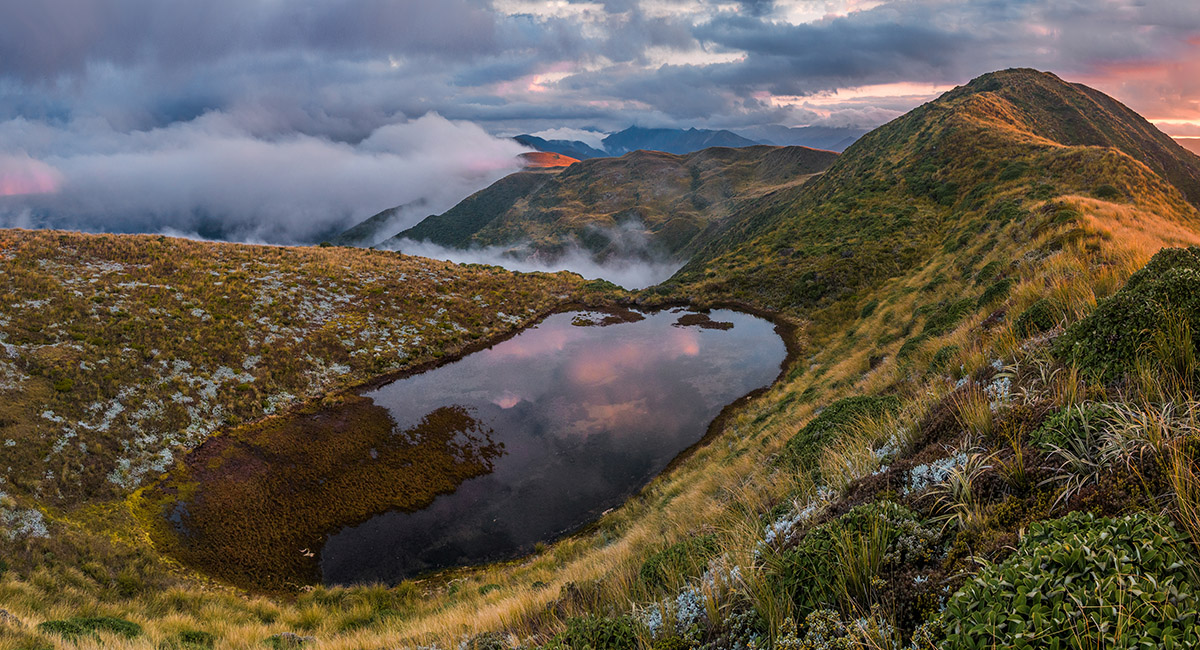
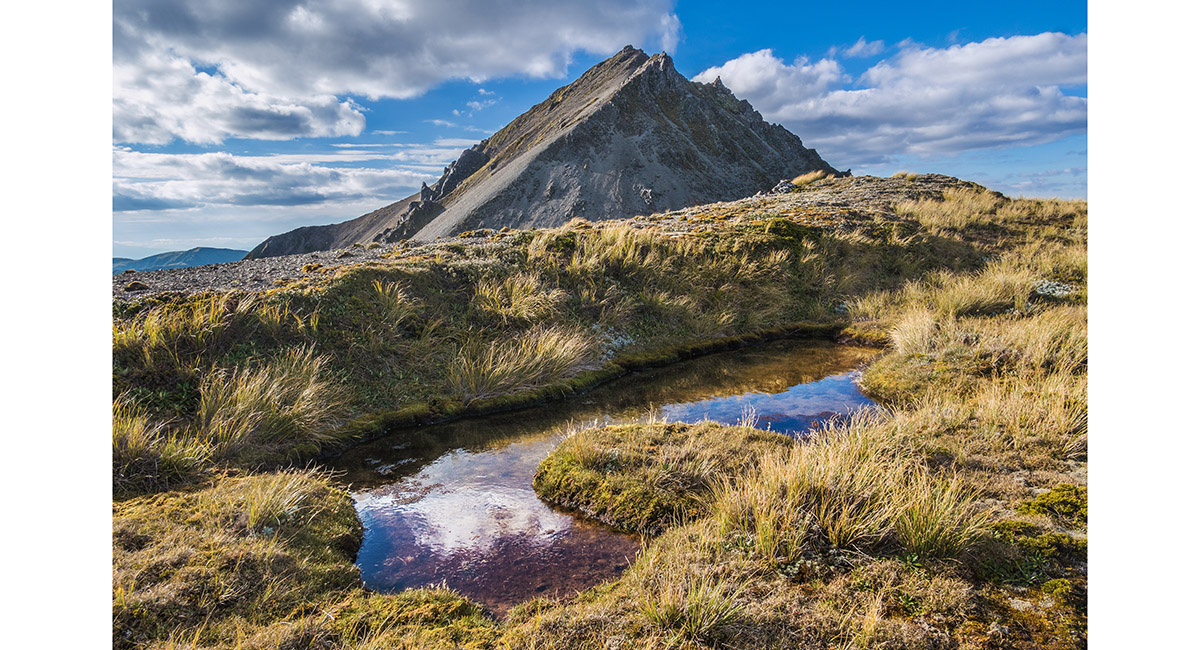
A beautifully clear tarn, south of Sparrowhawk biv near Maropea

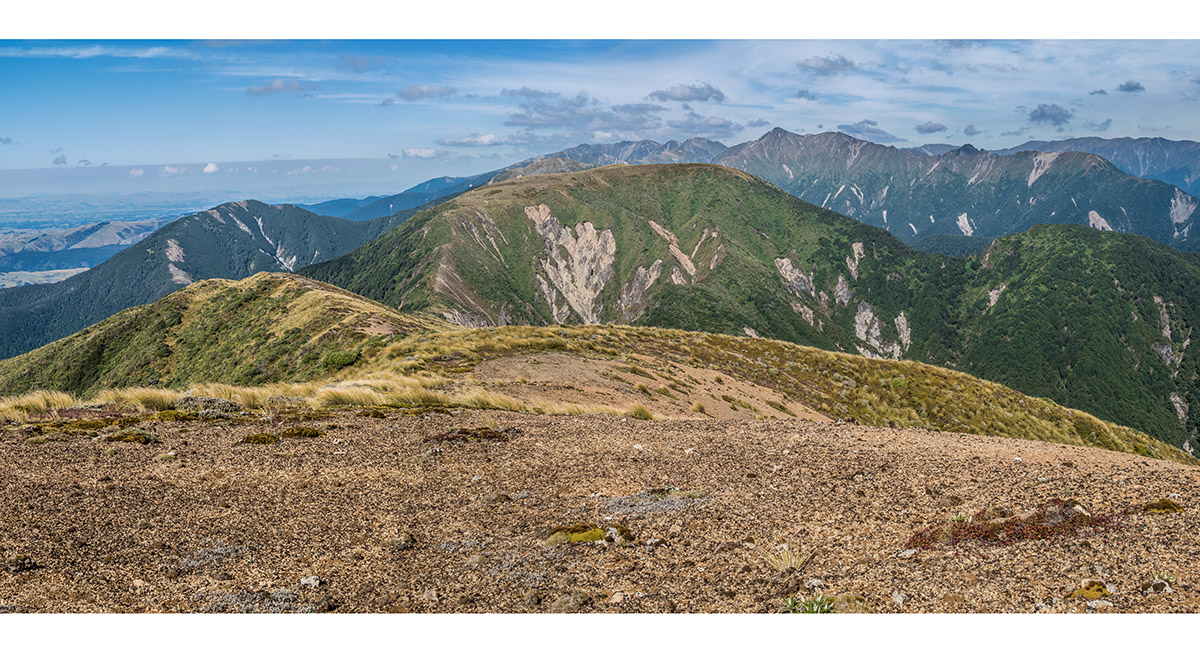
Looking south from Maropea, to Point 1,476m centre, Patiki (1,370m - left) and Te Atuaoparapara - the sharp highpoint on the skyline, right of centre


A passing 'tramper'


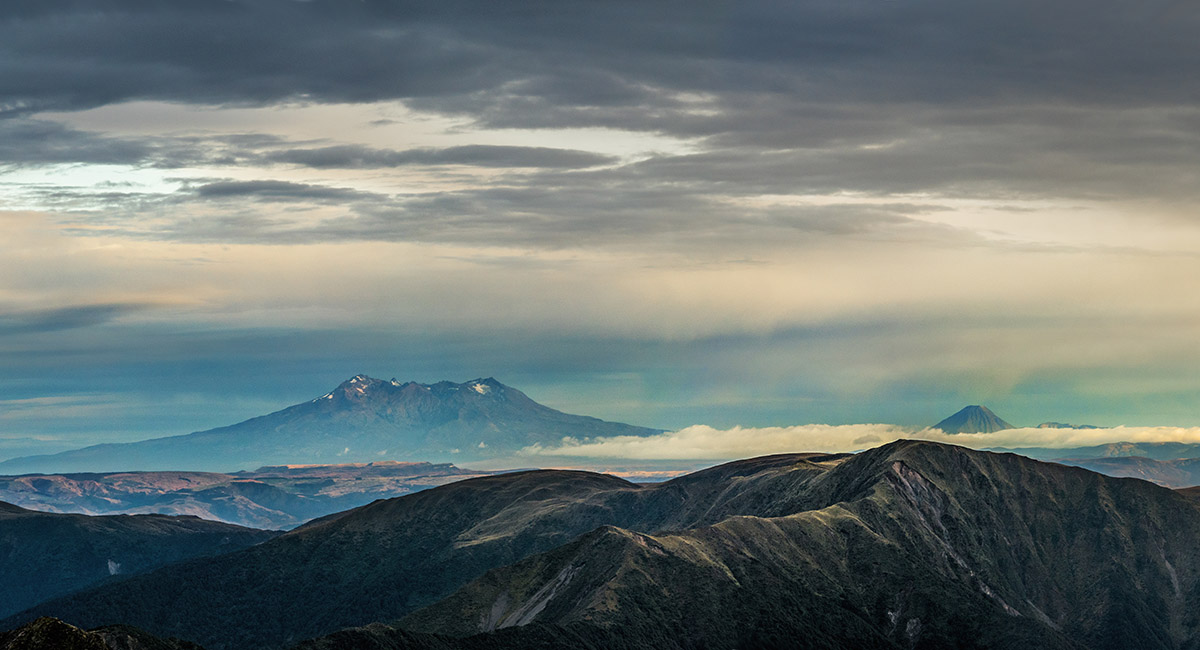
The view northwest from near Point 1,499m, to Ruapehu and Ngauruhoe

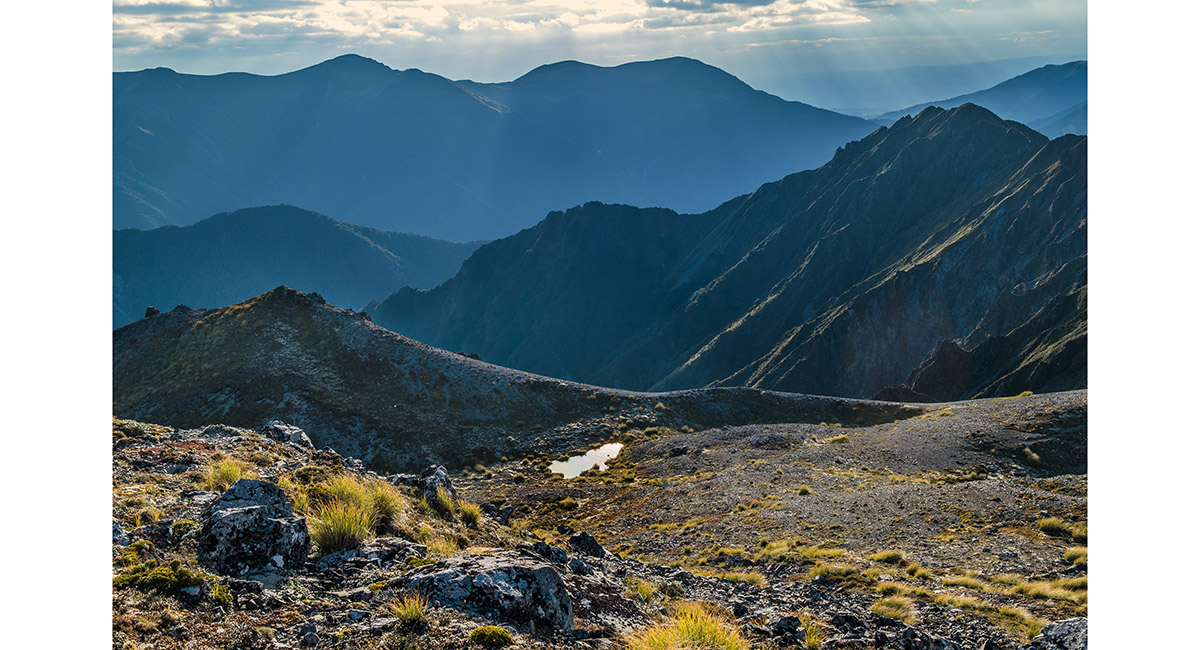
Looking from Point 1,499m left to Sunrise Hut. Armstrong Saddle is hidden, but the trail from it heads right, dropping again to about 1,300m, before the climb to Te Atuaoparapara - top right. Rangioteatua (1,704m) lies in the middle distance

Sunrise Hut (1,320m)

The view from 1,400m, to the 1,300m saddle beneath Te Atuaoparapara

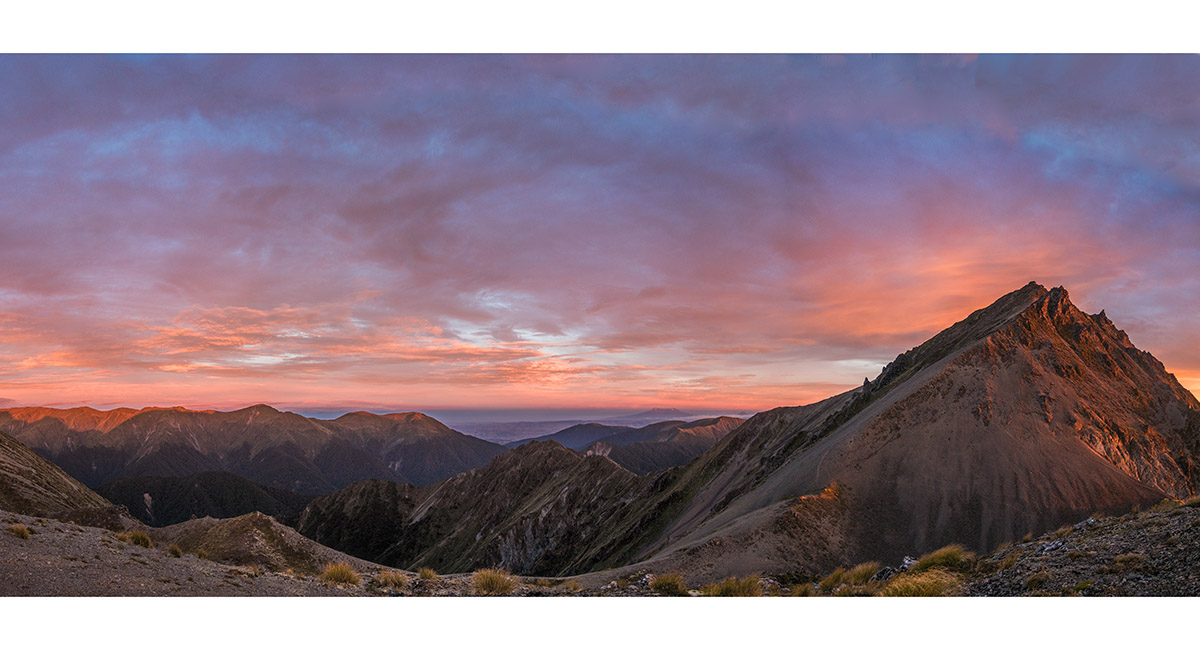
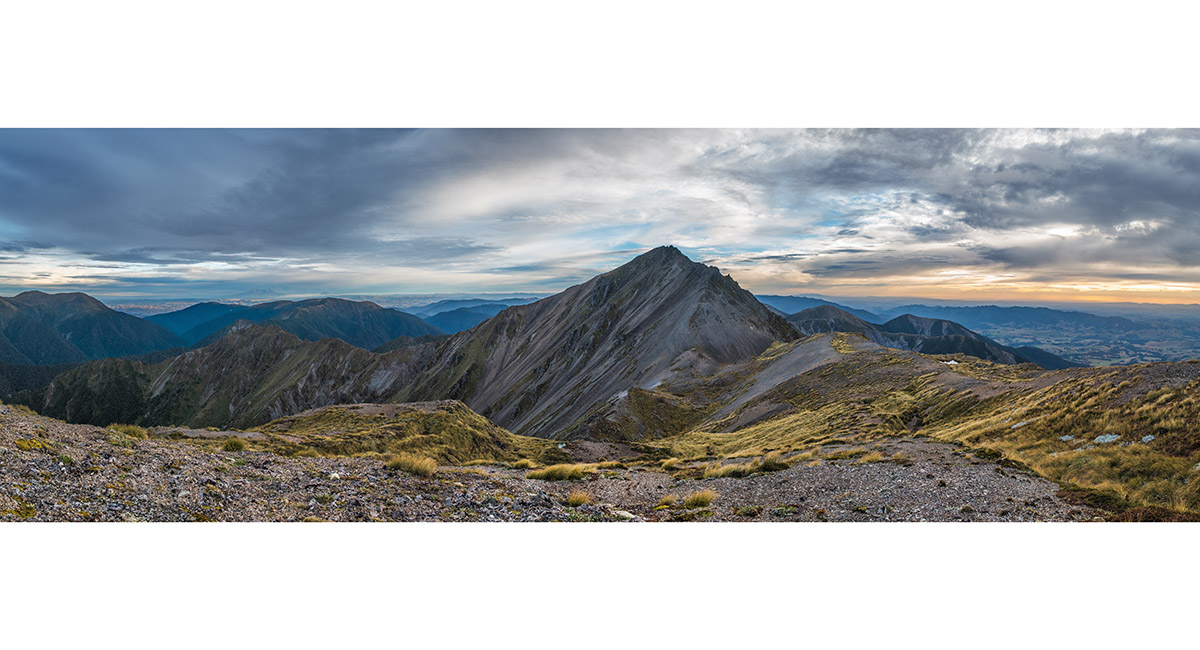
Looking south from 1,600m, to Te Atuaoparapara (1,687m)

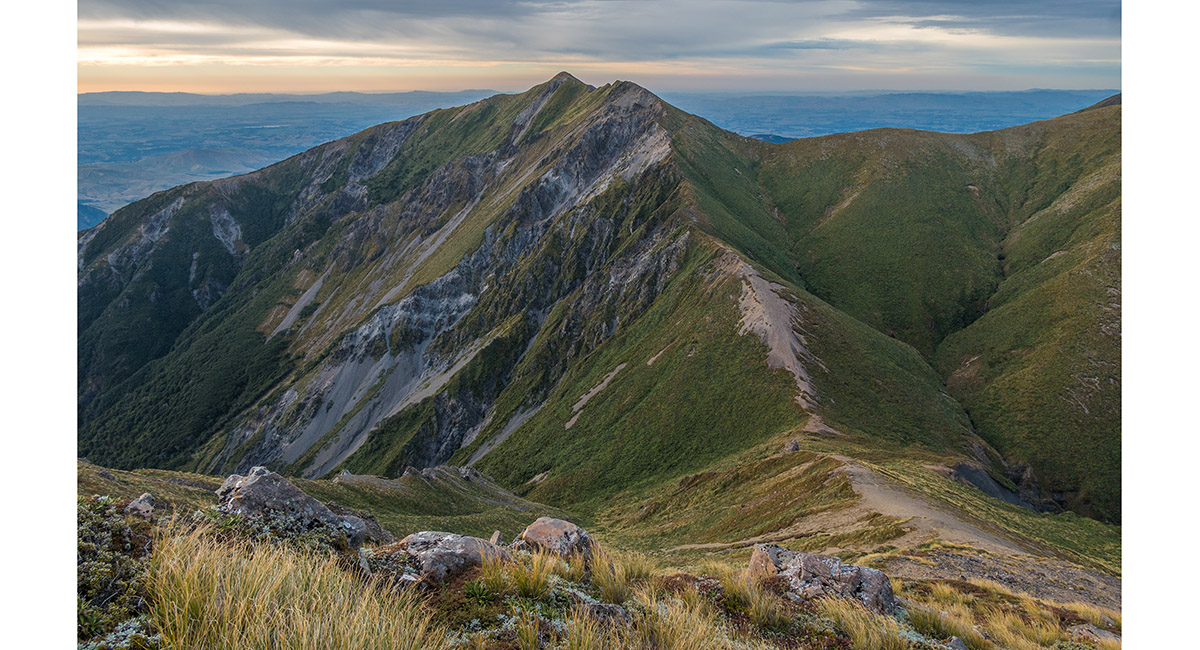
From Te Atuaoparapara, looking back north over the route I'd travelled that day

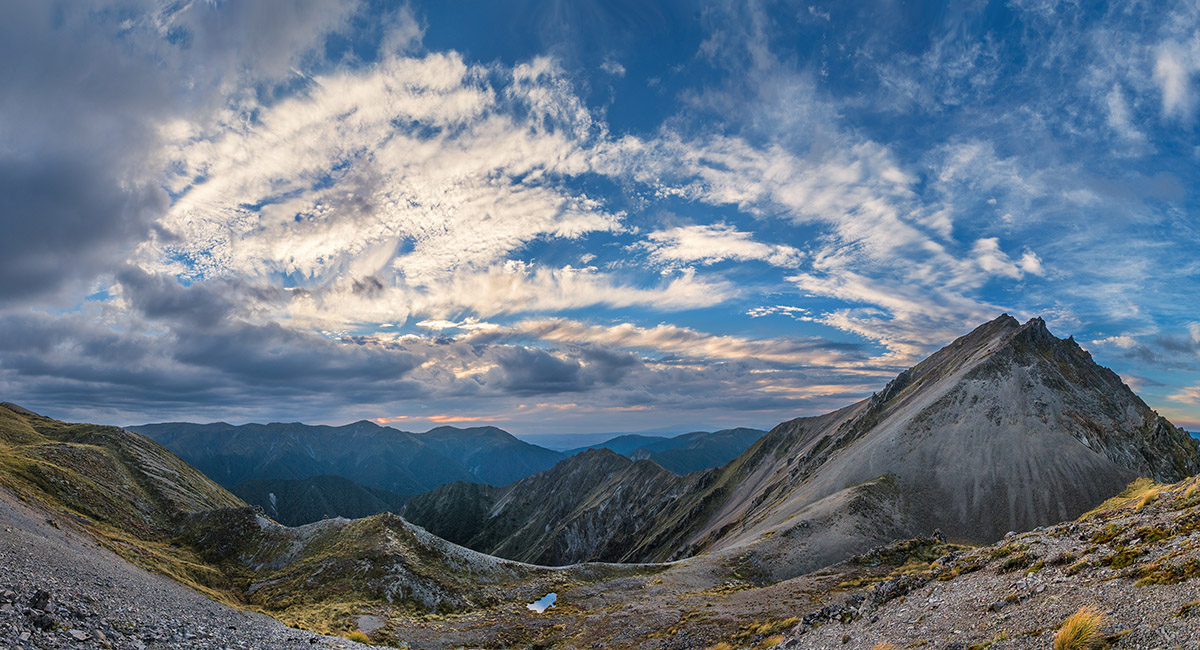
The view south from the top of Te Atuaoparapara. My bivvy site was beside a small tarn on the flat ridge just to my right. Between me and it is a very steep 100m drop requiring extra care to descend

Looking back from my bivvy site to the top portion of the steep descent route off Te Atuaoparapara

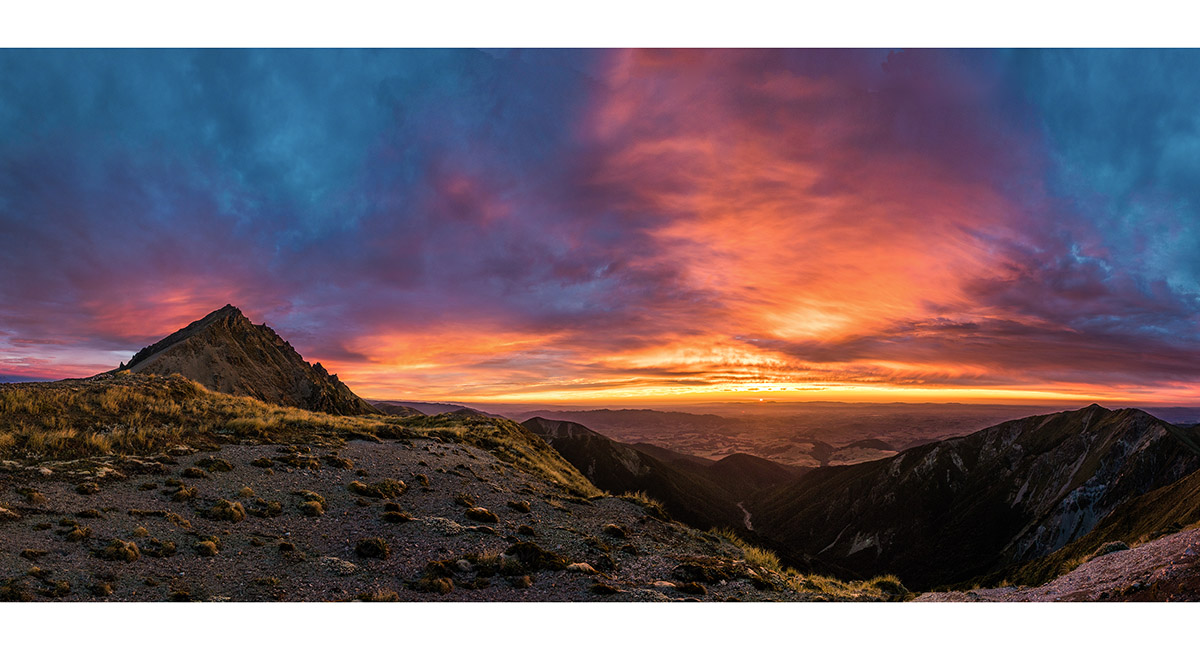
The dusk view west to Hikurangi (1,710m - right of centre) and Mangaweka (1,731m - highest point in the Ruahine Ranges, left)


My bivvy spot, with the 1,625m highpoint above Waipawa Saddle to the south behind

Dusk, with Te Atuaoparapara right and the Hikurangi Range stretching left

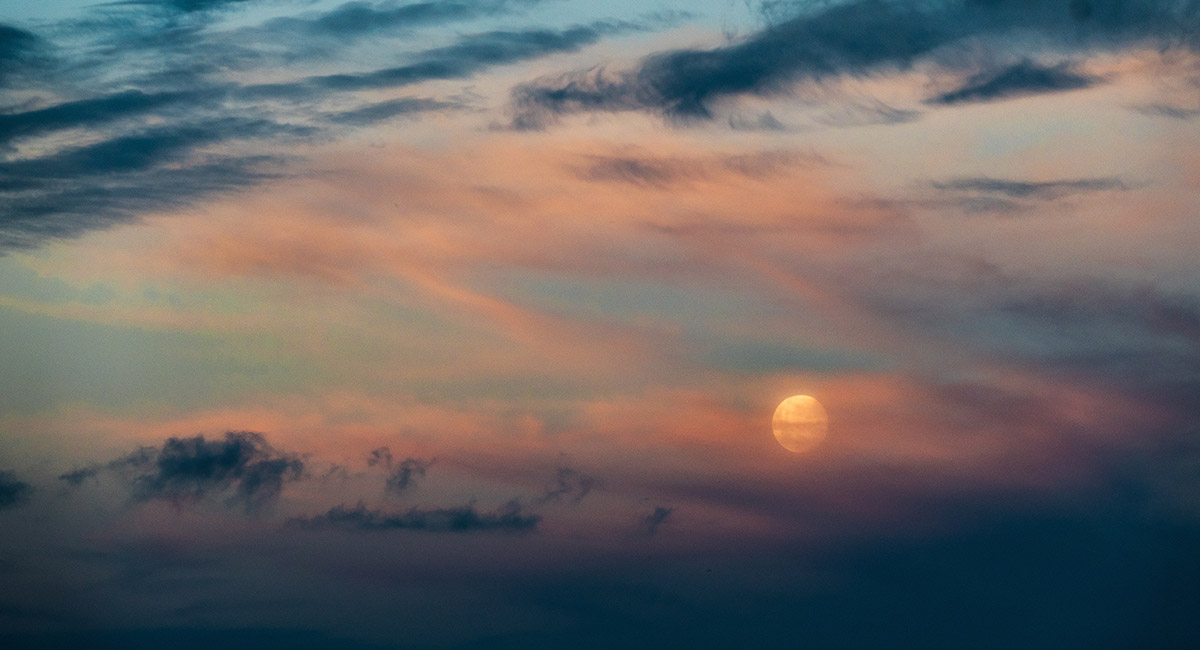
A waxing moon

Dawn, looking east to Hawkes Bay, Te Atuaoparapara left and Three Johns right

Dawn, with Te Atuaoparapara right and the Hikurangi Range stretching left. Ruapehu and Ngauruhoe are right of centre on the horizon

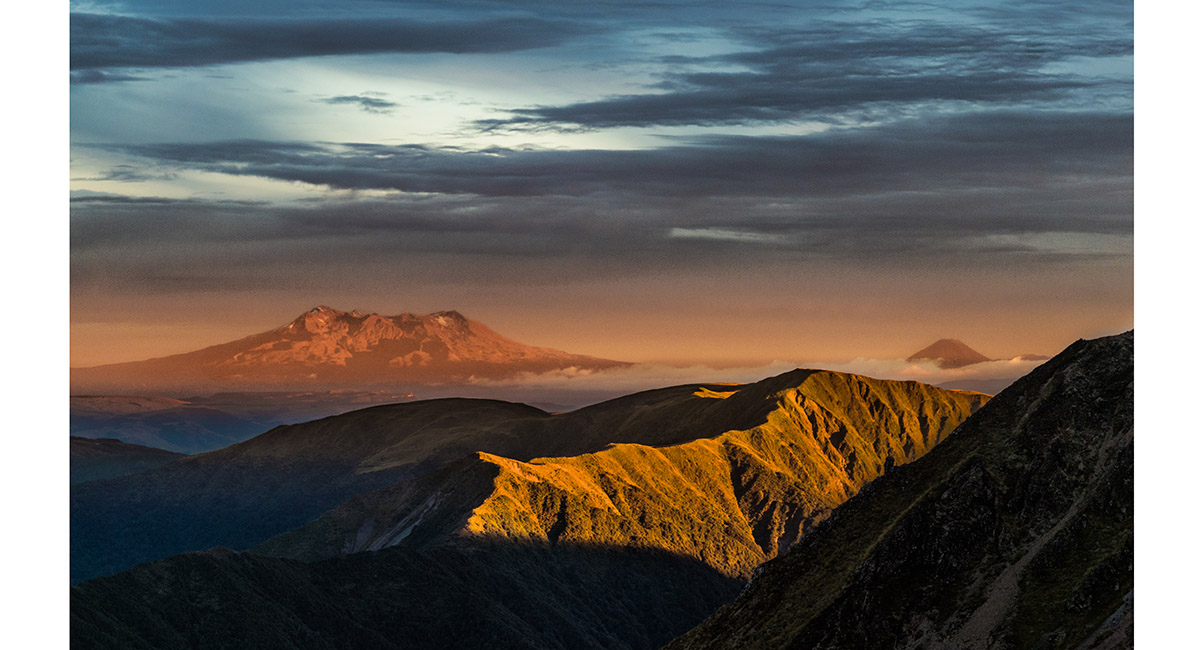
A closer look at Ruapehu and Ngauruhoe at dawn


Looking south from my bivvy spot to Three Johns (1,569m) at dawn


Te Atuaoparapra from near the 1,625m high point

Ruapehu and Ngauruhoe, early morning, from the 1,625m high point

The view north to Te Atuaoparapara and beyond, from the 1,625m highpoint before my descent to Waipawa Saddle

Waipawa Saddle (1,326m), with Three Johns (1,569m) behind

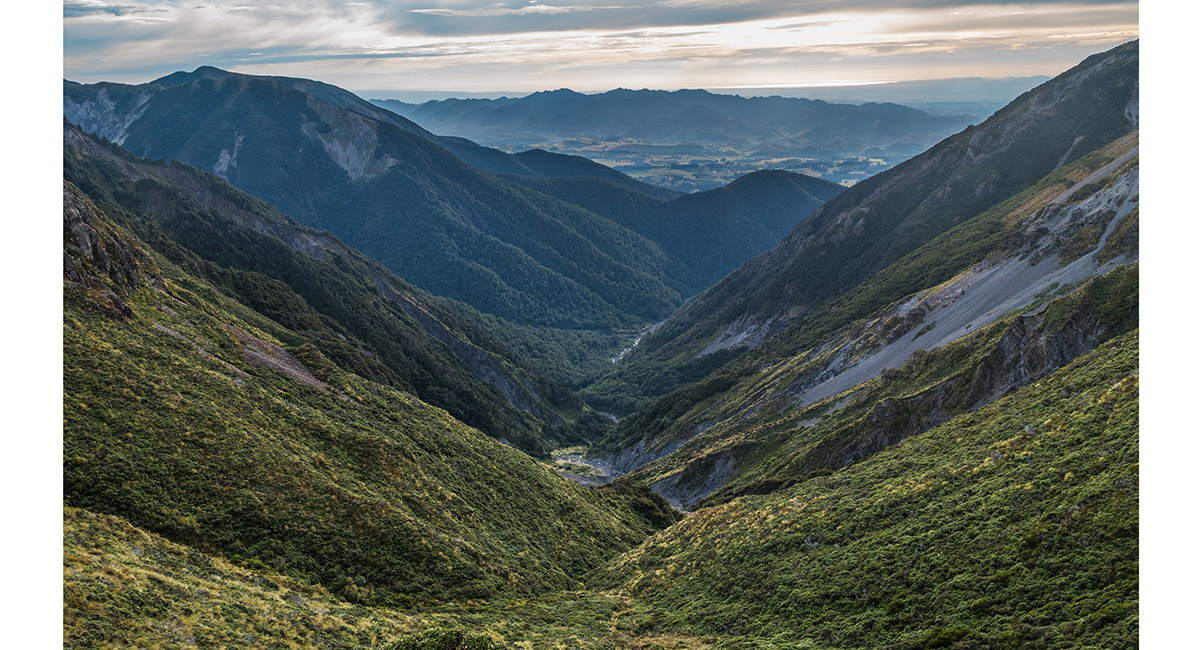
The view east from Waipawa Saddle, down the Waipawa River

At about 800m, beneath Waipawa Saddle


The Waipawa River, at about 700m

Read about it The light above the leatherwood Wilderness Magazine August 2024 Worth sweating for # 27 (Between Te Atua Mahuru and Maropea, Ruahine Range) Captivating Photography Aug 24
To order a print or web resolution file of any image you see in this slide show, just right click the image, click “Copy Image URL” and paste in to the “Your message” box of our Contact Us form. Please also note, for each image, if you want a print or web resolution file. We will get back to you as soon as possible to confirm price and payment details.
Open Contact Us in a new window to paste Image URL(s) easily