Divers Col, Tasman Glacier, November 2021
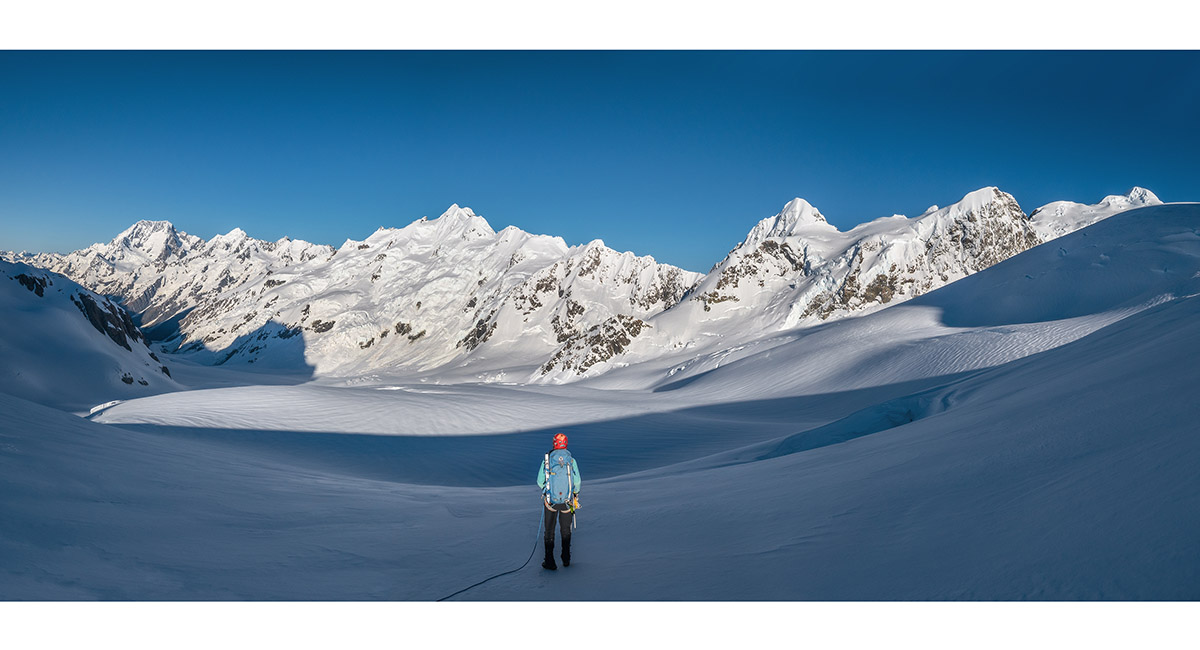
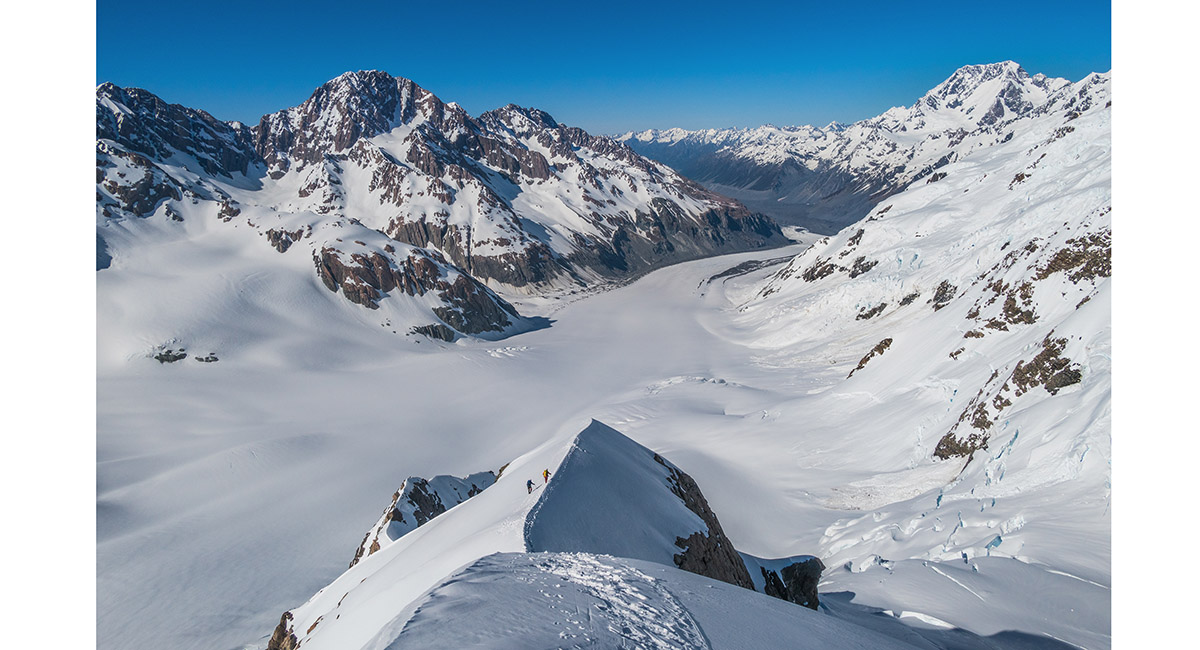
Looking south down Tasman Glacier from about 2,300m, early morning

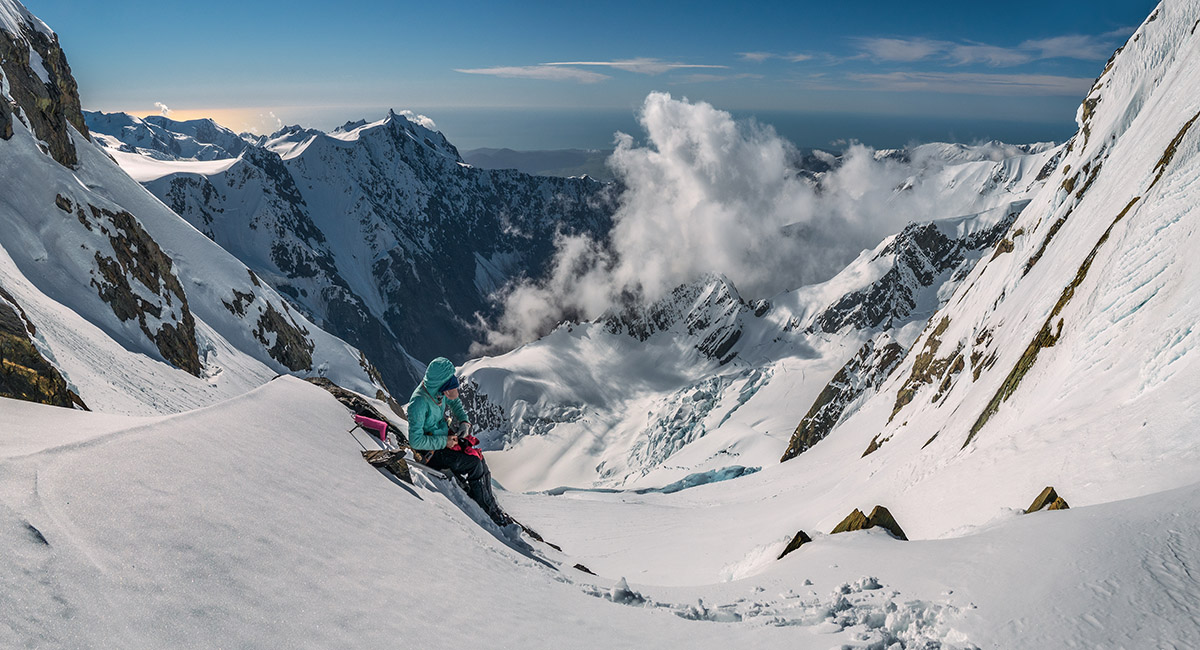
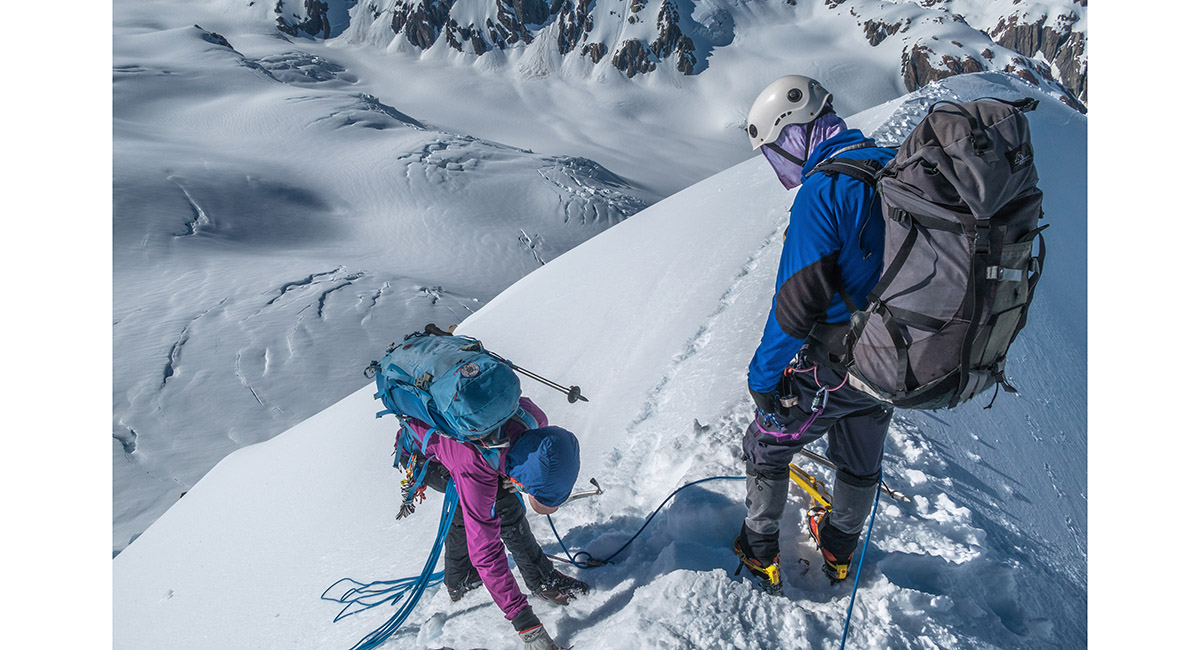
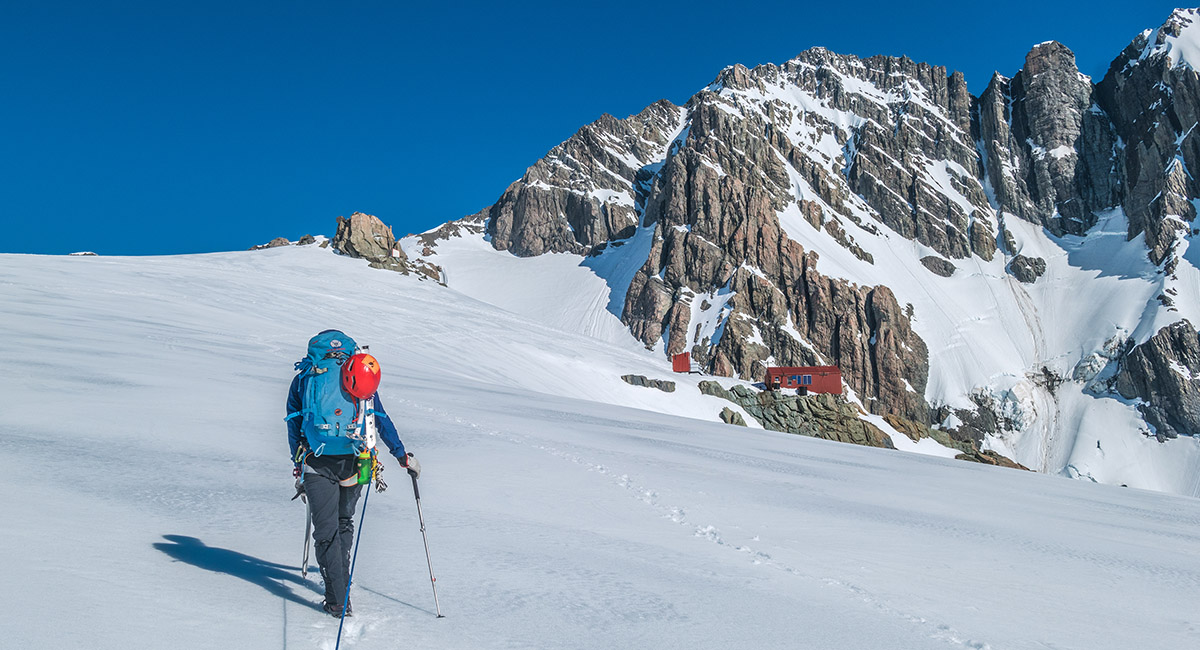
At 2,100m, at the base of the long ridge leading up to Divers Col

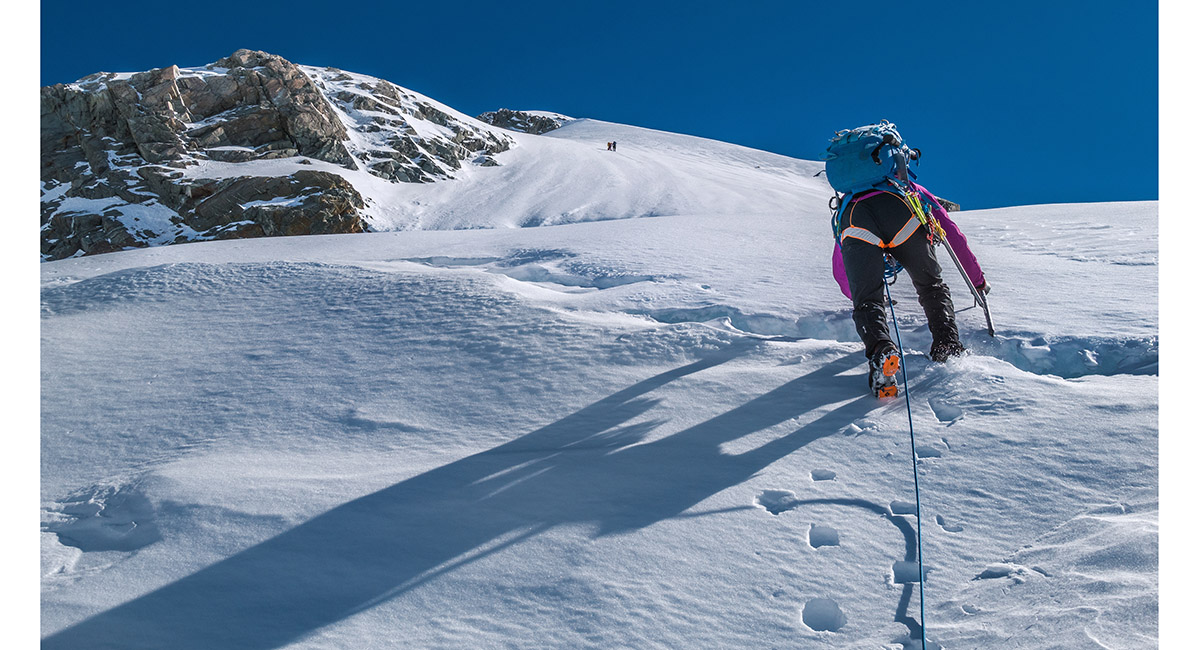
On the first of 8 pitches en route to Divers Col

At the shoulder at 2,200m, looking north up the long ridge south of Divers Col

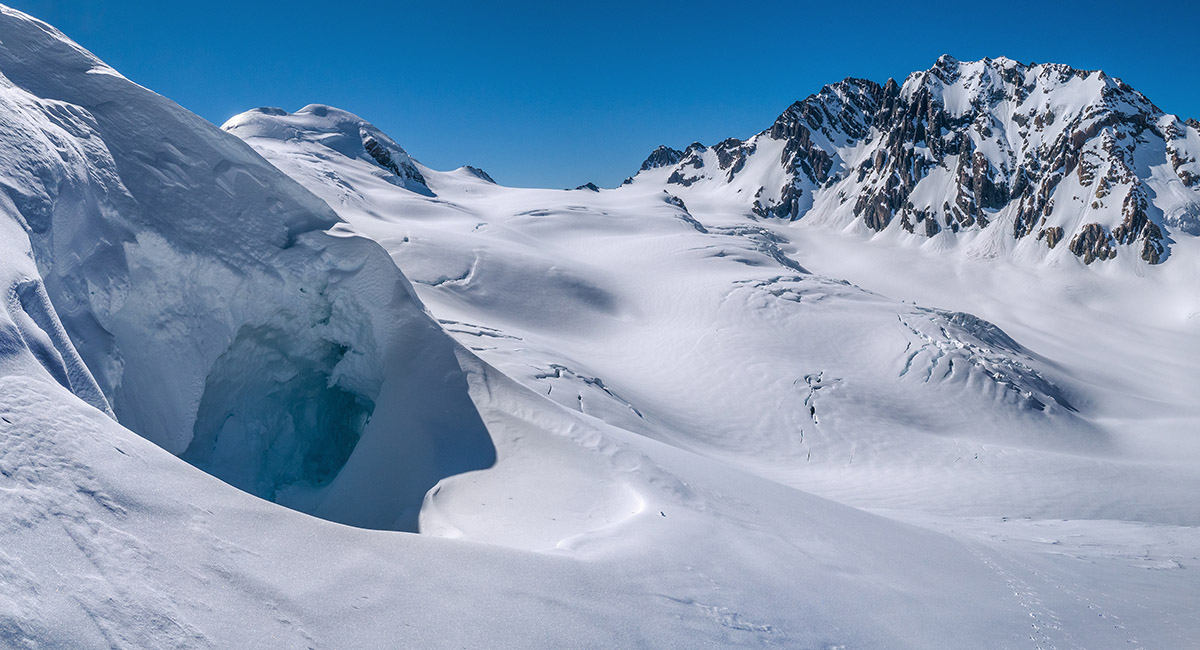
A view from the shoulder, back to Tasman Saddle centre

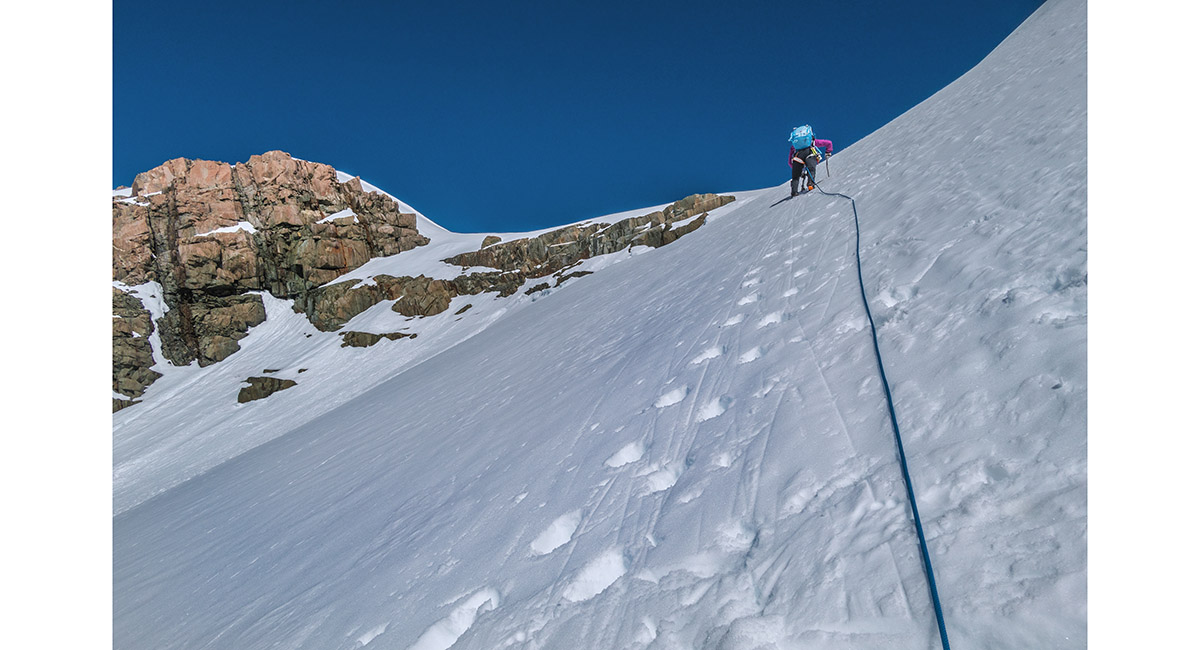
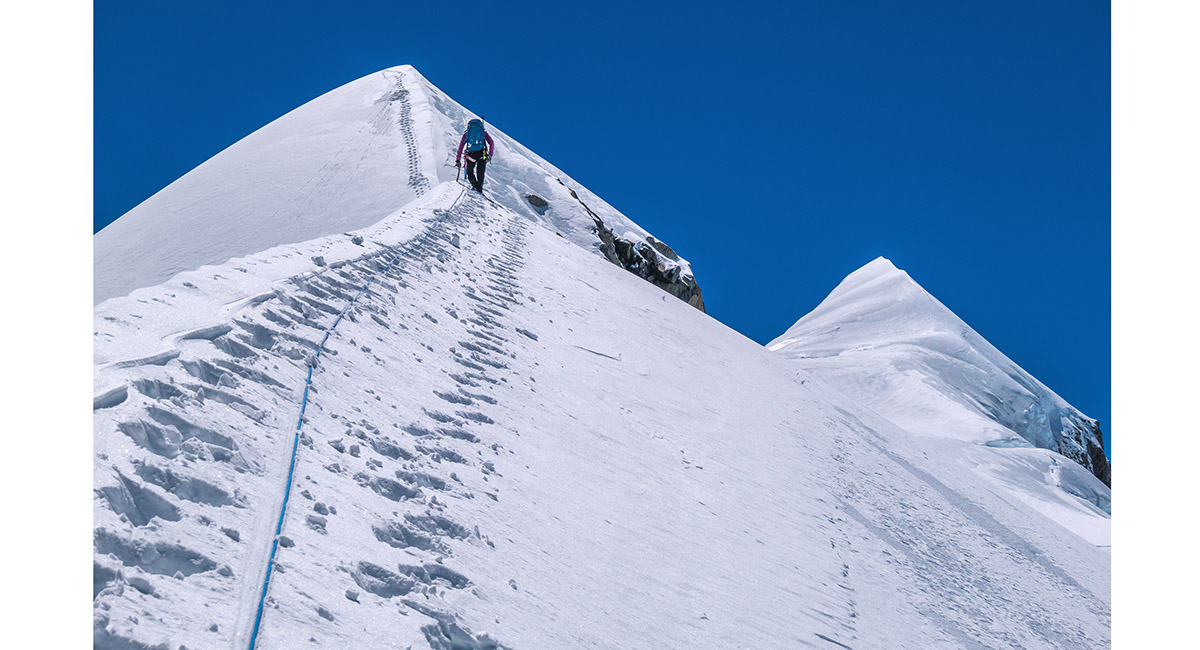
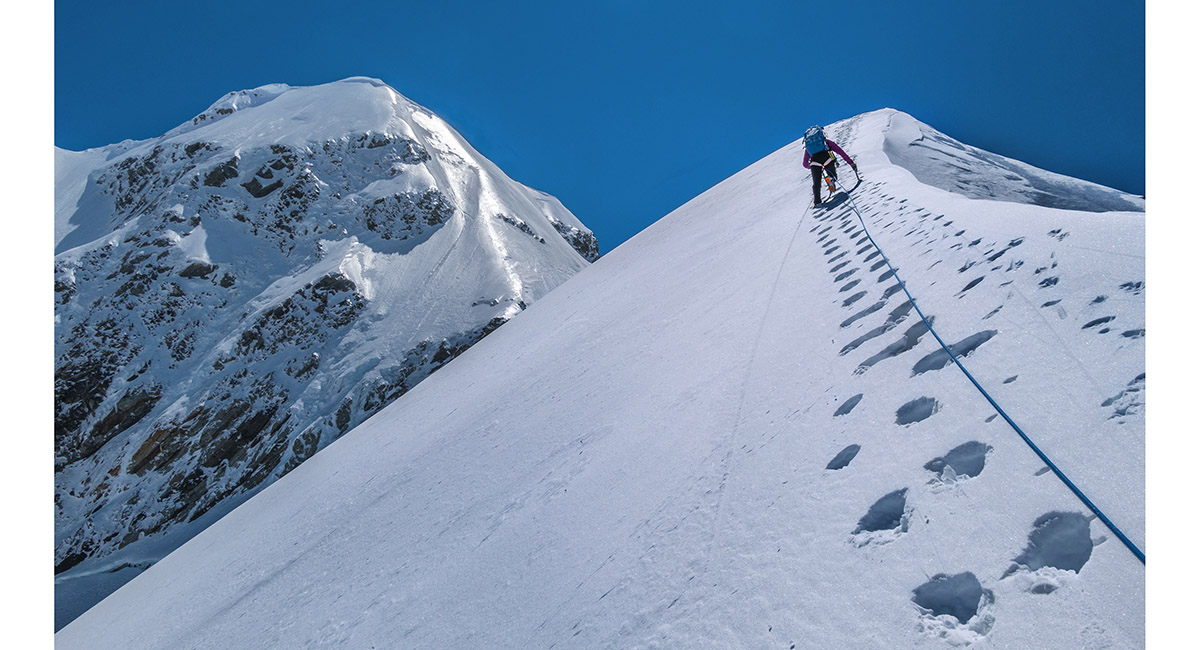
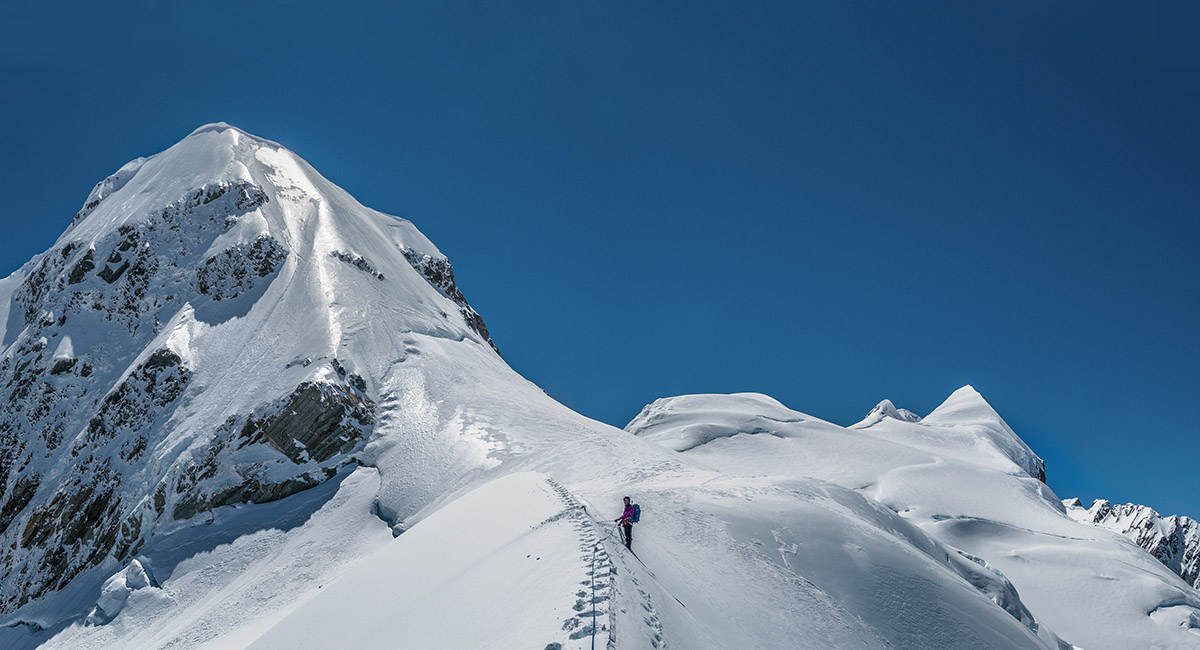
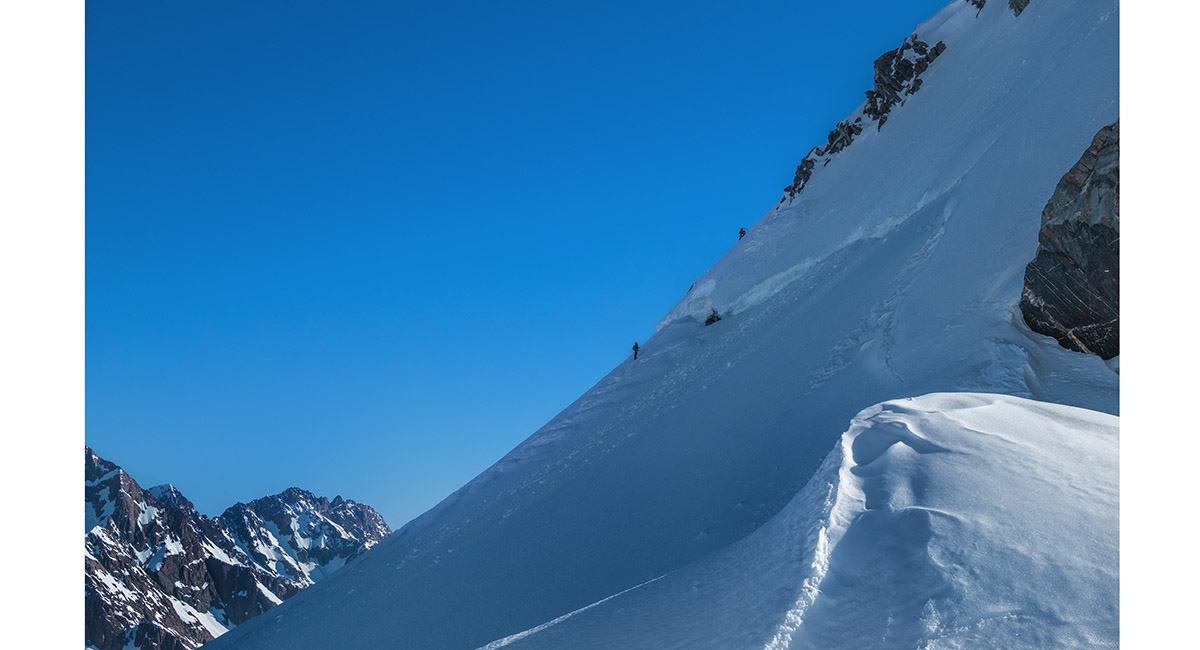
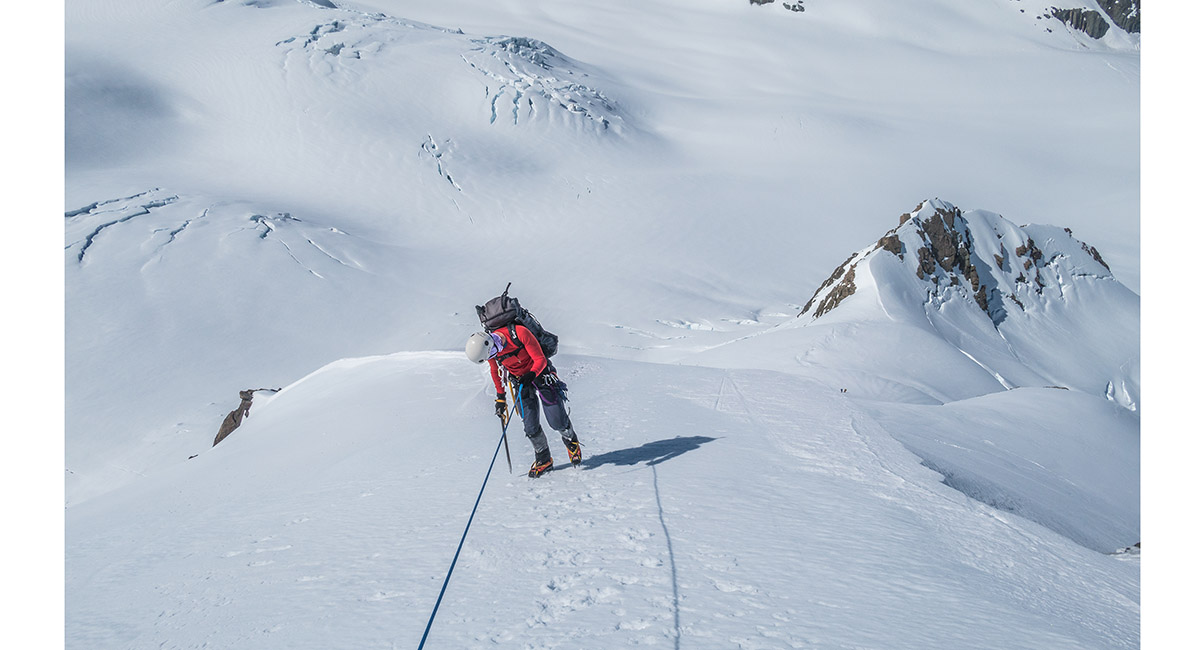
Climbing the ridge to Divers Col


Climbing the ridge to Divers Col

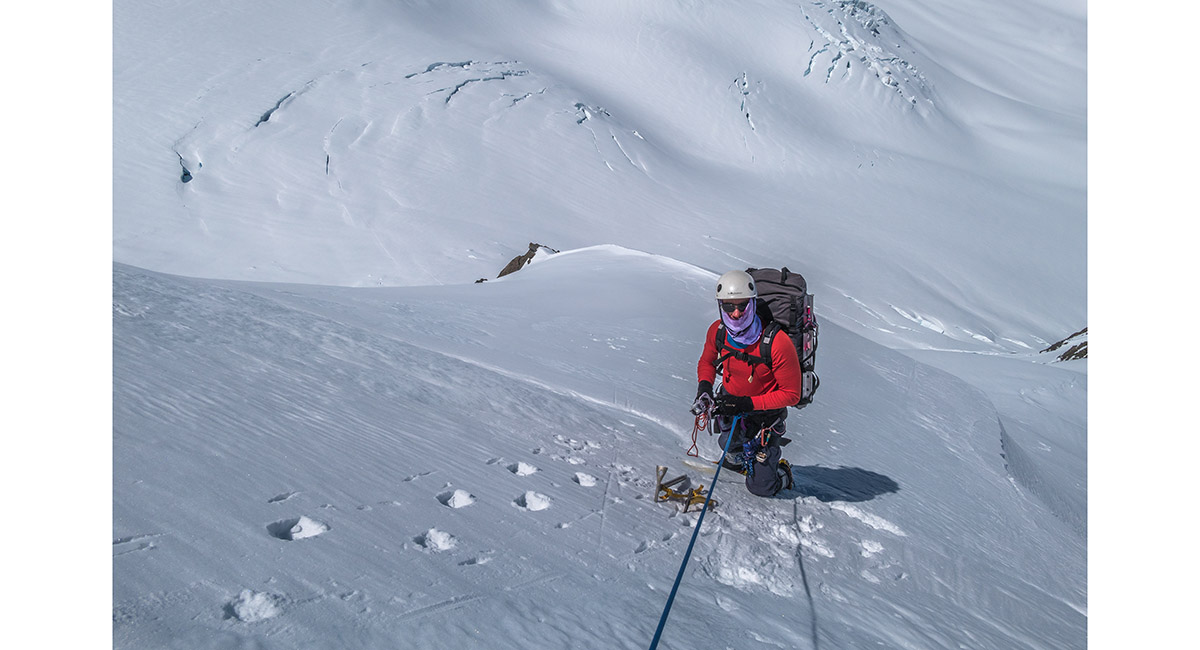
Climbing the ridge to Divers Col

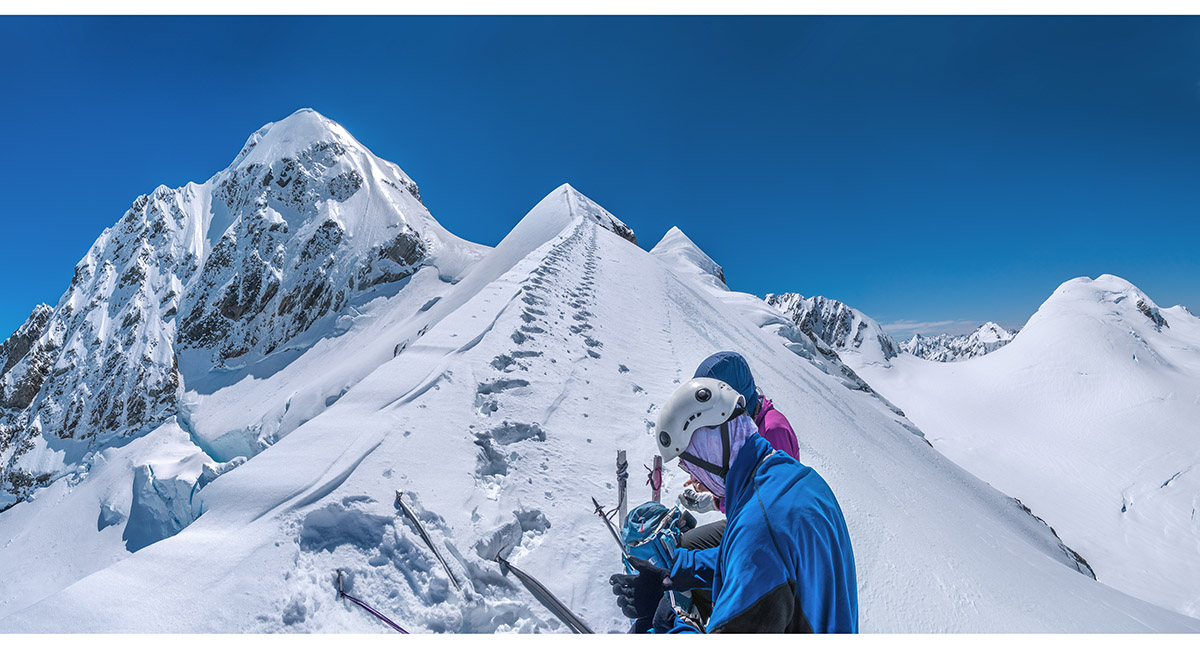
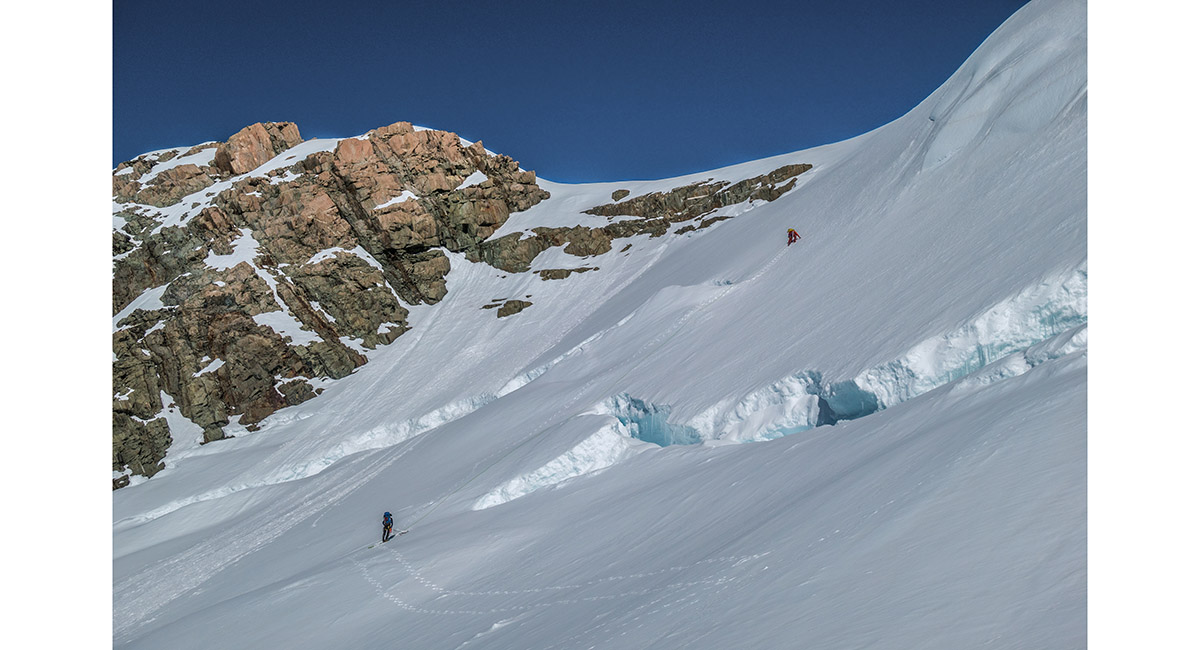
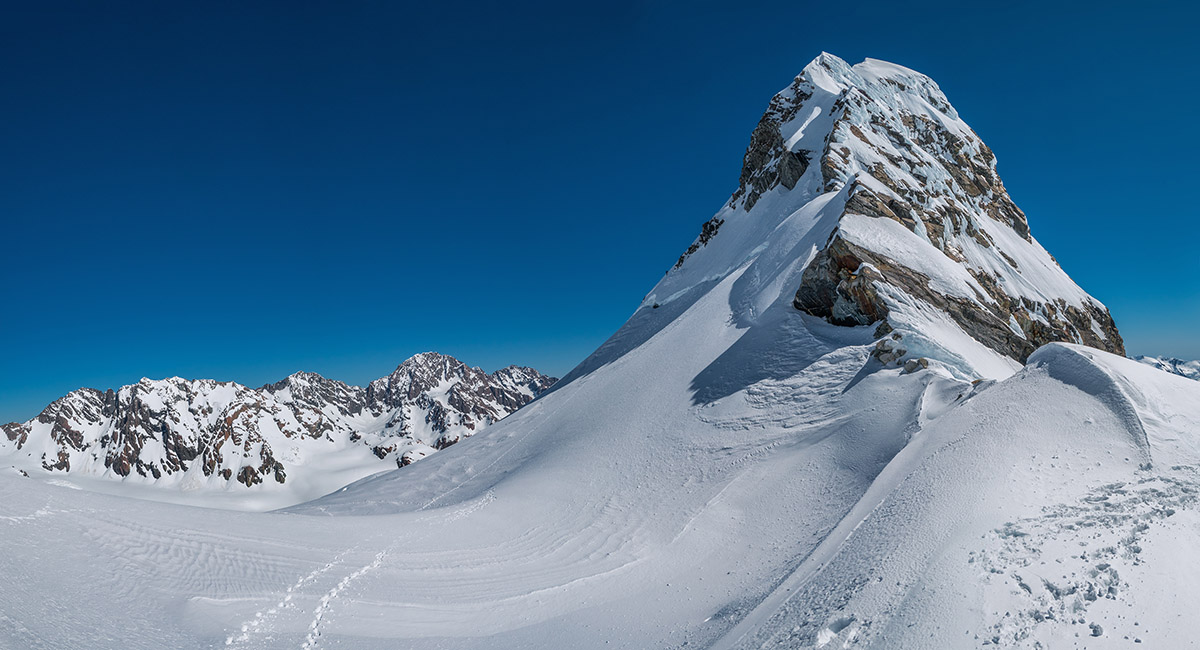
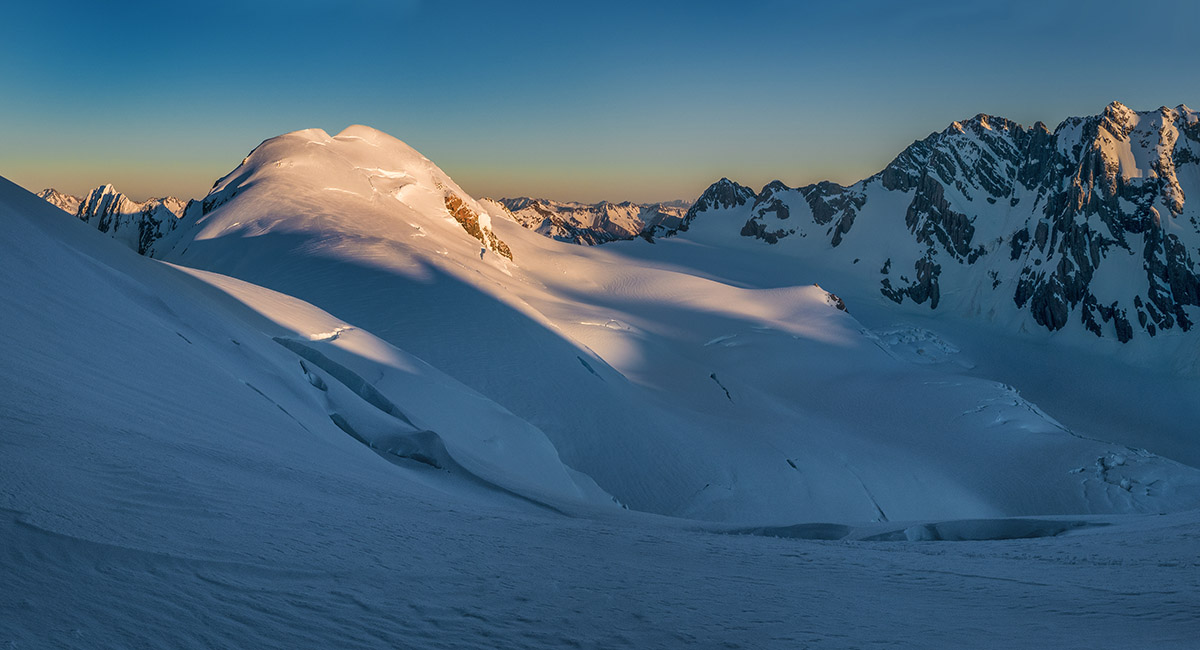
At about 2,600m, nearing the arete below Divers Col. Mt Green (2,837m) is left

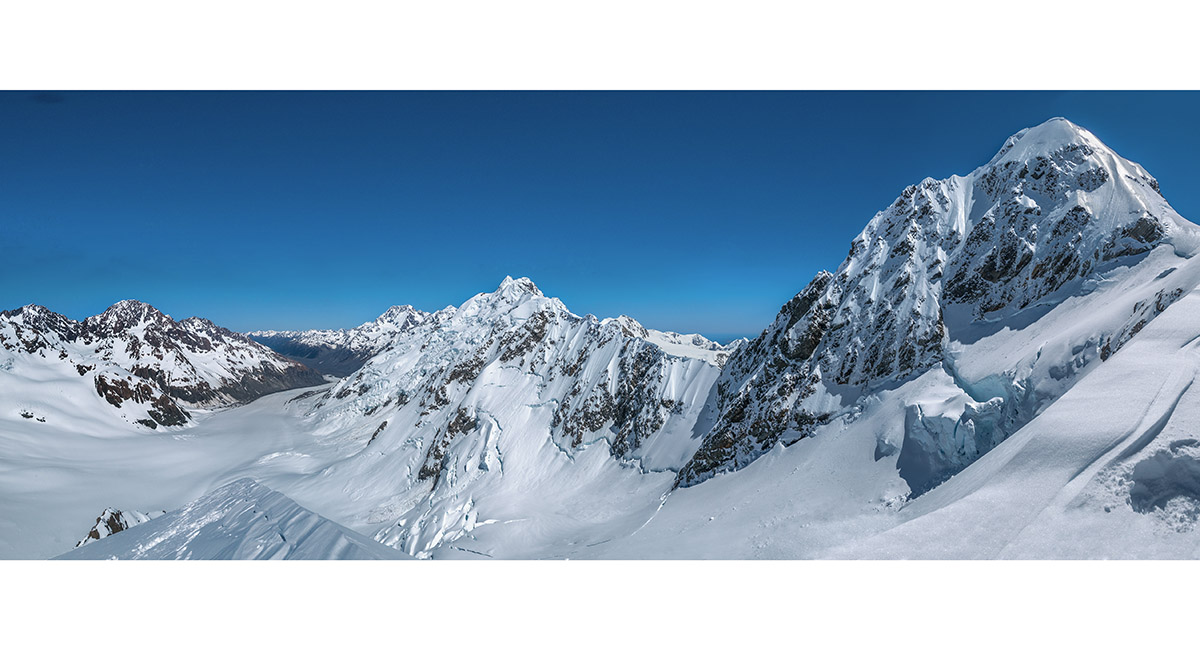
A view from 2,600m to Mt Green (right) and the main divide

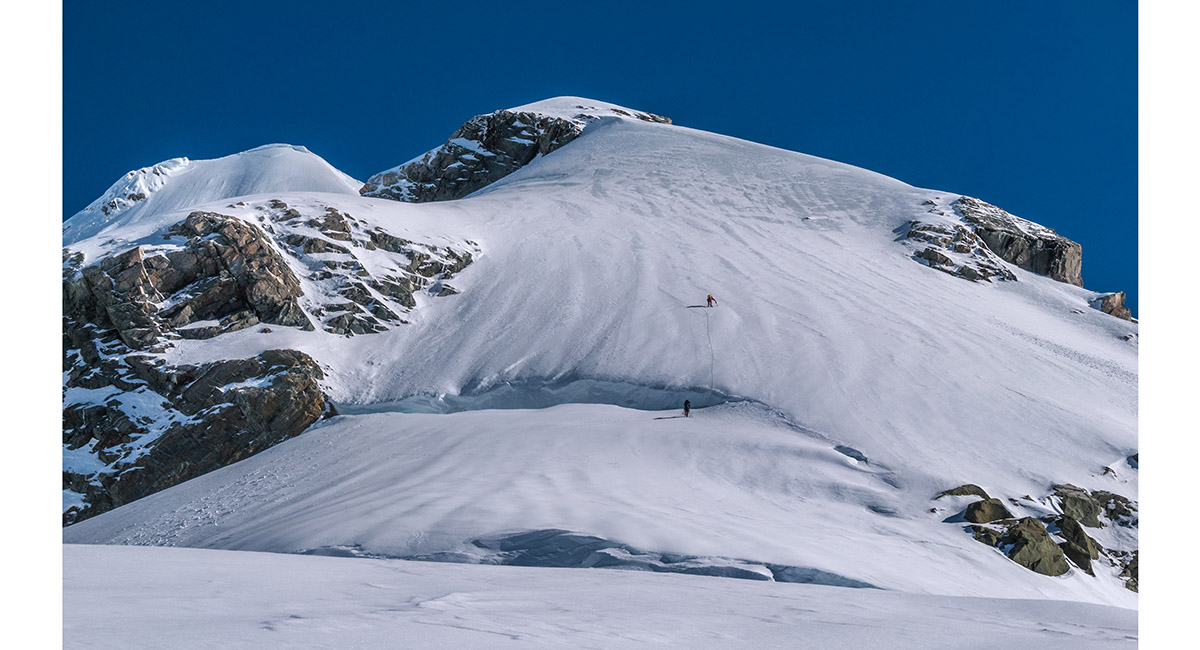
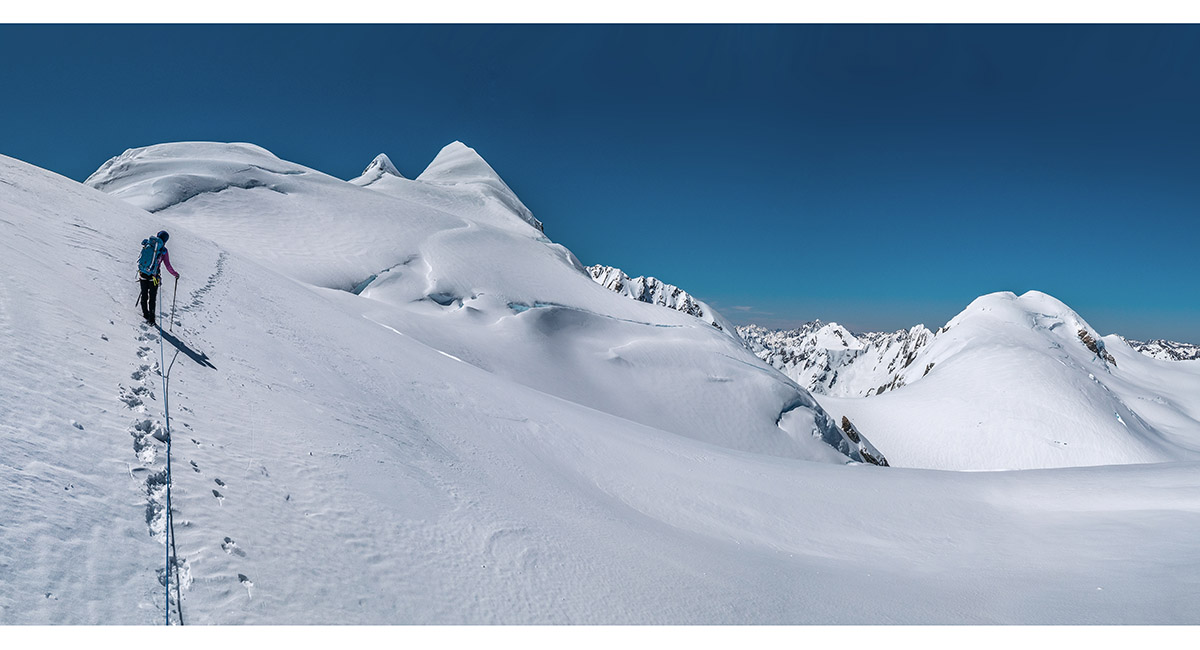
Nearing the snow field south of Divers Col

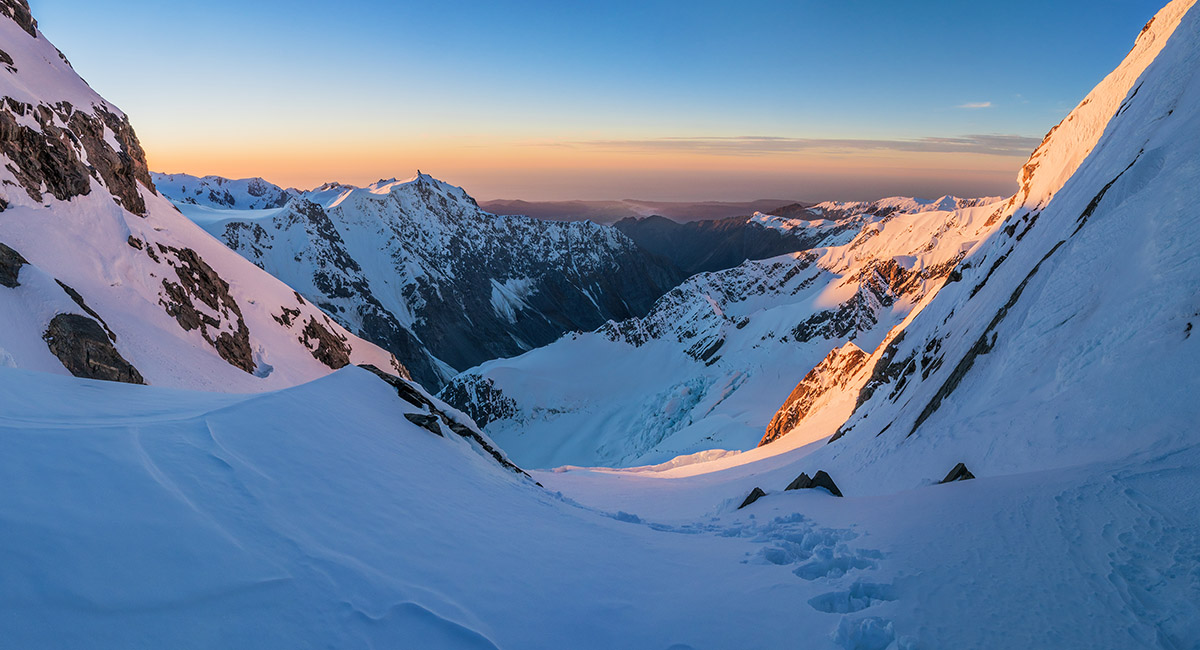
A view south down the arete. Aoraki Mt Cook far right

Nearing the snow field south of Divers Col, Mt Green left

Nearing the snow field south of Divers Col, Mt Green left

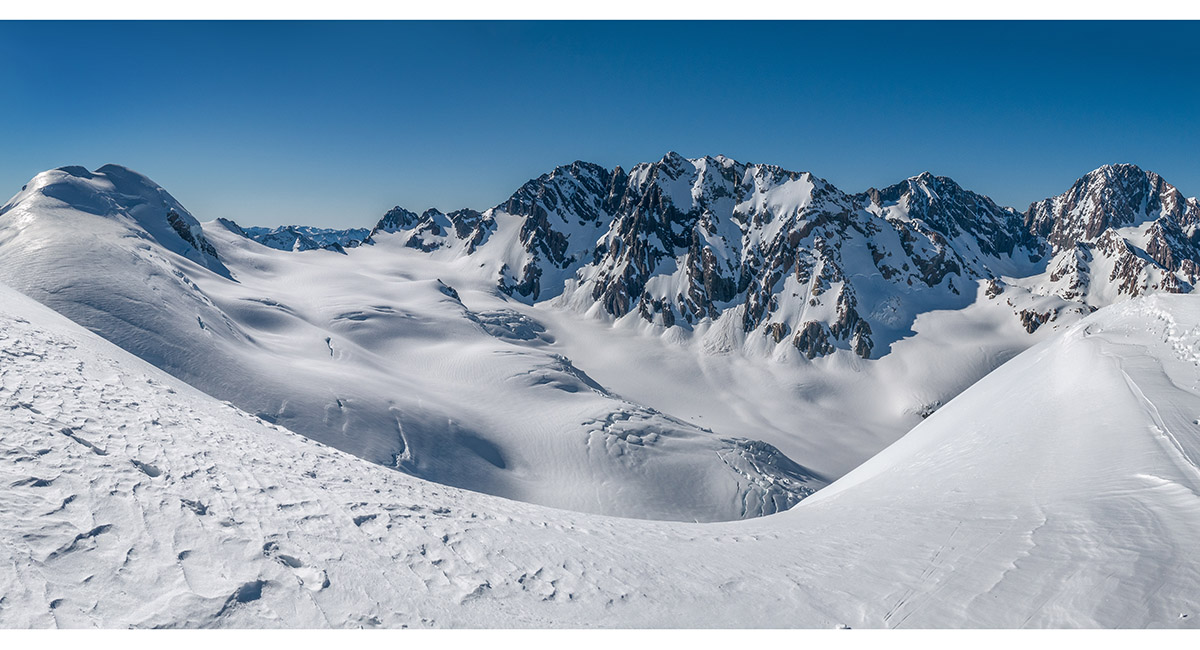
Crossing the snow field south of Divers Col. Mt Walter left of centre, Hochstetter Dome right

A view west to Mt Green from the snow field south of Divers Col. 2 tiny climbers are just above the schrund on the left side of Mt Green

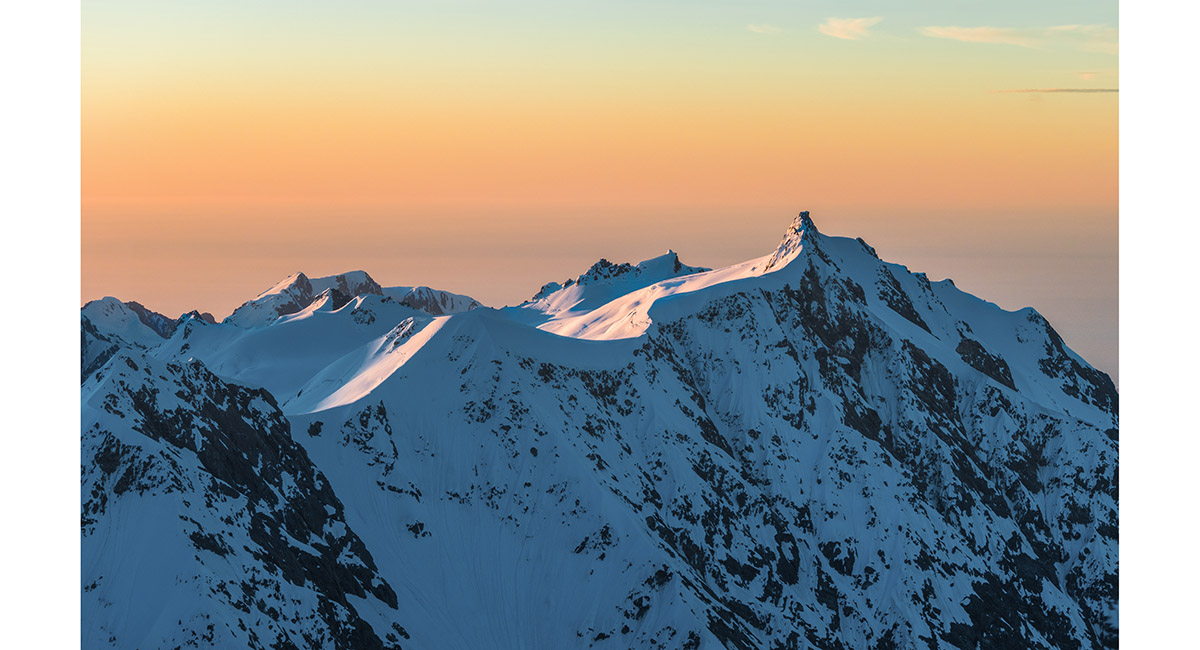
A view north west from Divers Col (2,681m)


At our bivvy south of Divers Col. Hochstetter Dome centre skyline

A view north west from Divers Col (2,681m)

Climbers on Mt Green

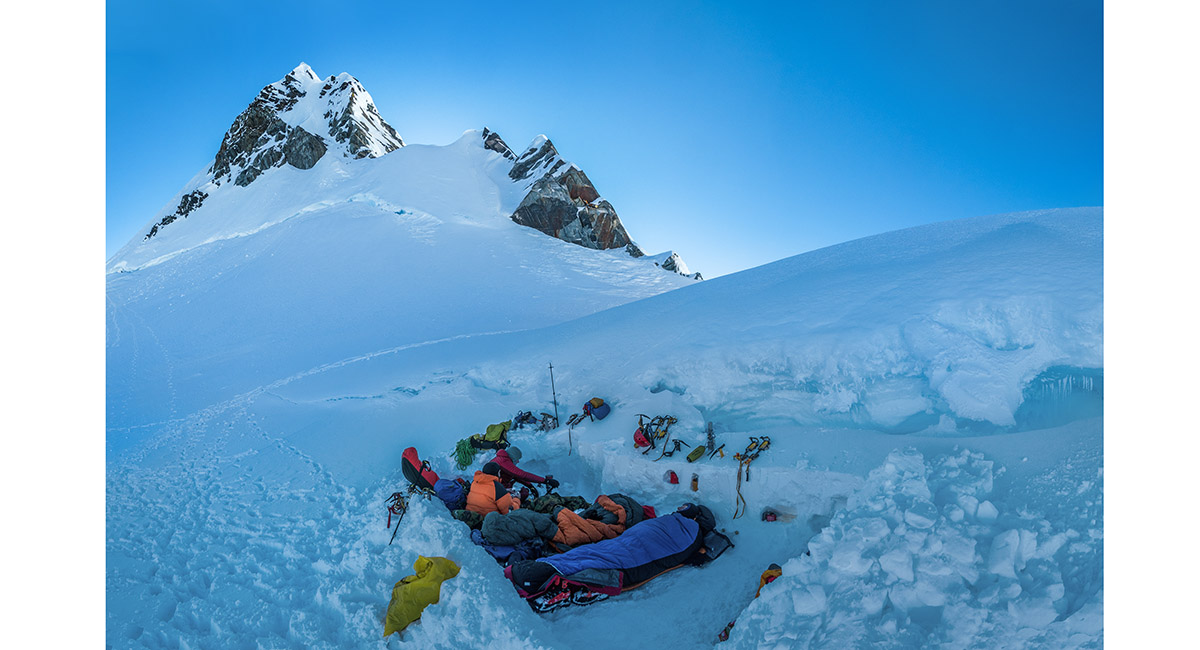
Dusk at our bivvy south of Divers Col. Mt Green behind

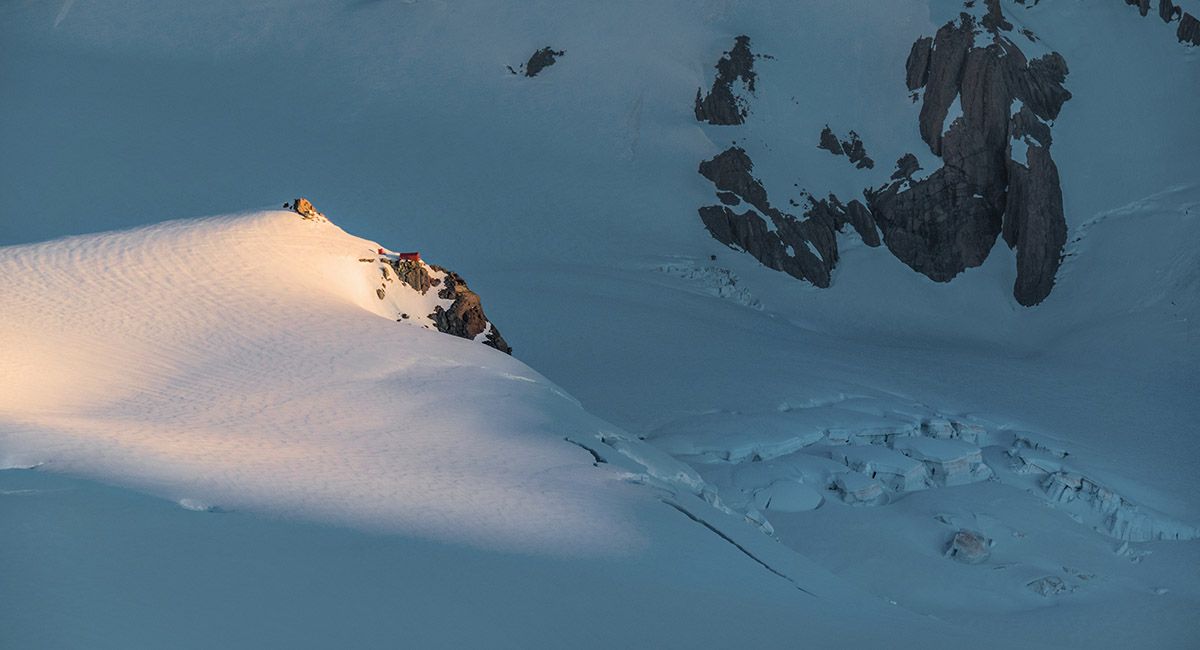
Tasman Saddle Hut, at dusk from our bivvy

Hochstetter Dome and Tasman Saddle, at dusk from our bivvy

A dusk view north west from Divers Col (2,681m)

A dusk view north west from Divers Col (2,681m)

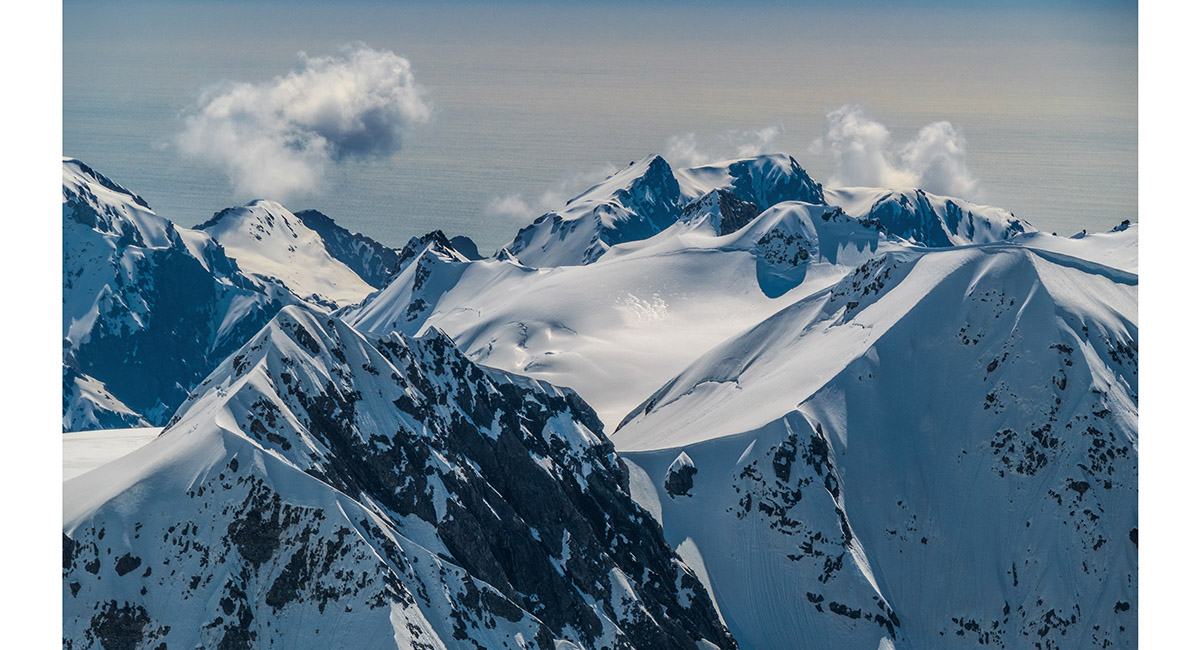
A view south east from below Divers Col to, from left, Hochstetter Dome, Mounts Abel, Annan, Darwin and Hamilton

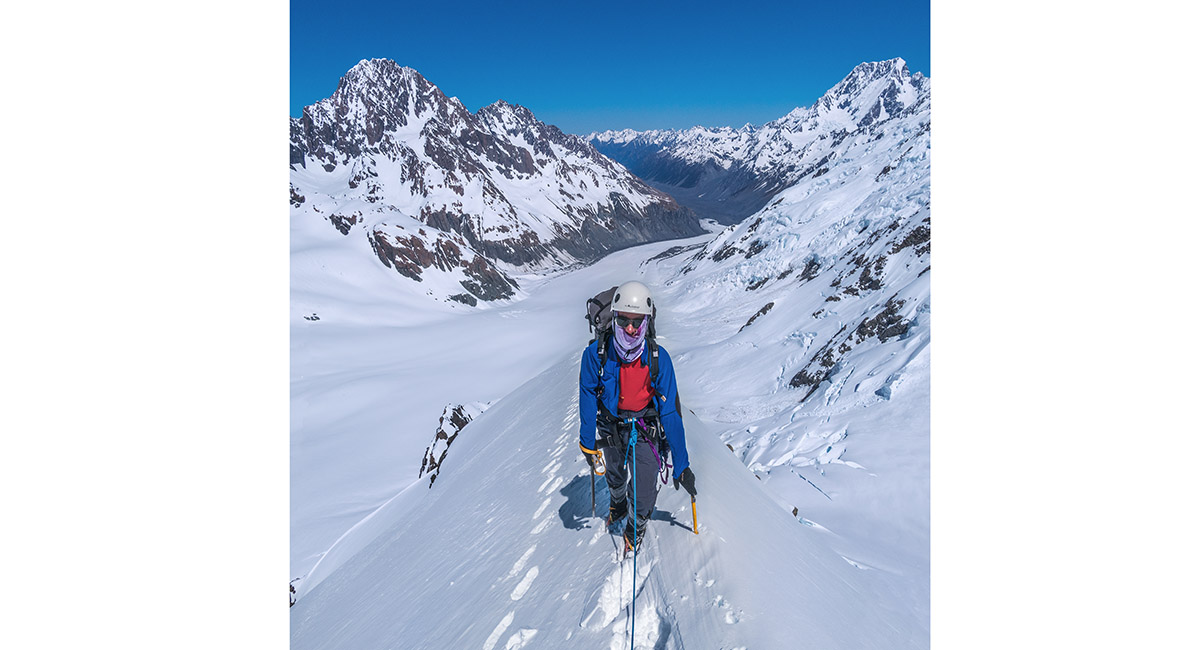
On our descent from Divers Col back to Tasman Glacier

On our descent from Divers Col back to Tasman Glacier

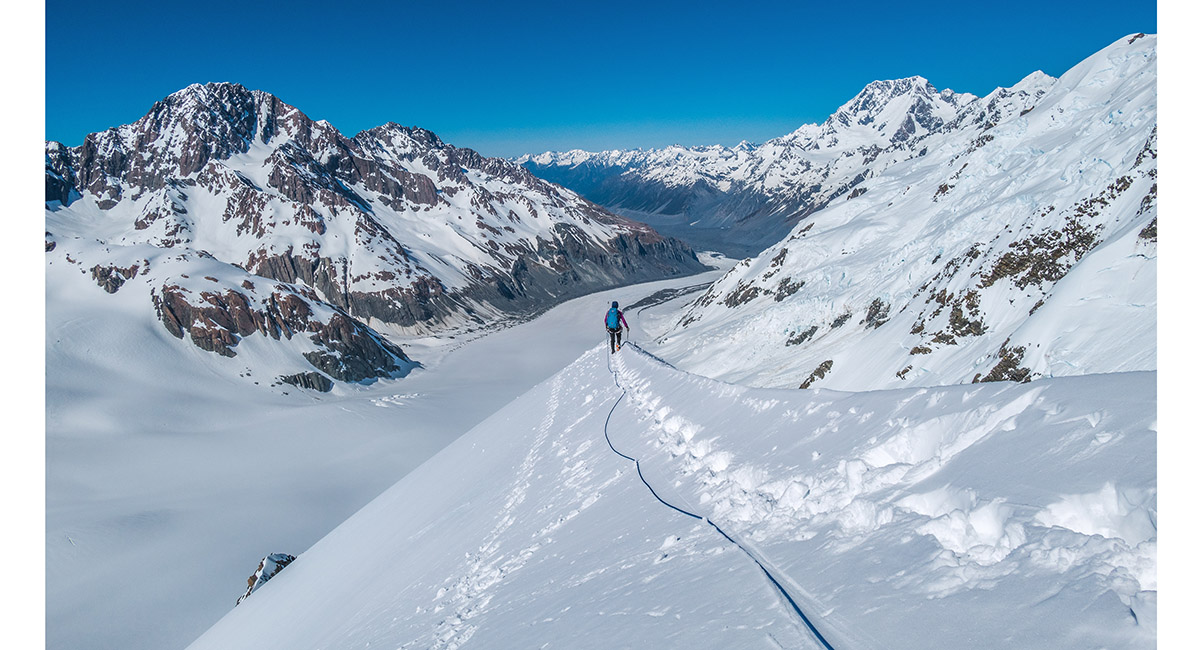
On our descent from Divers Col back to Tasman Glacier

On our descent from Divers Col back to Tasman Glacier


On our descent from Divers Col back to Tasman Glacier

Approaching Tasman Saddle Hut, late afternoon


To order a print or web resolution file of any image you see in this slide show, just right click the image, click “Copy Image URL” and paste in to the “Your message” box of our Contact Us form. Please also note, for each image, if you want a print or web resolution file. We will get back to you as soon as possible to confirm price and payment details.
Open Contact Us in a new window to paste Image URL(s) easily