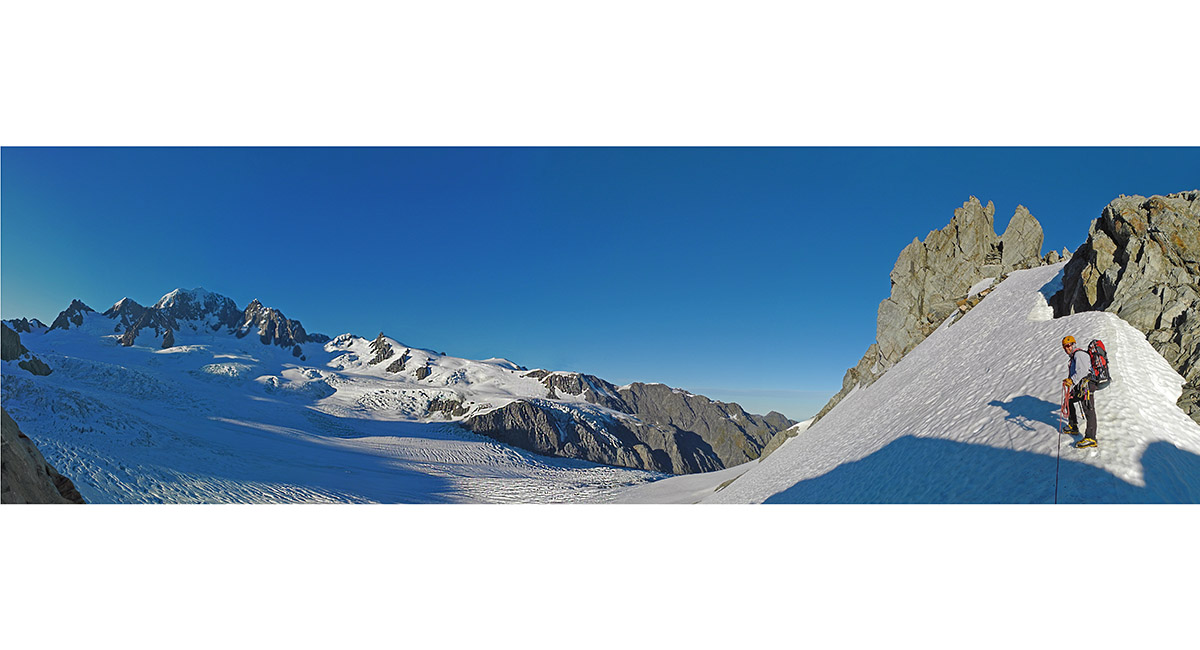
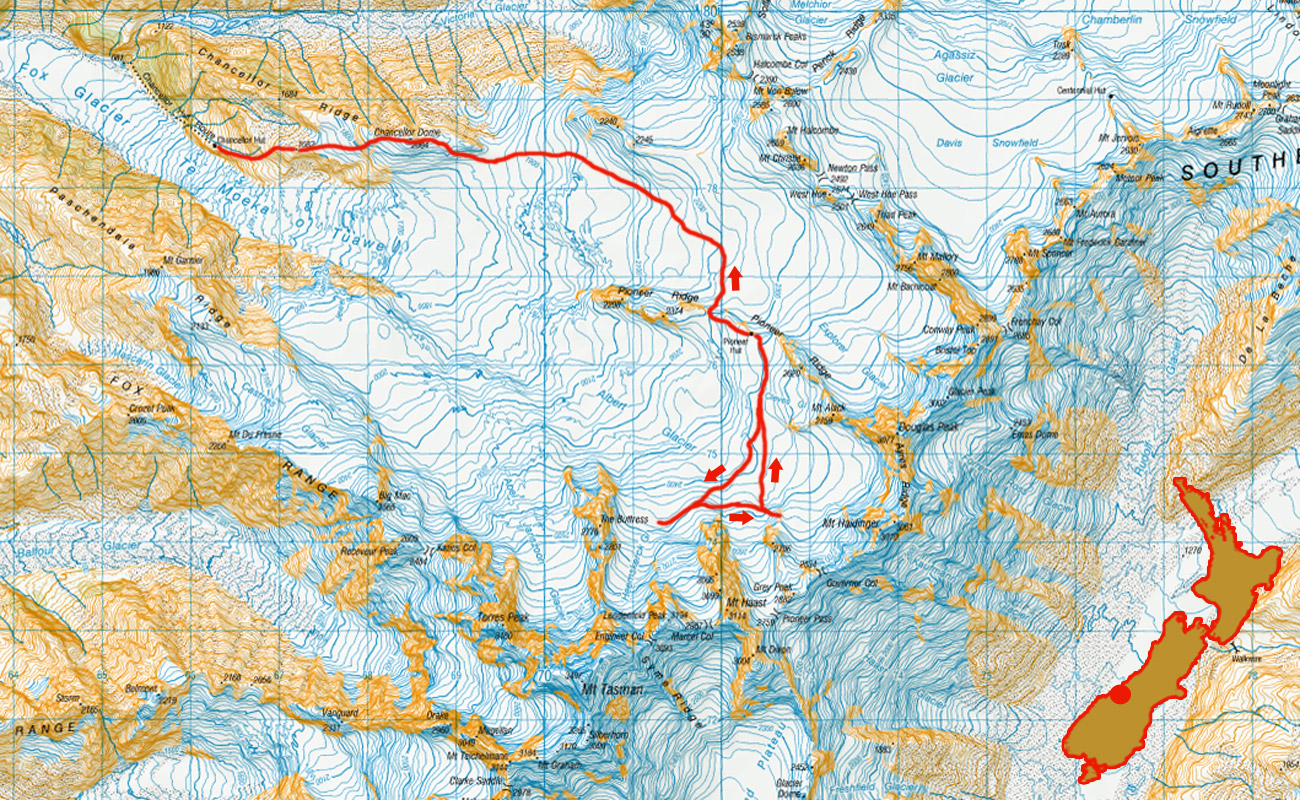
Around Pioneer Hut and Chancellor Dome, February 2014
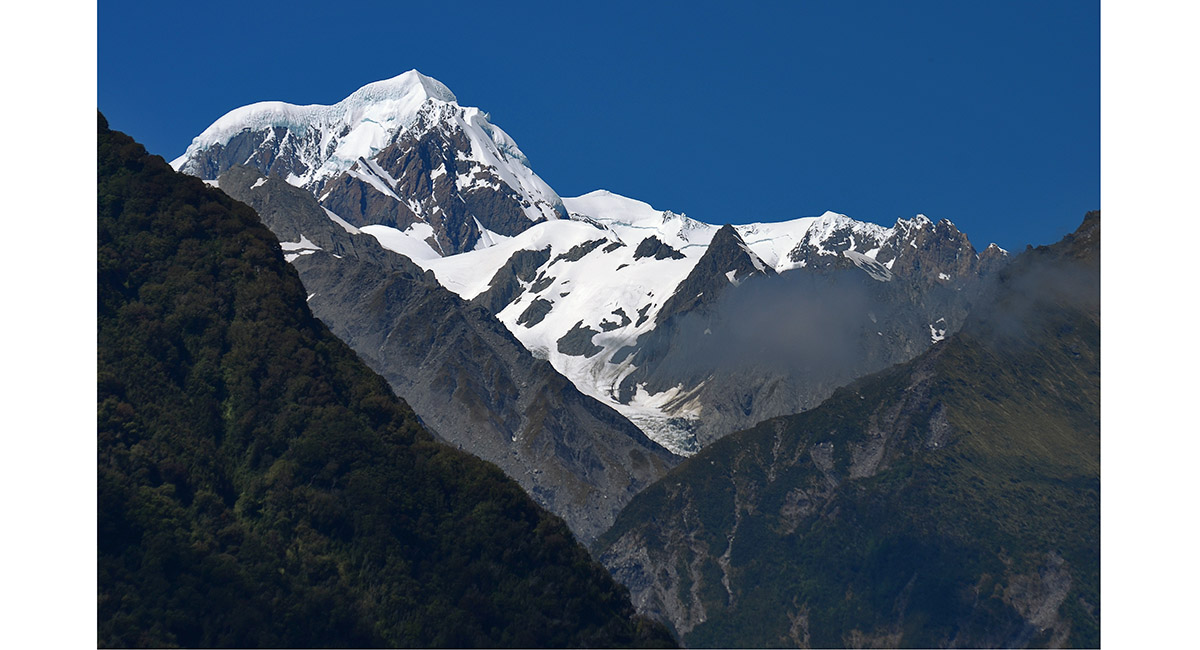
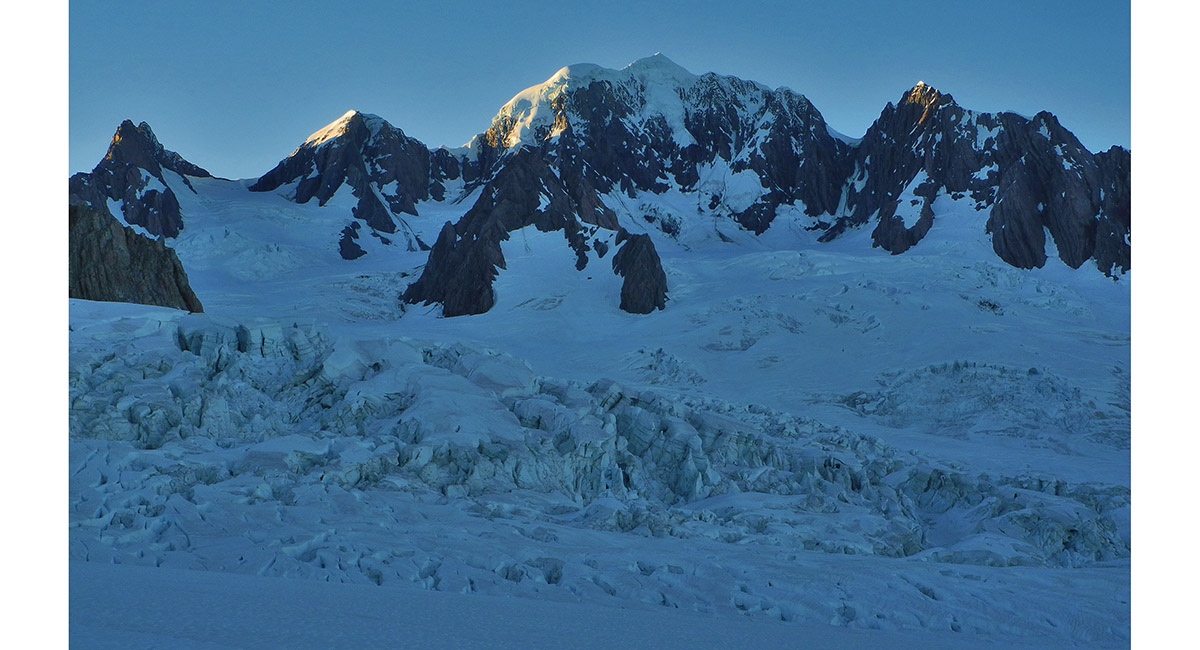
Mount Tasman (3,497m) from Fox, West Coast

From left - Chancellor Dome (2,004m), Glacier Peak (3,002m), Douglas Peak (3,077m) and Mount Haidinger (3,070m), with Fox Glacier in the foreground


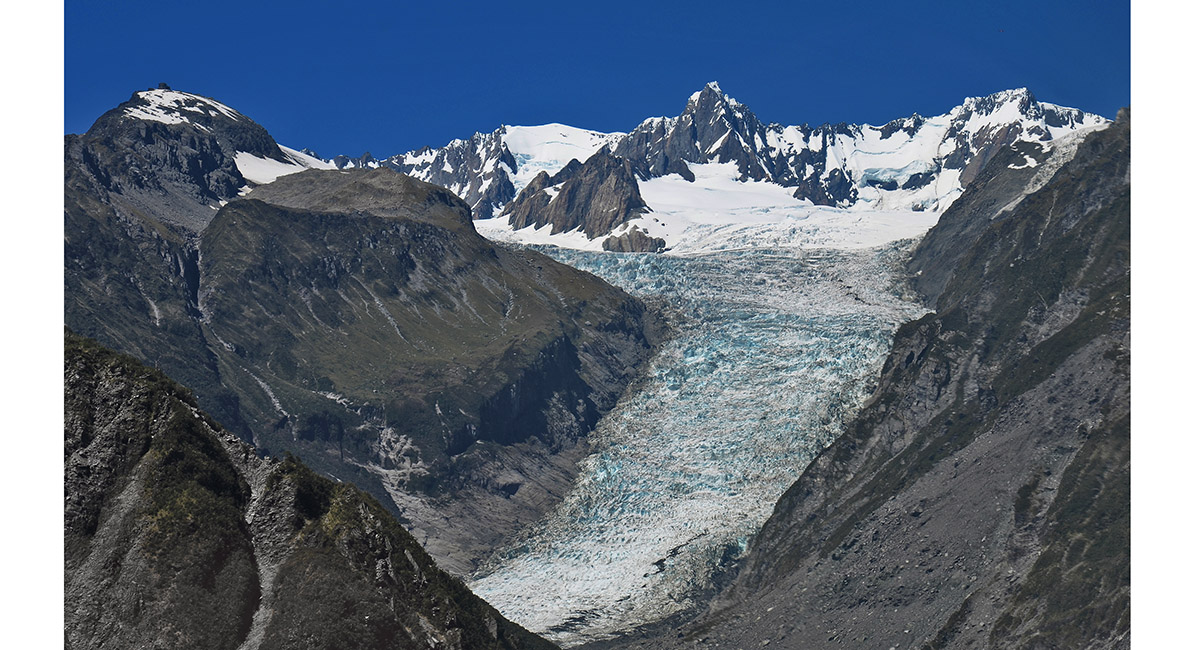
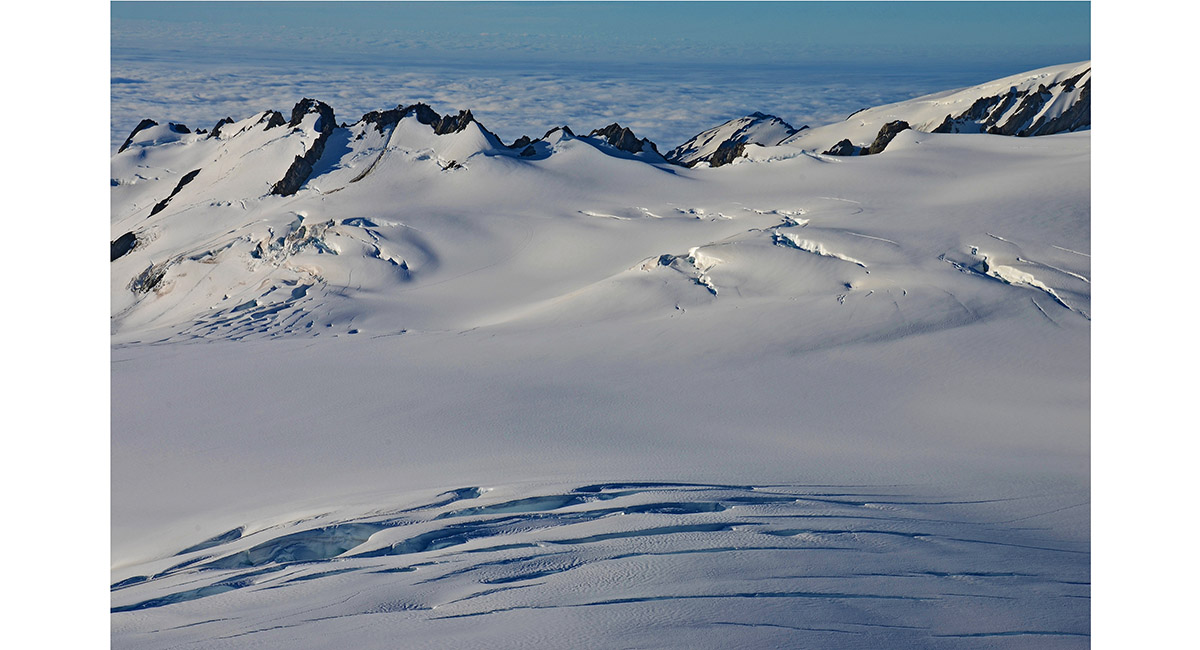
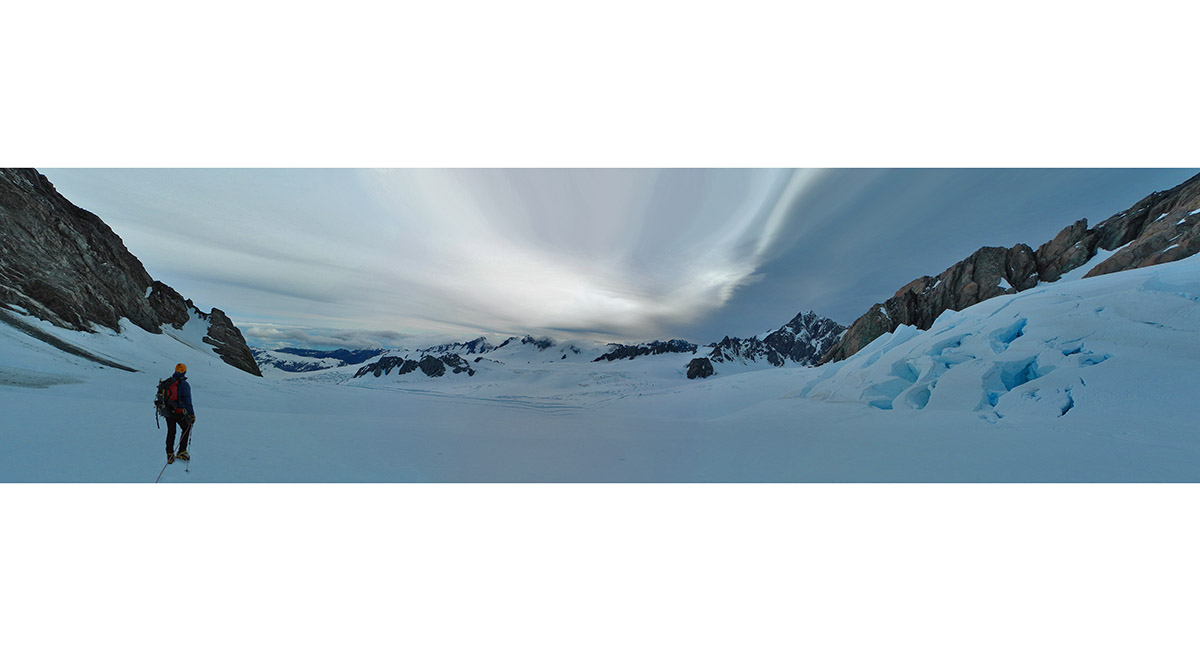
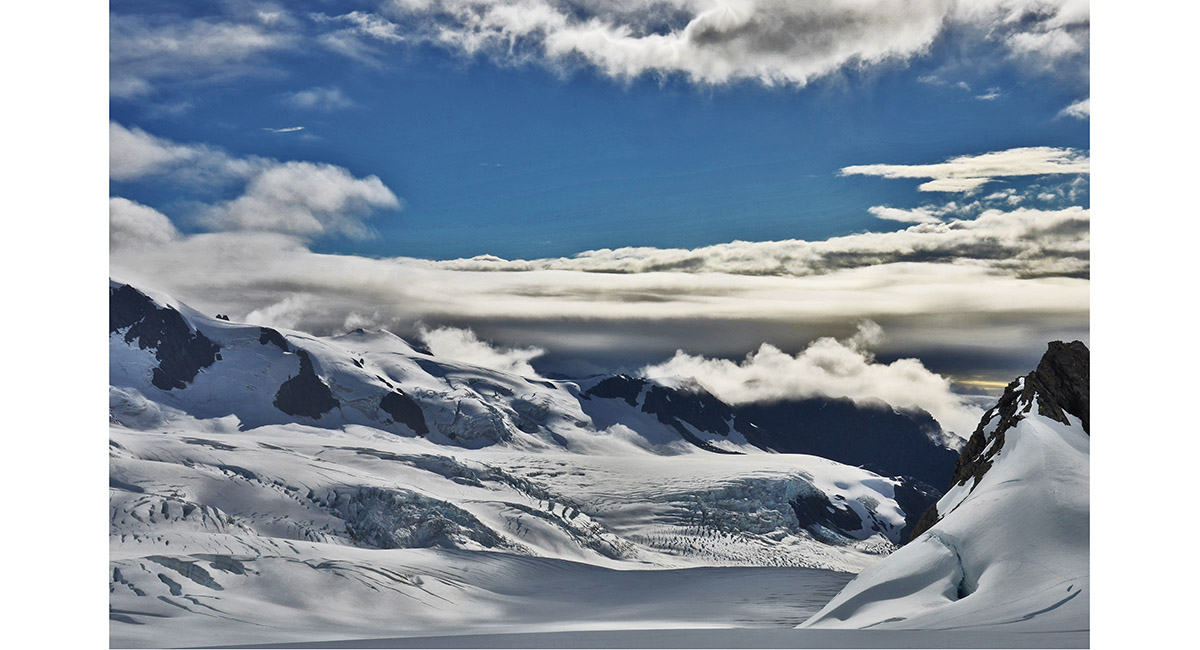
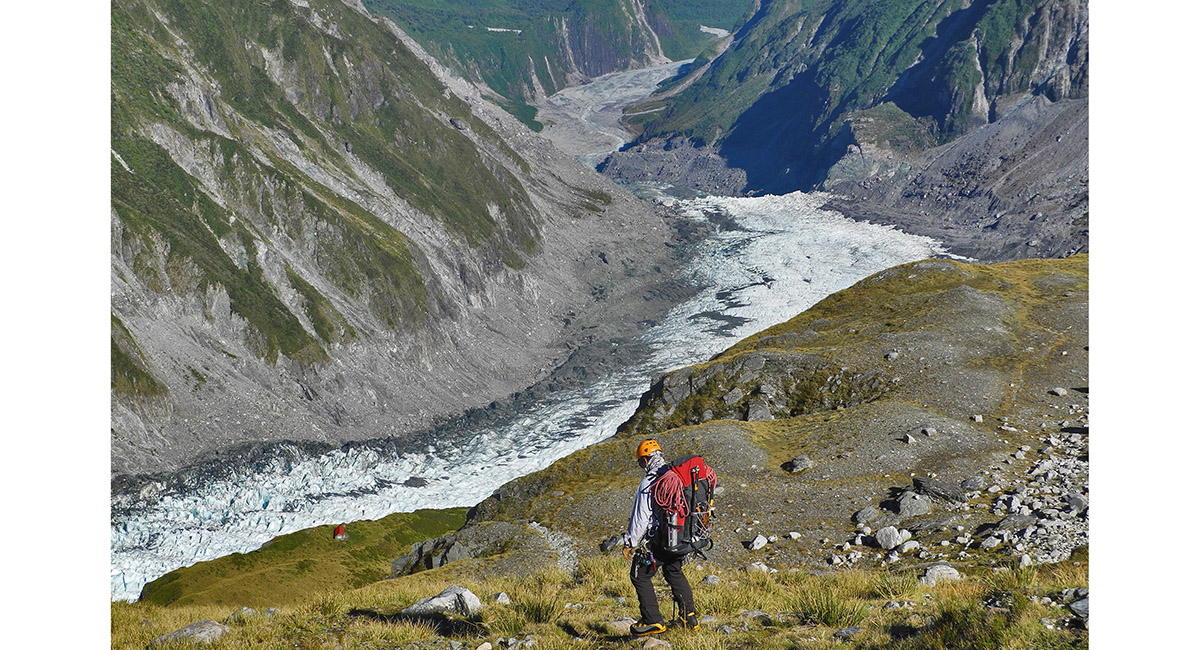
The Fox Glacier


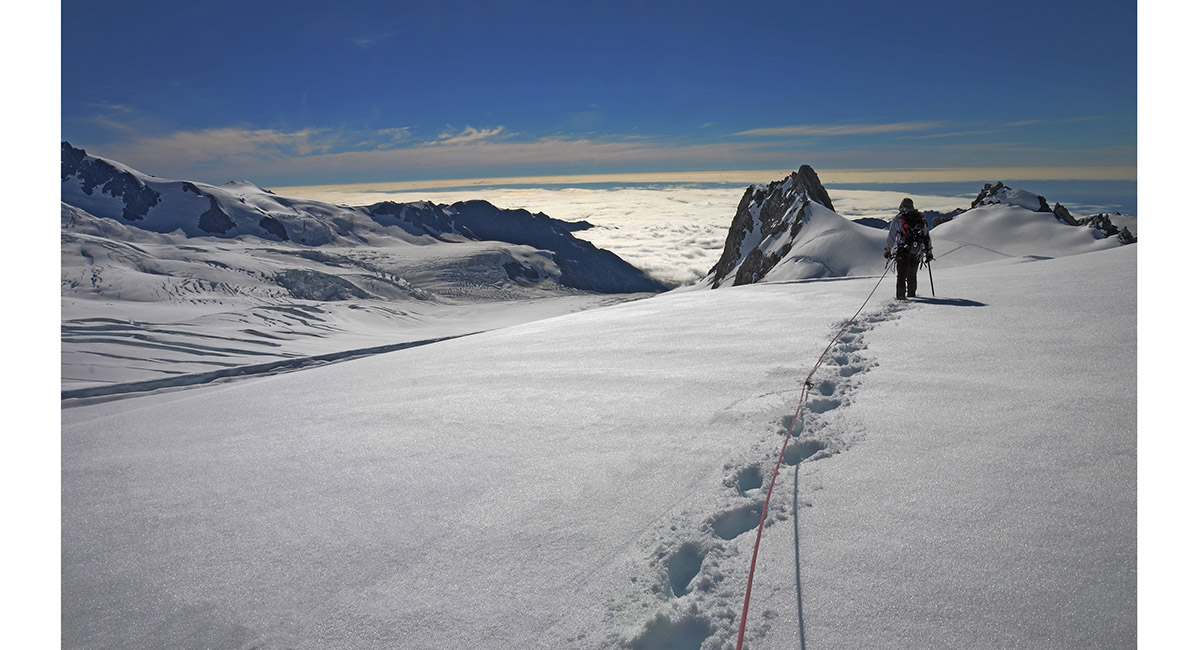
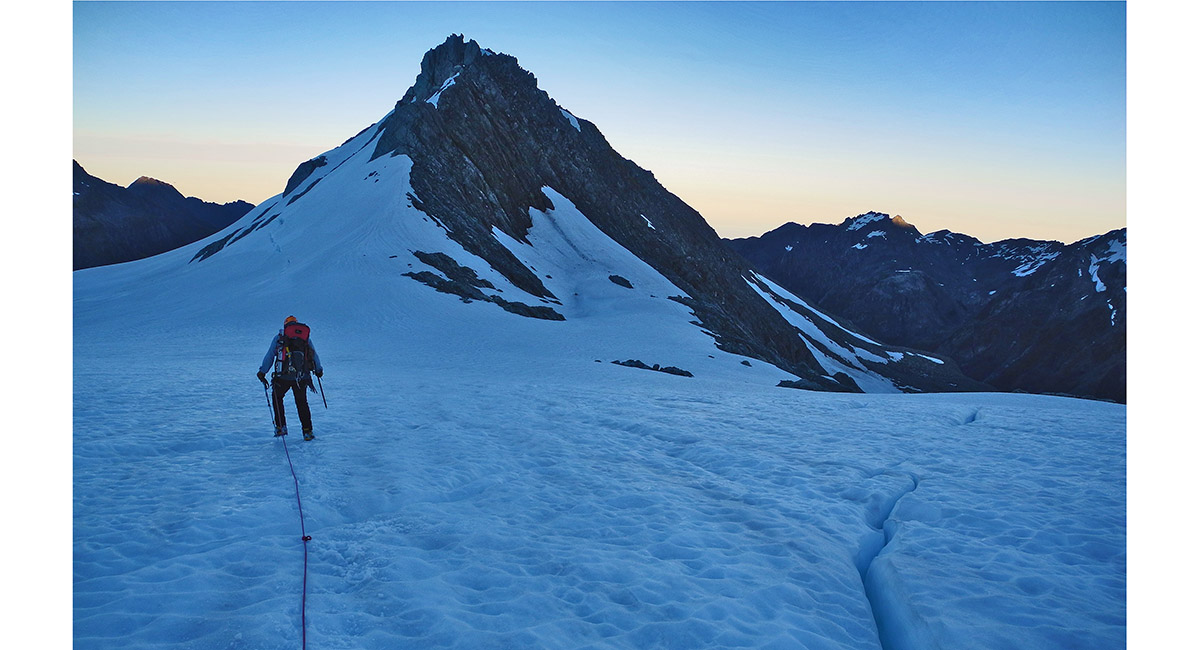
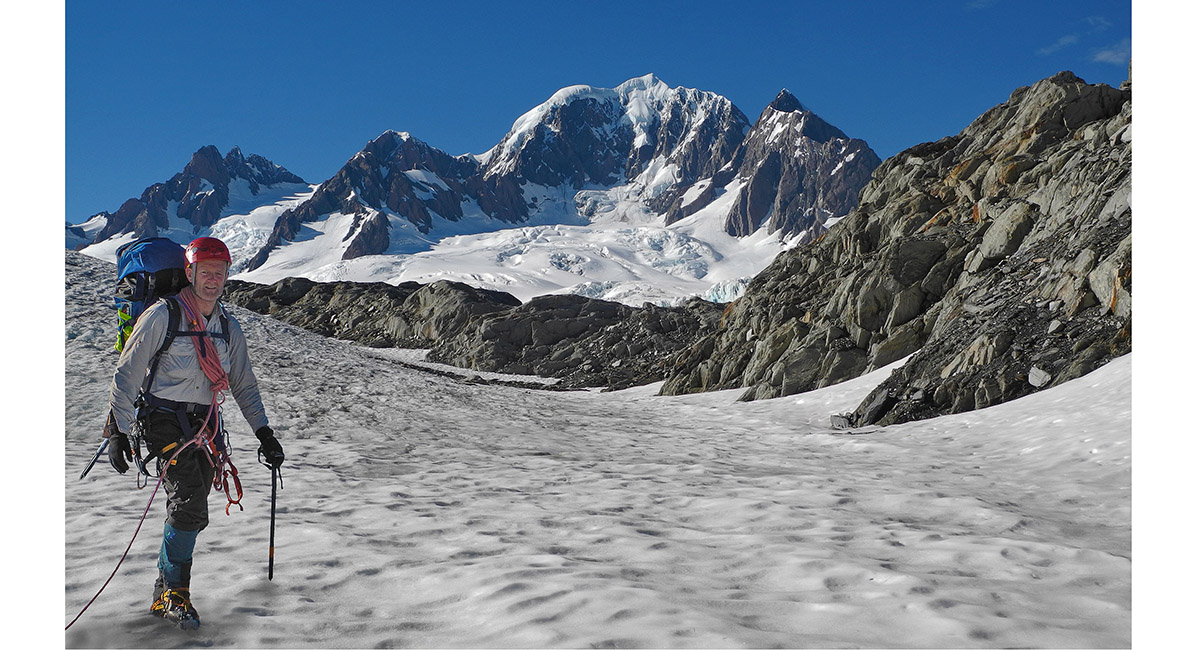
Nearing the Fox Neve


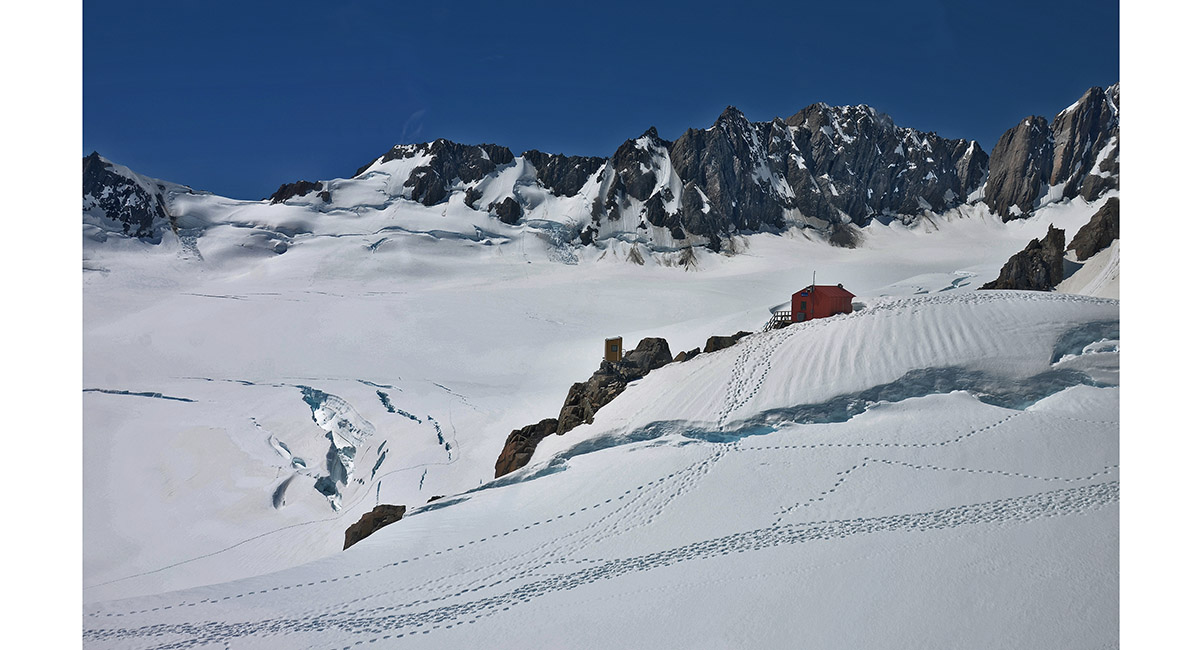
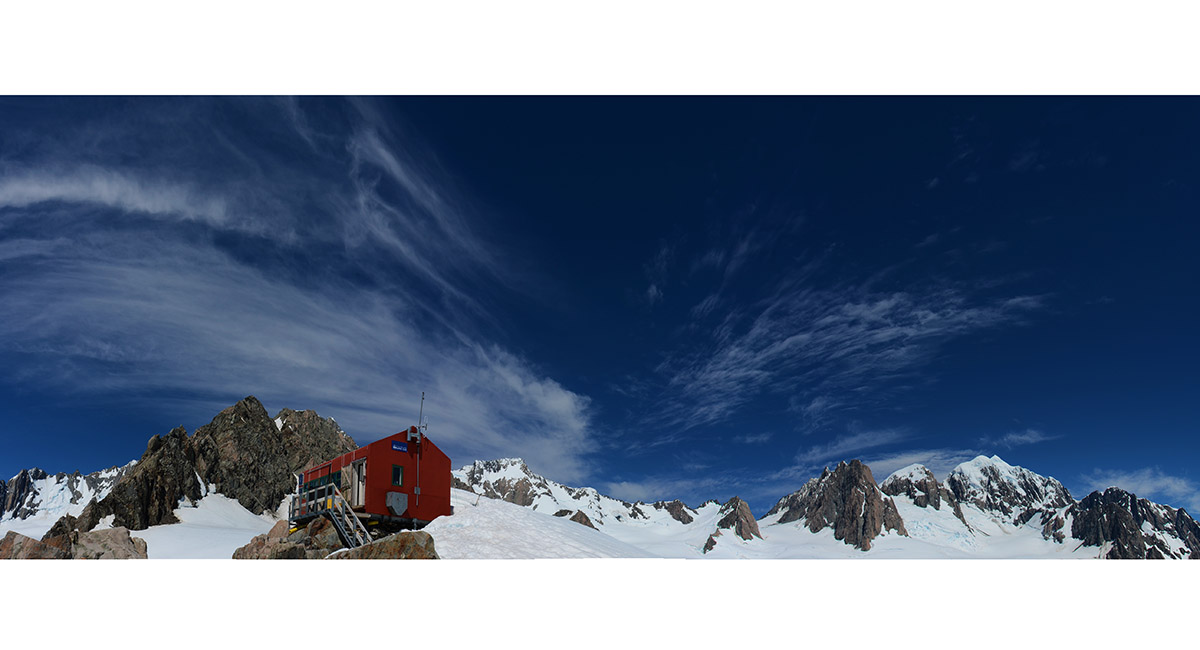
Pioneer Hut (2,380m), with Mounts Mallory (2,756m), Barnicoat (2,800m) and Conway (2,899m) behind

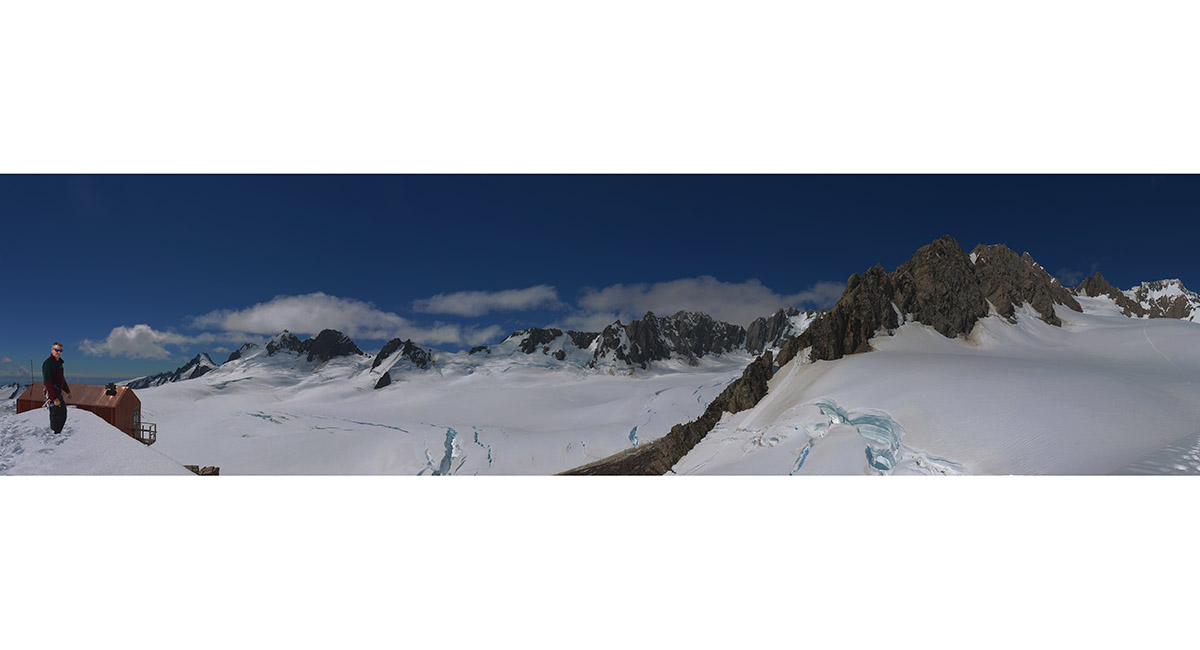
Pioneer Hut, with Mount Alack (2,759m) at right

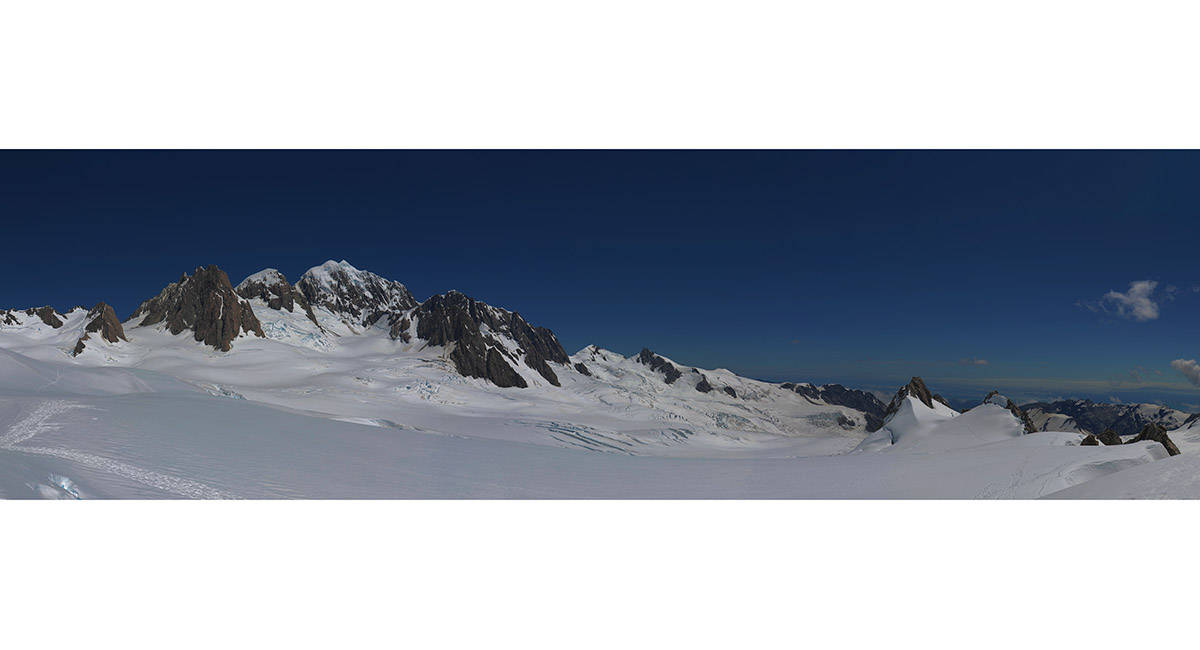
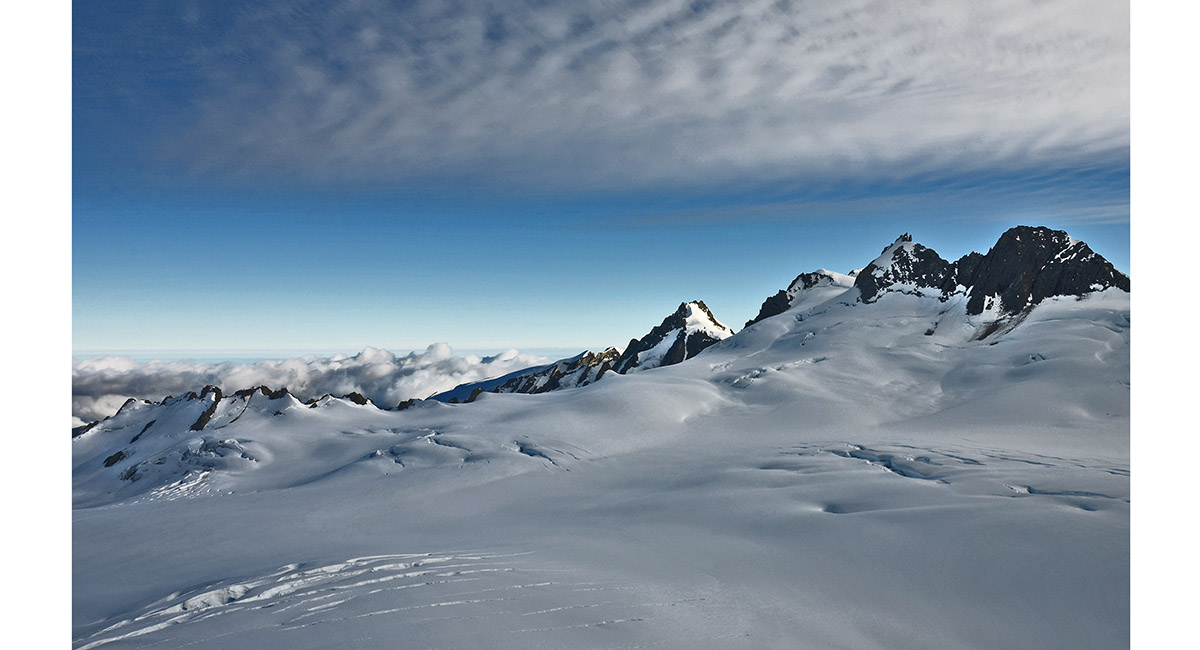
On the left, from left - Grey Peak (2,882m), Pioneer Pass (2,759m), Mounts Haast (3,114m), Lendenfeld (3,194m) and Tasman (3,497m) and Torres Peak (3,160m)

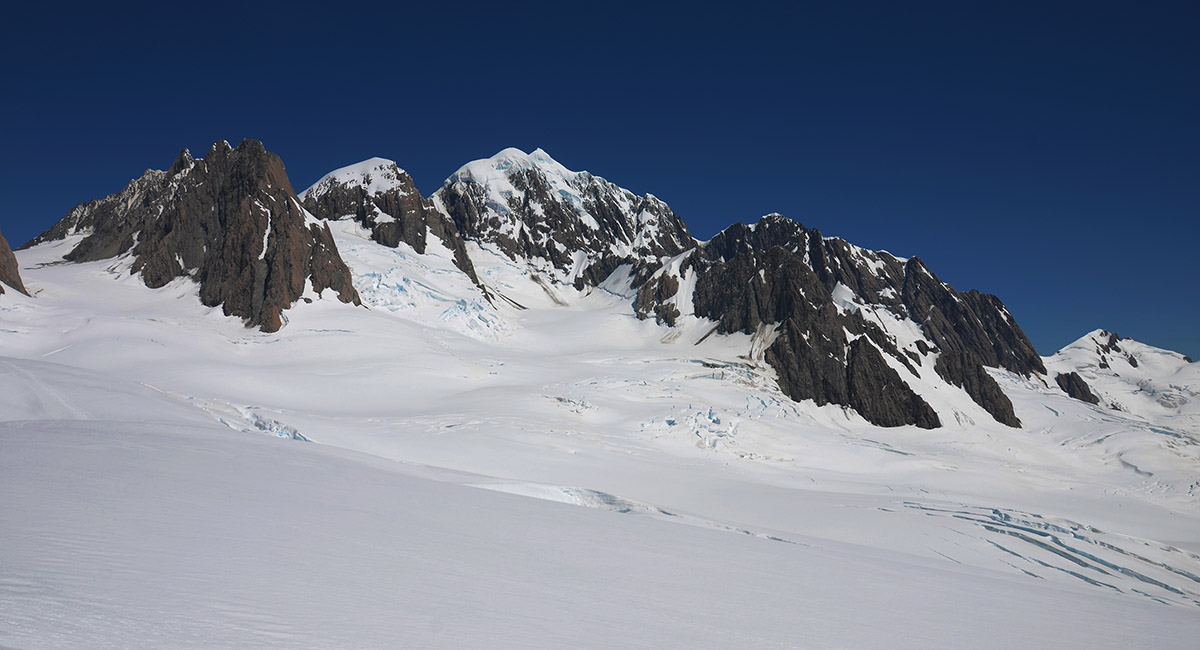
From left - Pioneer Pass (2,759m), Mounts Haast (3,114m), Lendenfeld (3,194m) and Tasman (3,497m) and Torres Peak (3,160m)

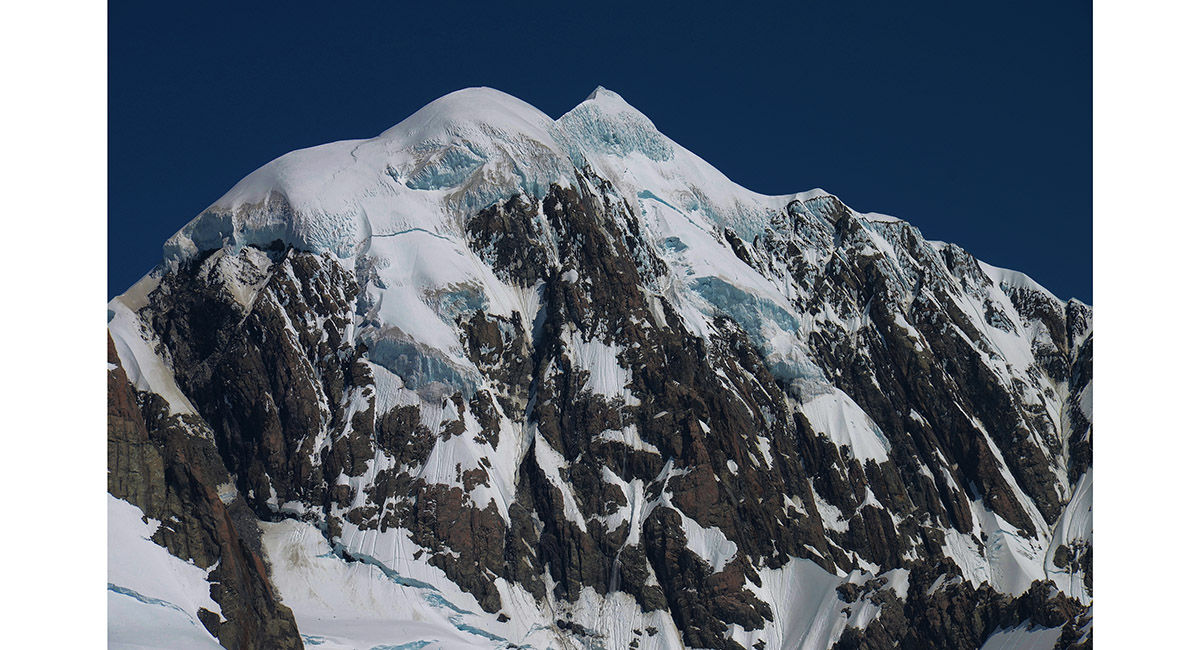
Mount Tasman (3,497m)

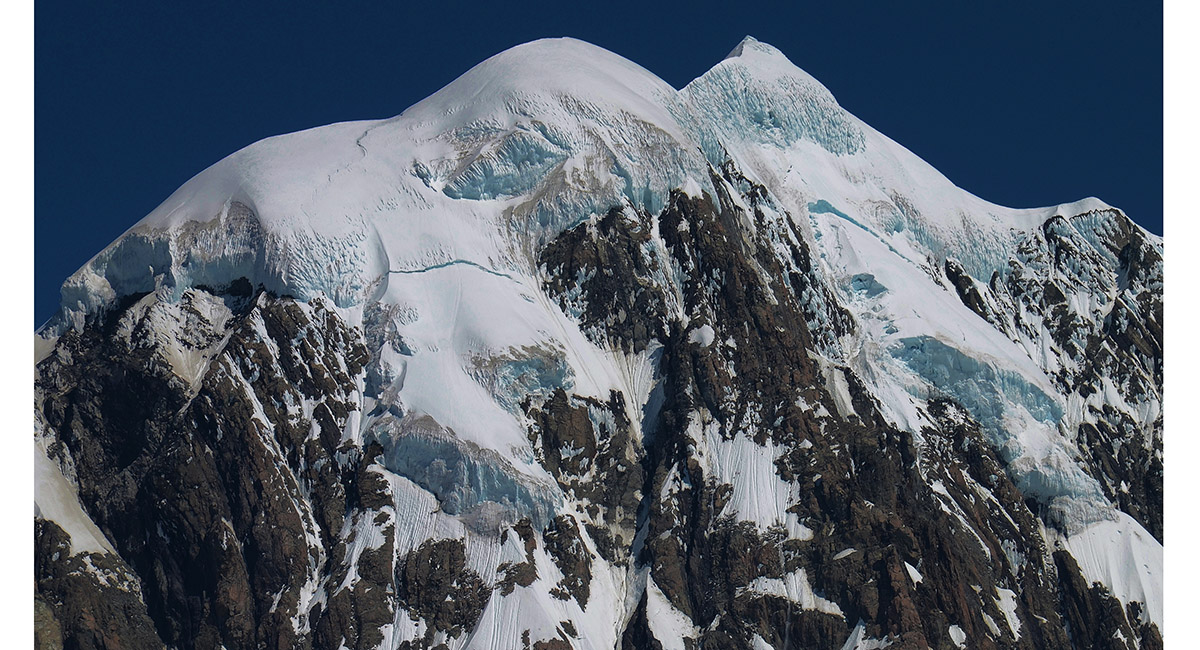
Mount Tasman


From left - Grey Peak (2,882m), Pioneer Pass (2,759m), Mounts Haast (3,114m), Lendenfeld (3,194m) and Tasman (3,497m) and Torres Peak (3,160m)

Looking west to Pioneer Ridge (2,374m)


Pioneer Hut and Mount Alack

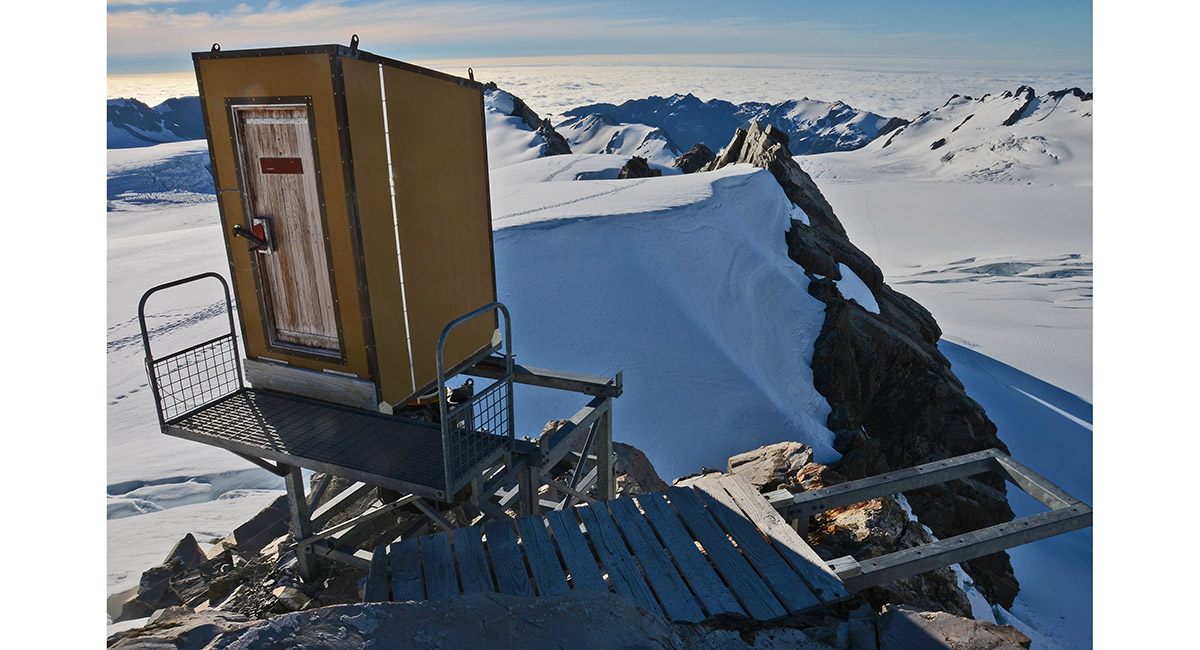
The throne room, next to Pioneer Hut - an airy dump for all comers

Throne room with a view (to Tasman among others)

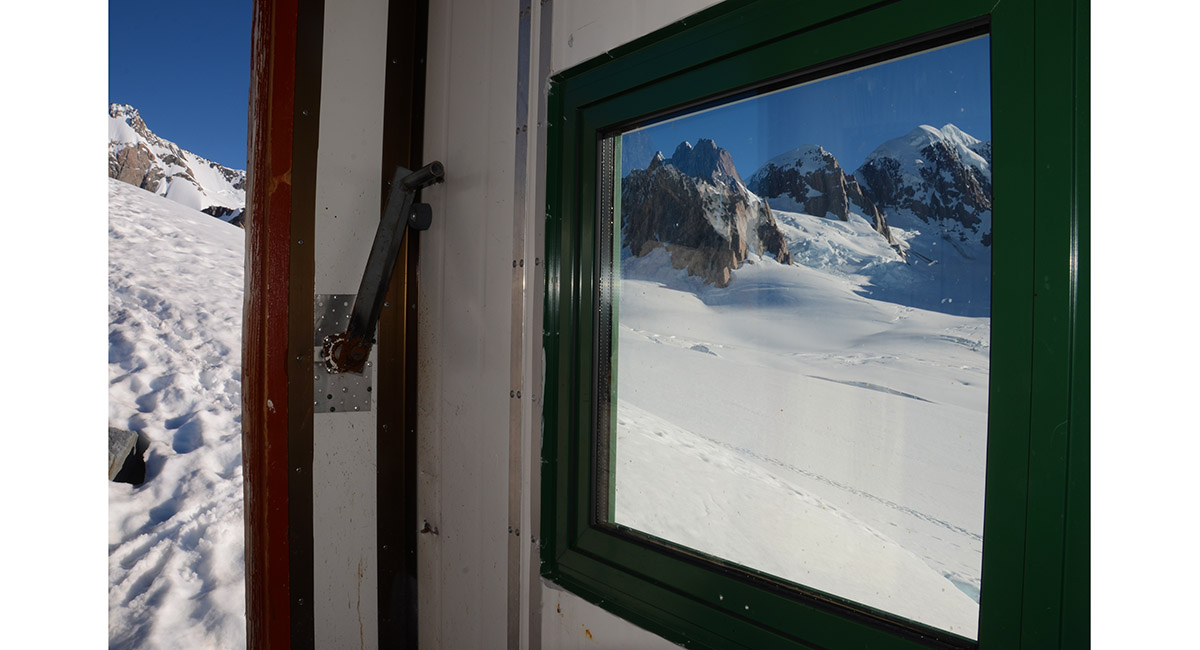
View north across the Explorer Glacier, from Pioneer Hut

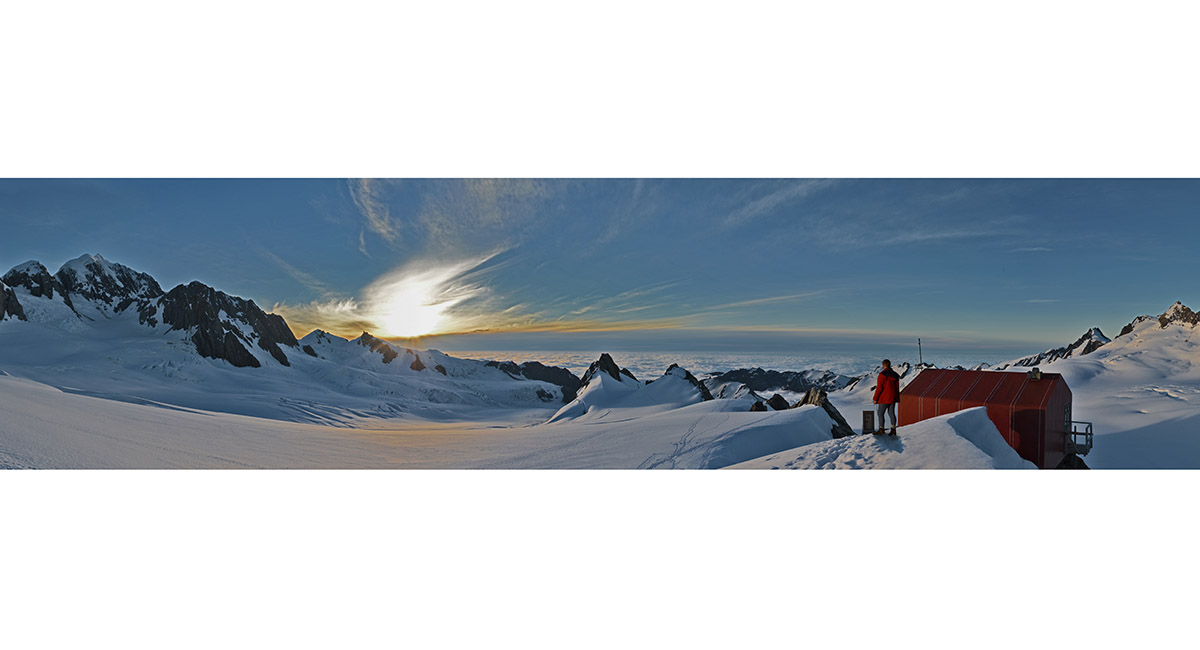
View south and west from Pioneer Hut

View south to Mount Tasman


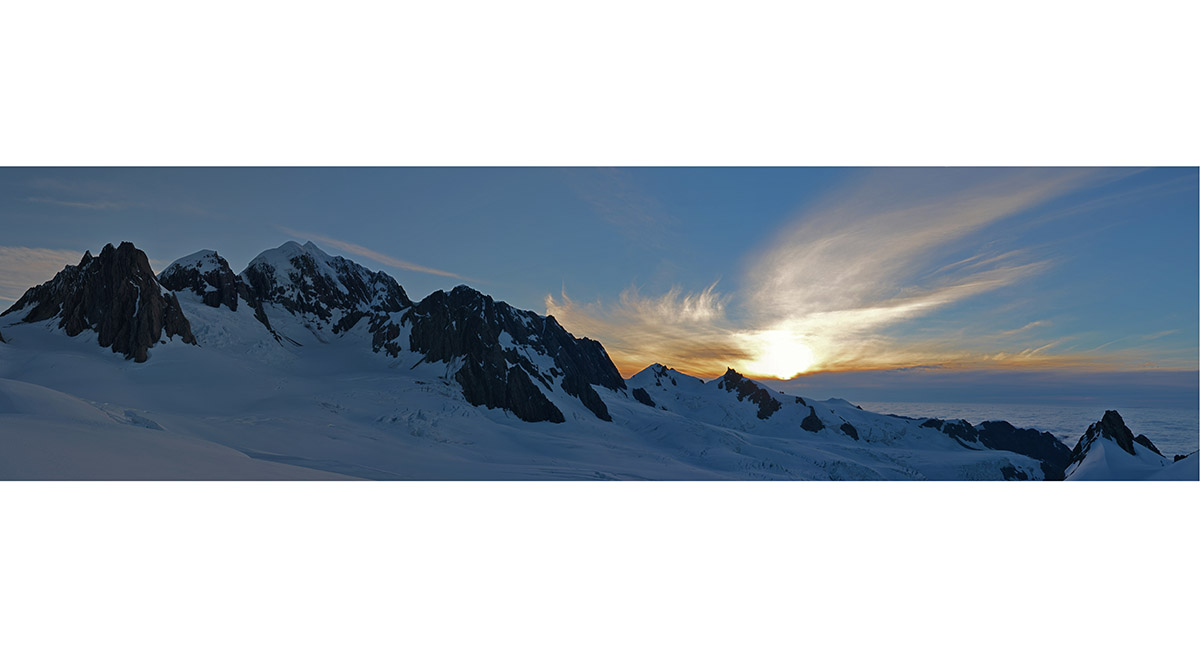
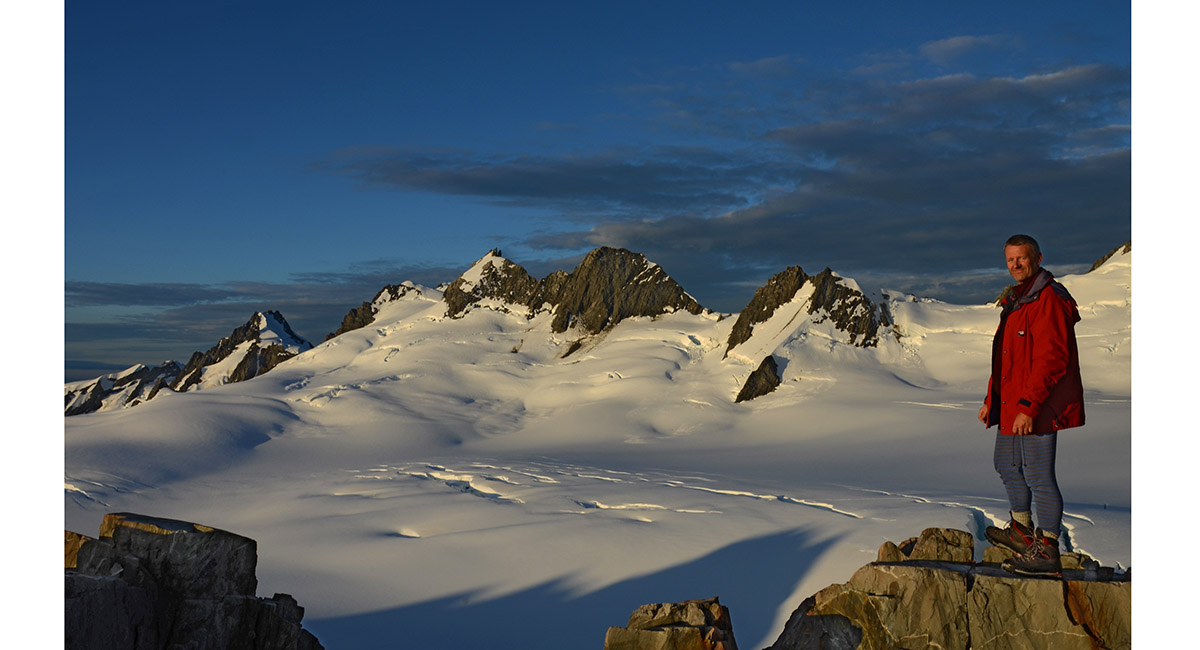
At dawn, from left - Grey Peak (2,882m), Pioneer Pass (2,759m), Mounts Haast (3,114m), Lendenfeld (3,194m) and Tasman (3,497m)


Lendenfeld and Tasman at dawn


The main divide, from Mount Mallory on the left to Mount Tasman on the right

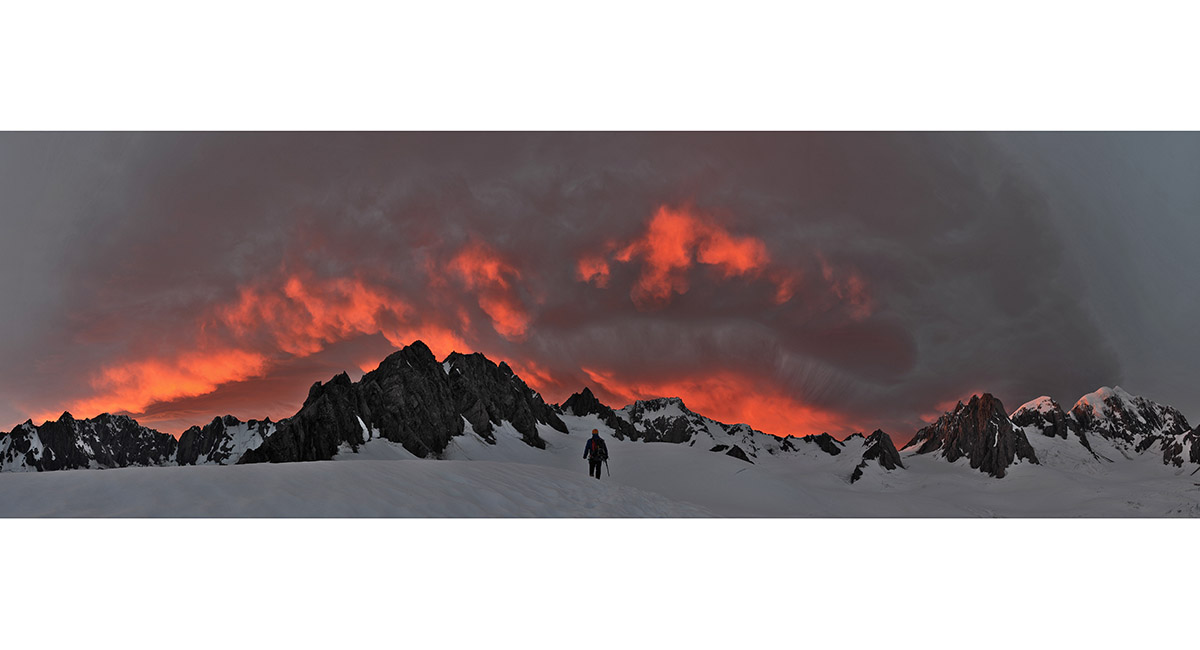
Red Divide - from Mount Mallory (left) to Mount Tasman (right)

Mount Haidinger (left) to Mount Tasman (right)

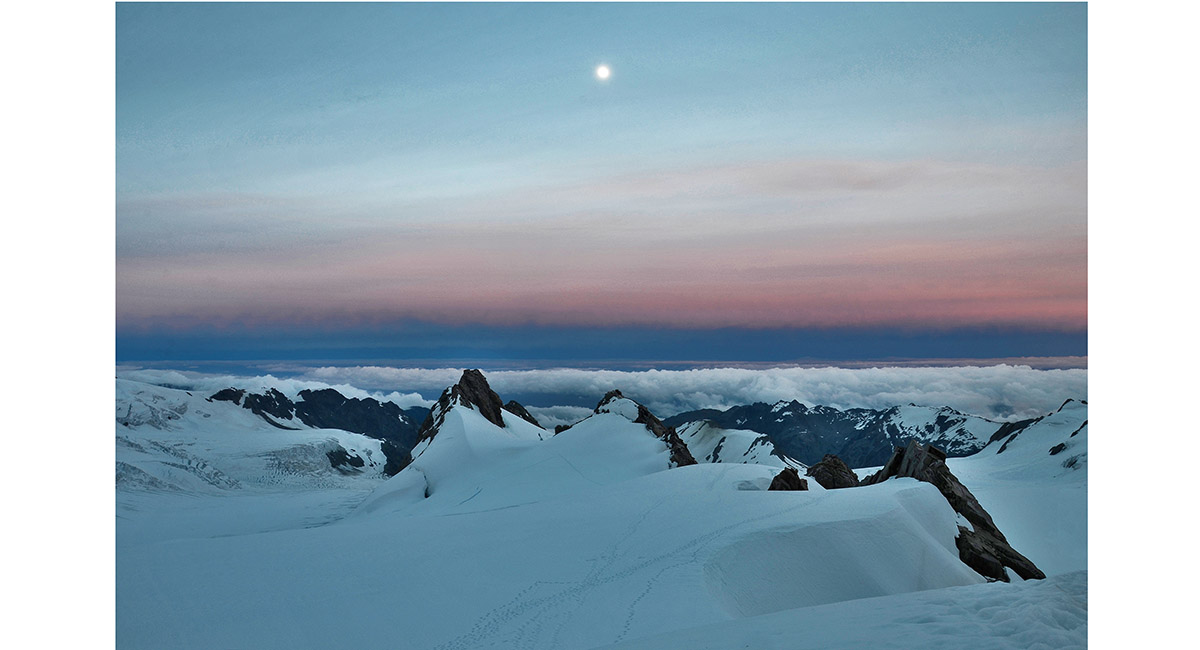
Moon rise over Pioneer Ridge


Hut bound, Pioneer Hut

From left - Haidinger, Govenor Col, Grey Peak and Pioneer Pass

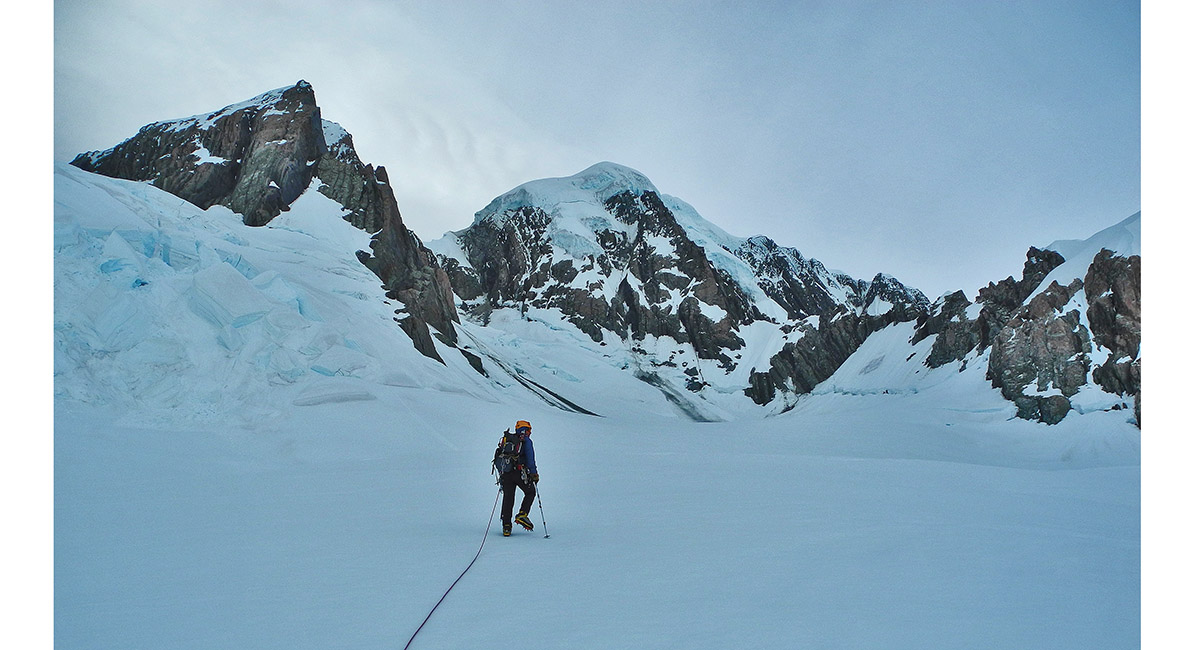
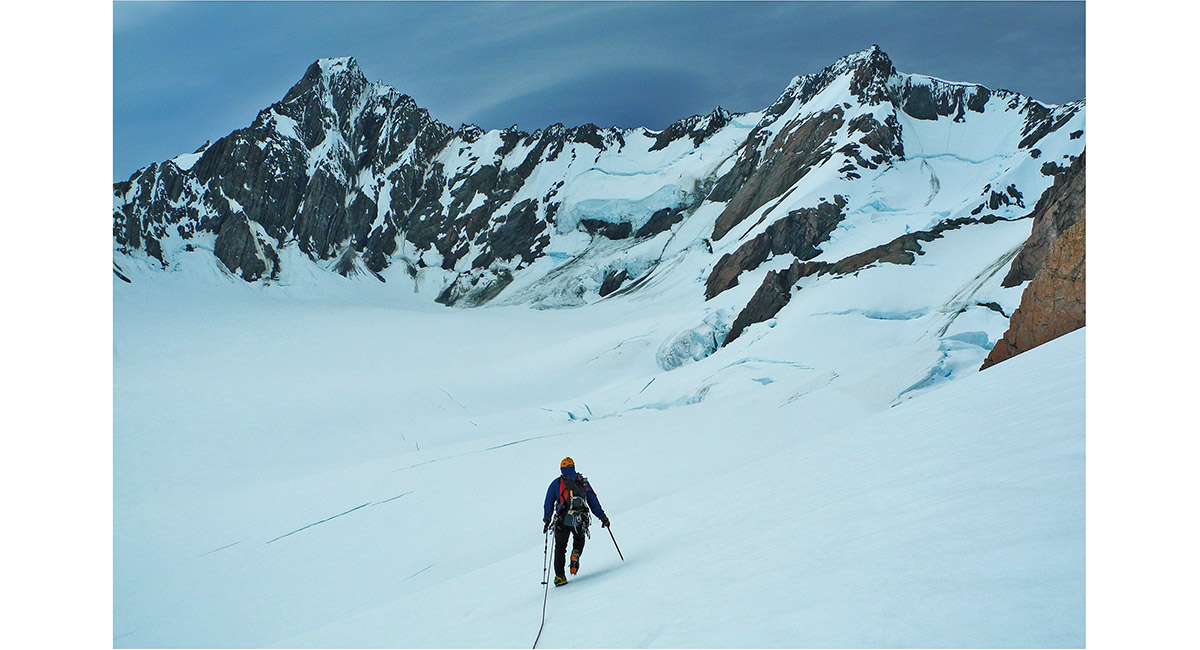
Approaching Mount Tasman


Beneath Mount Tasman, with Engineer Col (3,093m) to the left

View north west from beneath Mount Tasman

Approaching Haidinger (right 3,070m) and Douglas Peak (left 3,077m)

Mount Haidinger


Douglas Peak left and Haidinger right


Grey Peak and Pioneer Pass


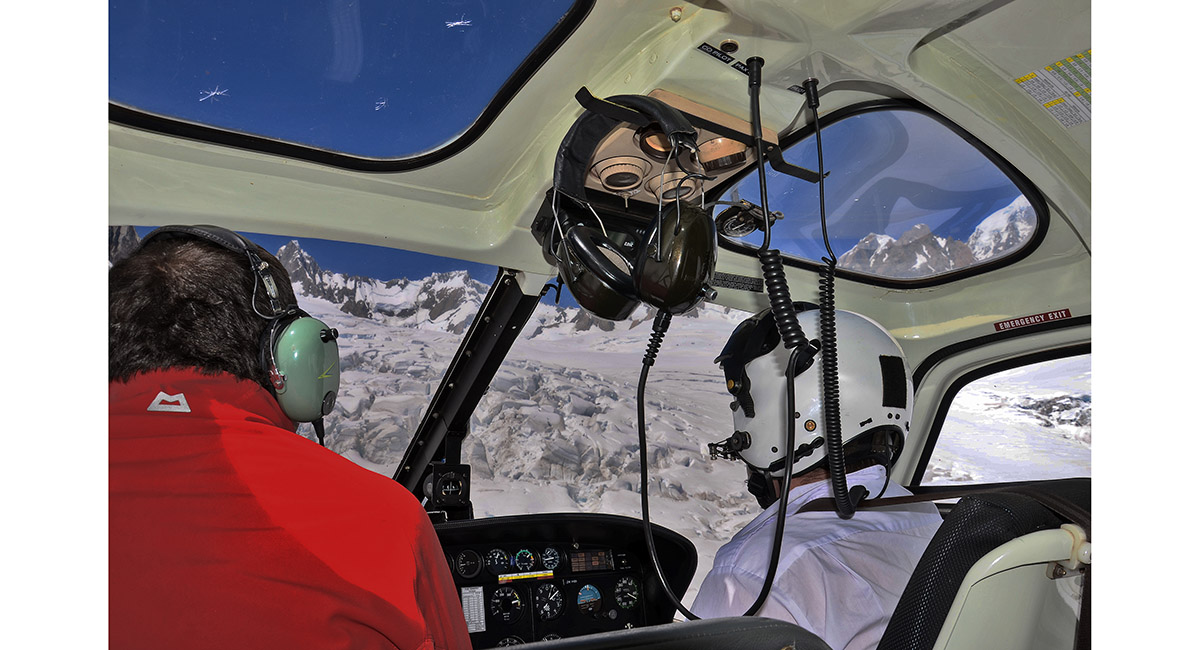
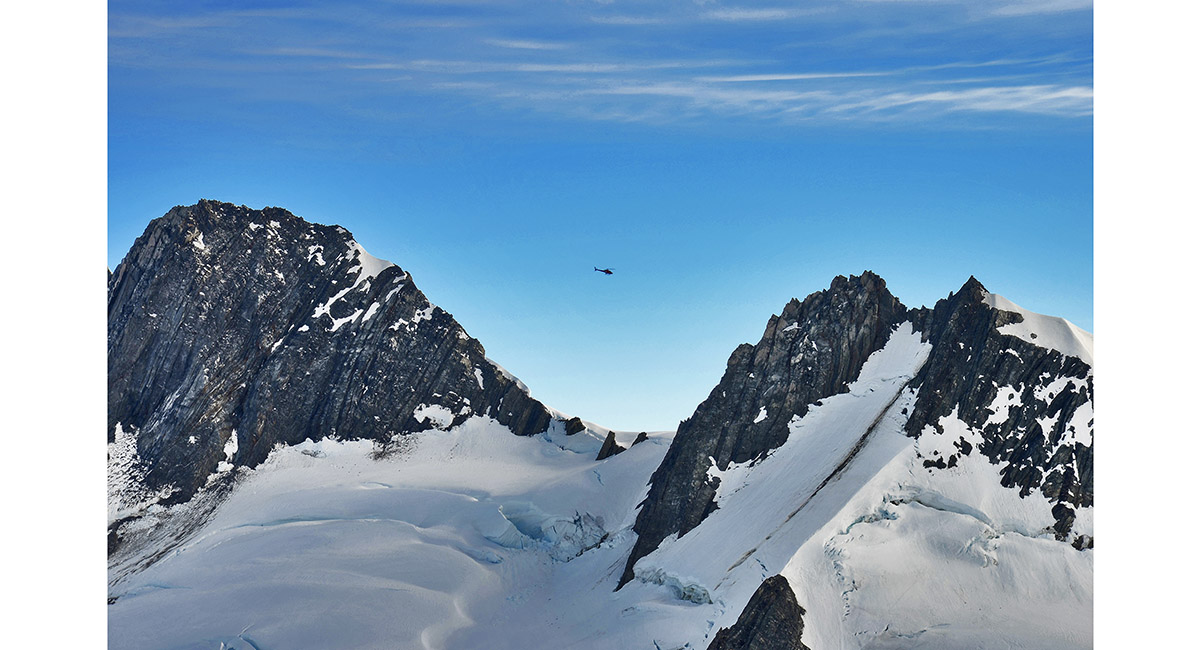
A chopper approaching Pioneer Ridge

A chopper crossing Newton Pass (2,492m), flanked on the left by Mount Christie (2,636m) and on the right by West Hoe (2,574m)

From right - Mounts Christie, Halcombe, Von Bulow and the Bismark Peaks


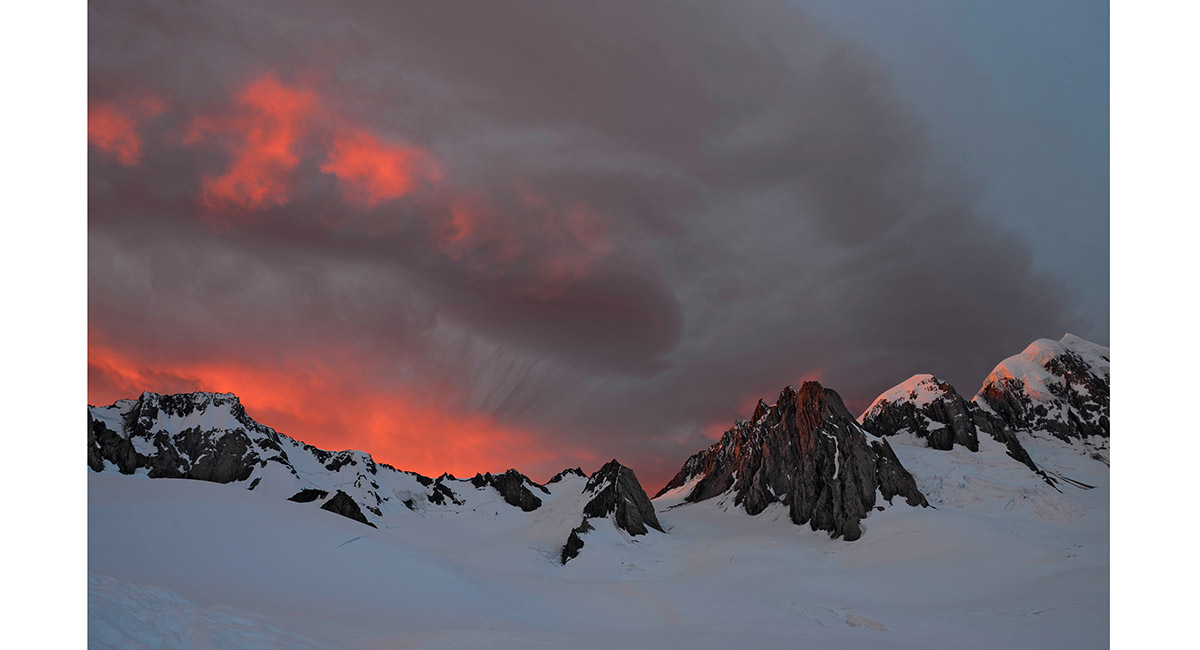
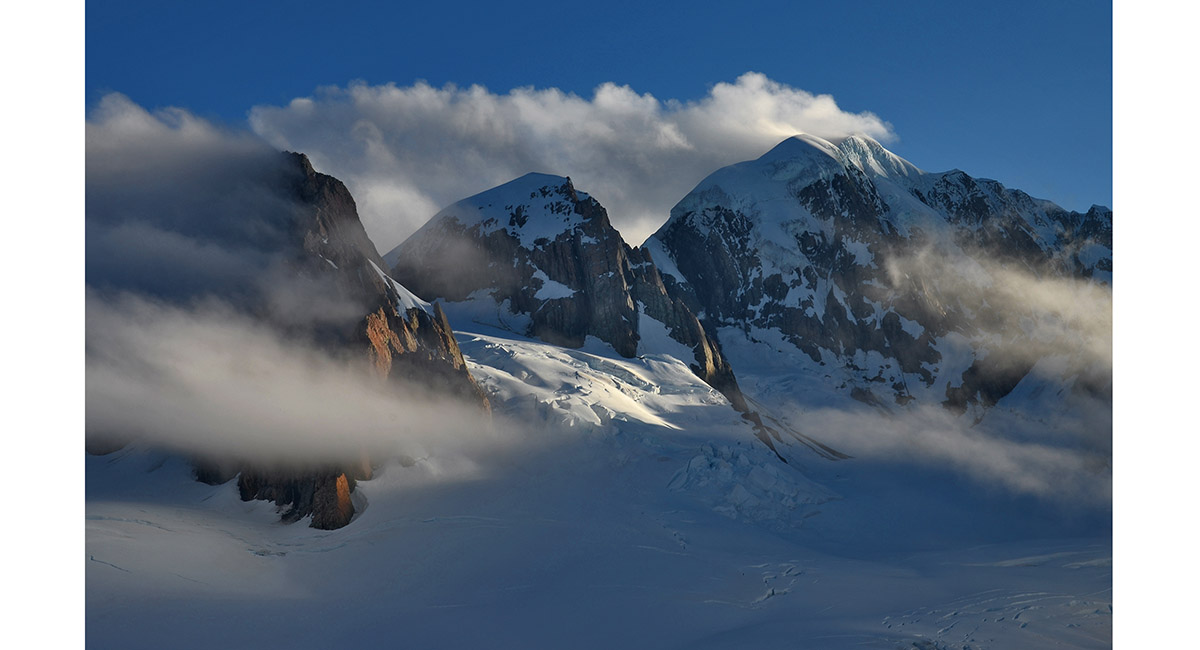
Hogs back cloud over Mount Tasman

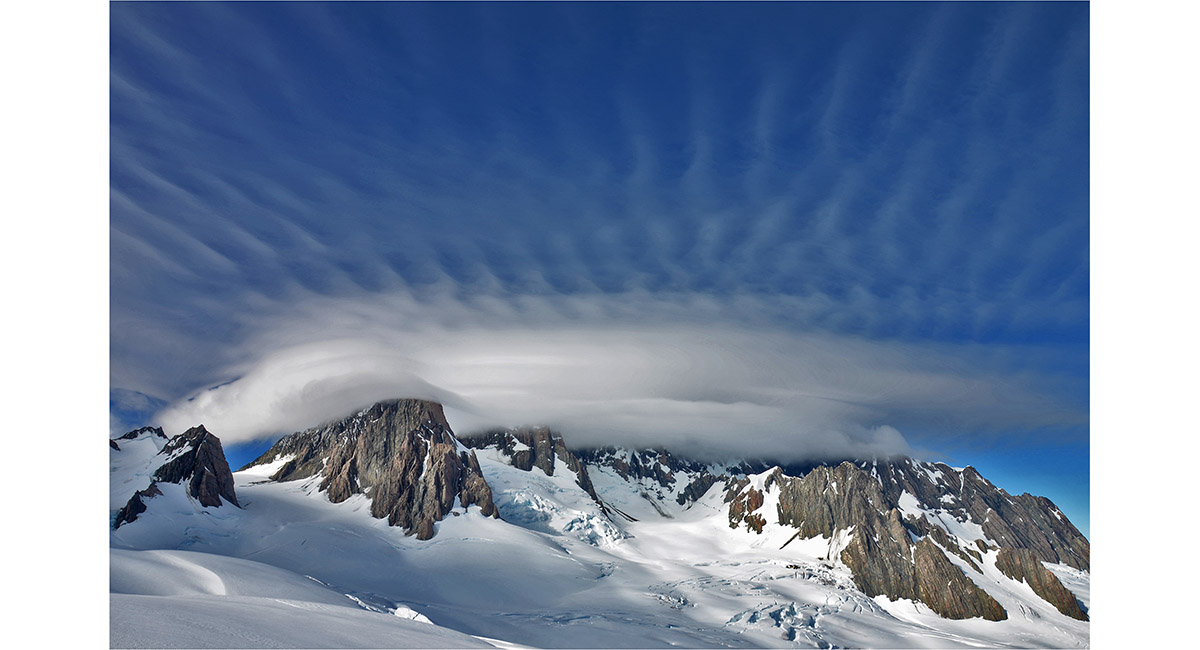
Hogsback and cirrus clouds over Mount Tasman

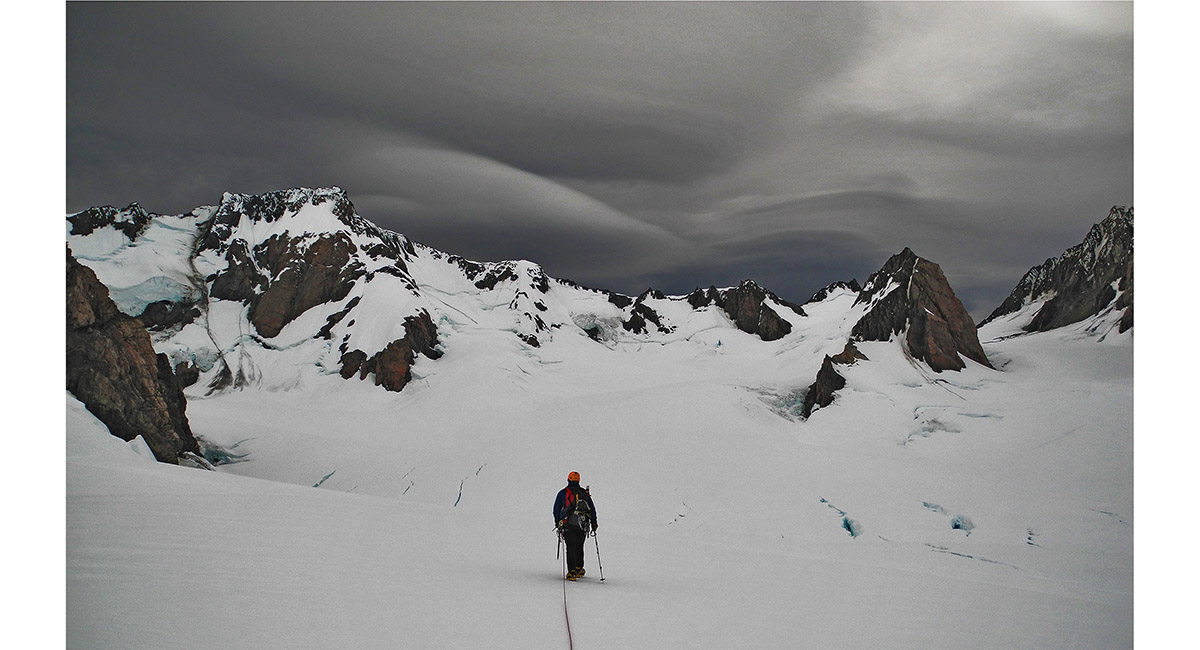
Pioneer Hut and the main divide

From left - Lendenfeld, Tasman, Torres, Drake

View west from Pioneer Hut down the Fox Glacier

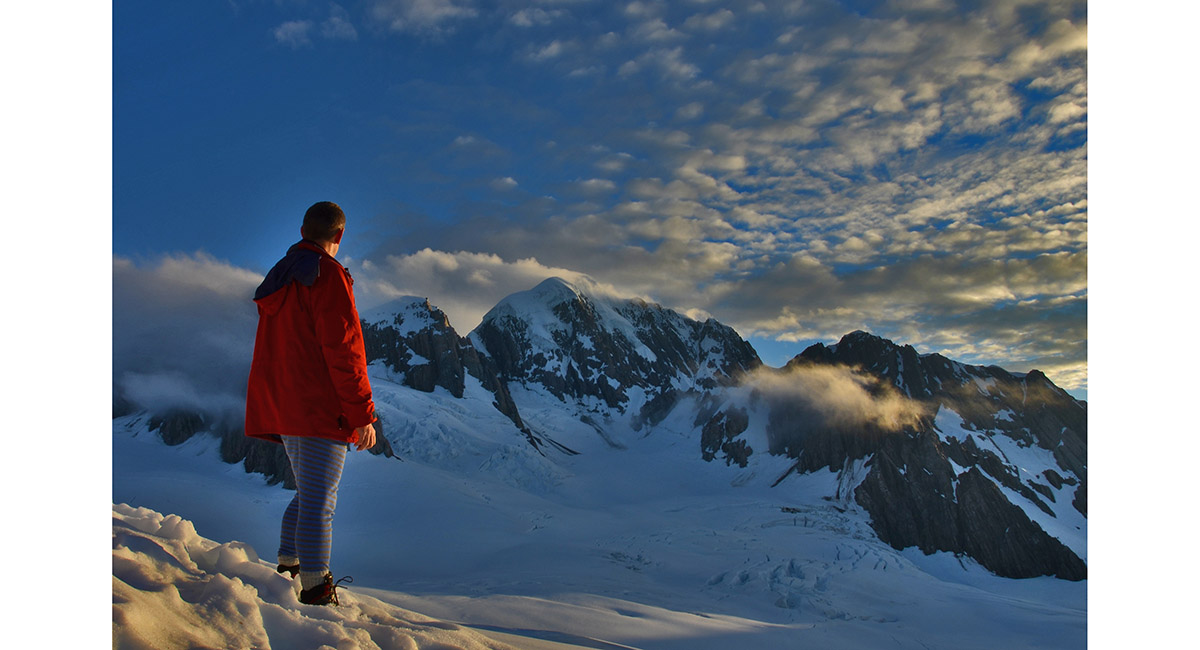
Lendenfeld and Tasman


View north and west, from Pioneer Hut

View north to Newton Pass

Mount Tasman


Looking south to the main divide on the descent via Chancellor Ridge

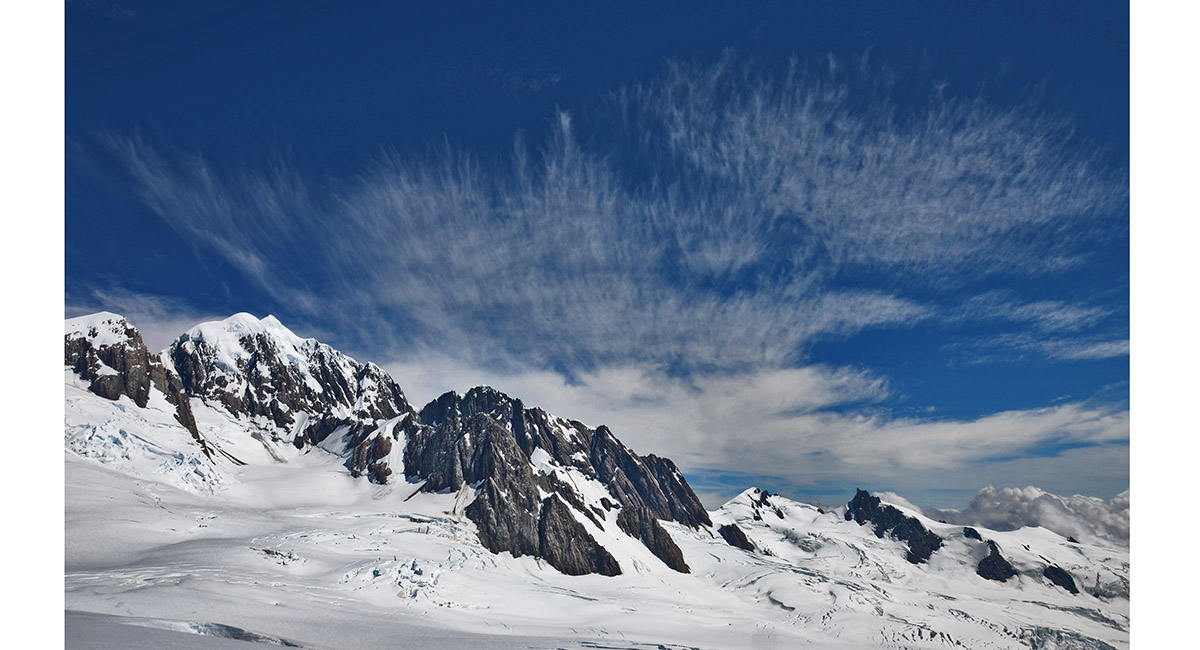
From left - Mount Haast (3,114m), Marcel Col (2,987m), Lendenfeld (3,194m), Engineer Col (3,093m), Tasman (3,497m) and Torres Peak (3,160m)

Approaching Chancellor Dome (2,004m)

Nearing the summit of Chancellor Dome with, from left - Mounts Haast (3,114m), Lendenfeld (3,194m) and Tasman (3,497m) and Torres Peak (3,160m)

On top of Chancellor Dome with, from left - Mounts Haast (3,114m), Lendenfeld (3,194m) and Tasman (3,497m) and Torres Peak (3,160m)


Pioneer Ridge is the rock buttress at left. Haidinger is behind and above this. Then the main divide leads along to Govenor Col, Grey Peak, Pioneer Pass, Mt Haast, Marcel Col, Mt Lendenfeld, Engineer Col, Mt Tasman and Torres Peak

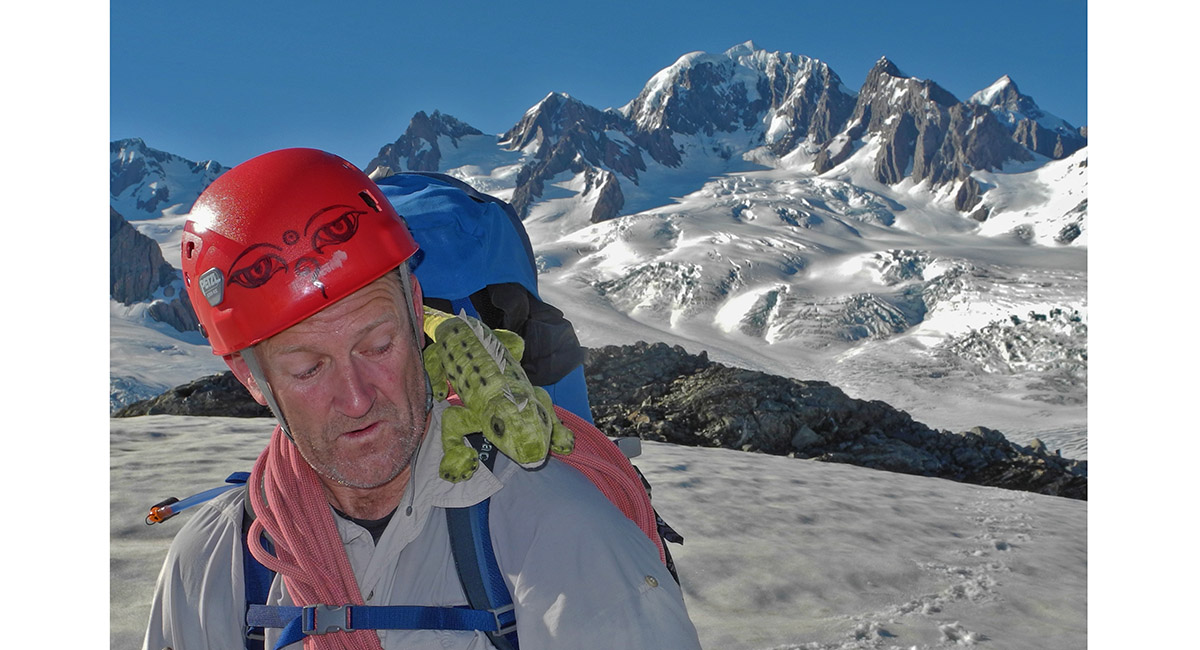
Stow away

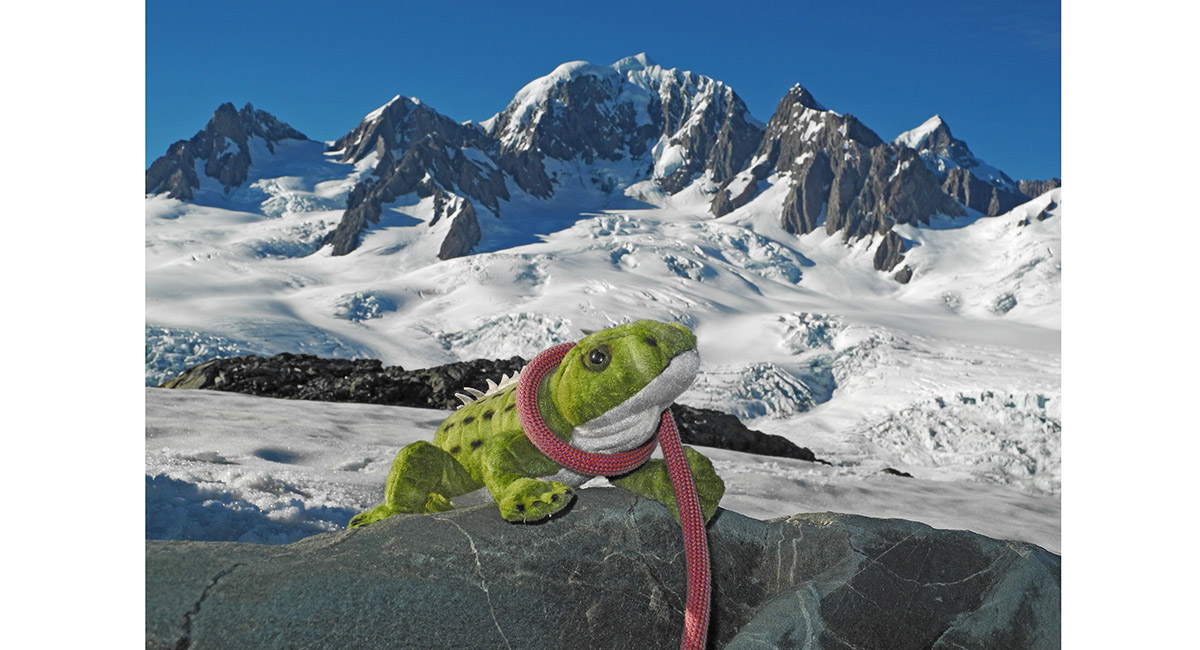
Intrepid


From left - Mount Tasman, Torres Peak and Aoraki Mount Cook

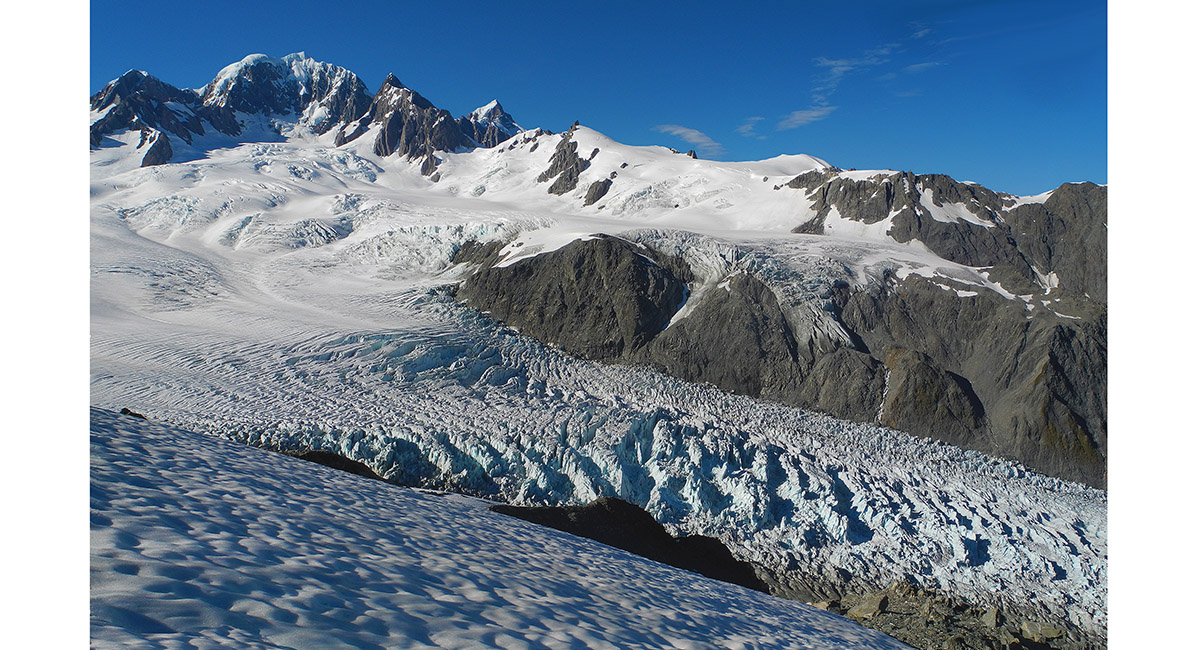
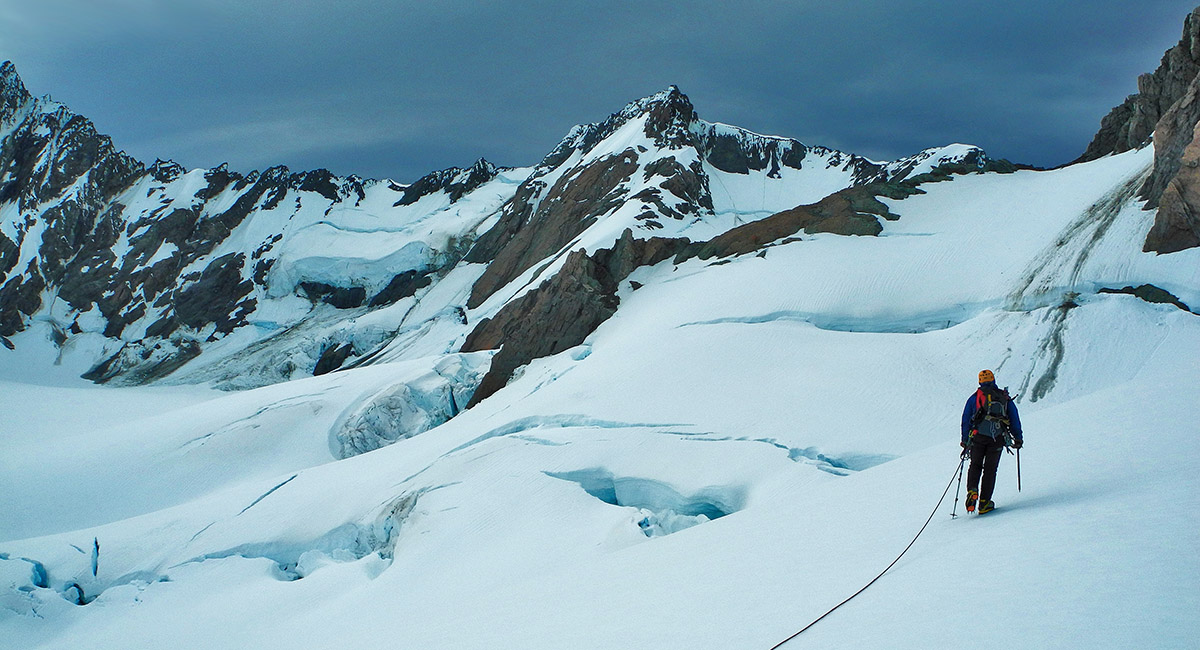
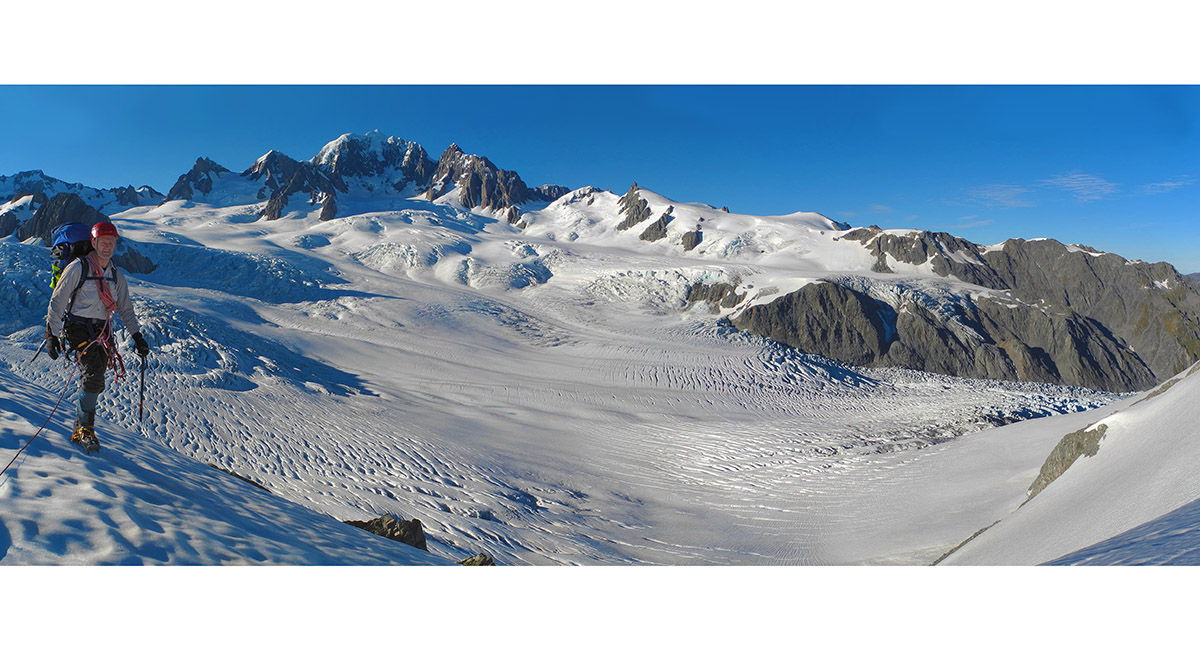
The upper section of the Fox Glacier


Looking west from beneath Cancellor Ridge

Last view of the big boys before dropping off Chancellor Ridge

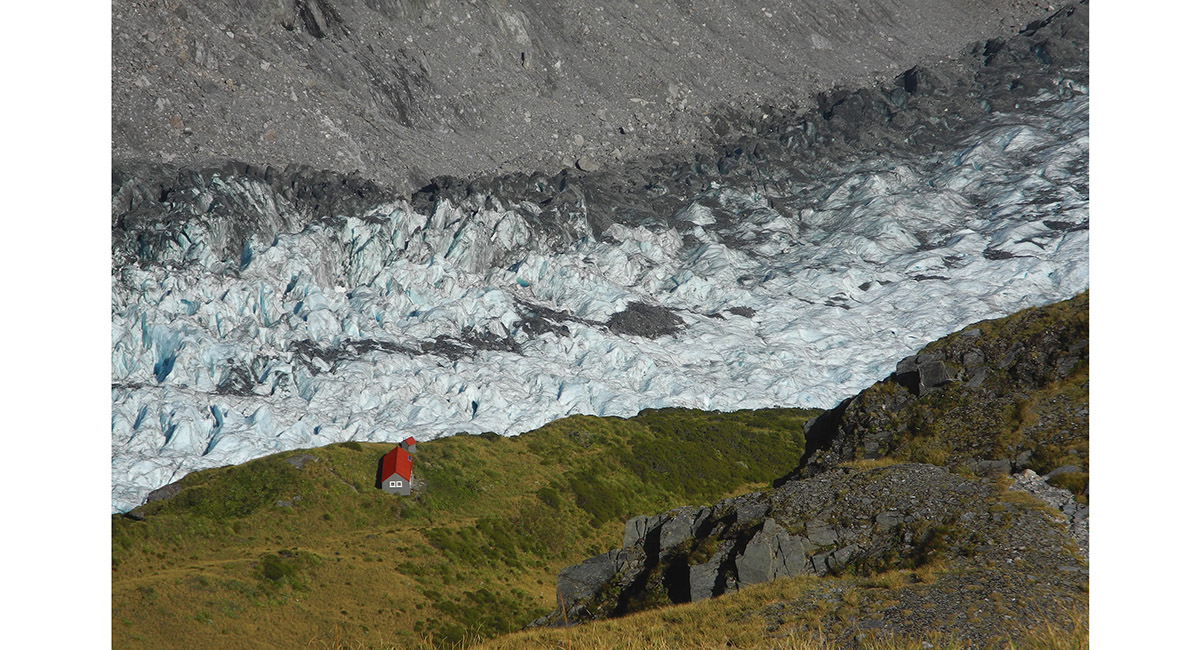
Chancellor Hut (1,140m), perched beside Fox Glacier

Chancellor Hut and the terminal moraine of Fox Glacier beyond

To order a print or web resolution file of any image you see in this slide show, just right click the image, click “Copy Image URL” and paste in to the “Your message” box of our Contact Us form. Please also note, for each image, if you want a print or web resolution file. We will get back to you as soon as possible to confirm price and payment details.
Open Contact Us in a new window to paste Image URL(s) easily