Mt Travers via SE Face, October 2017

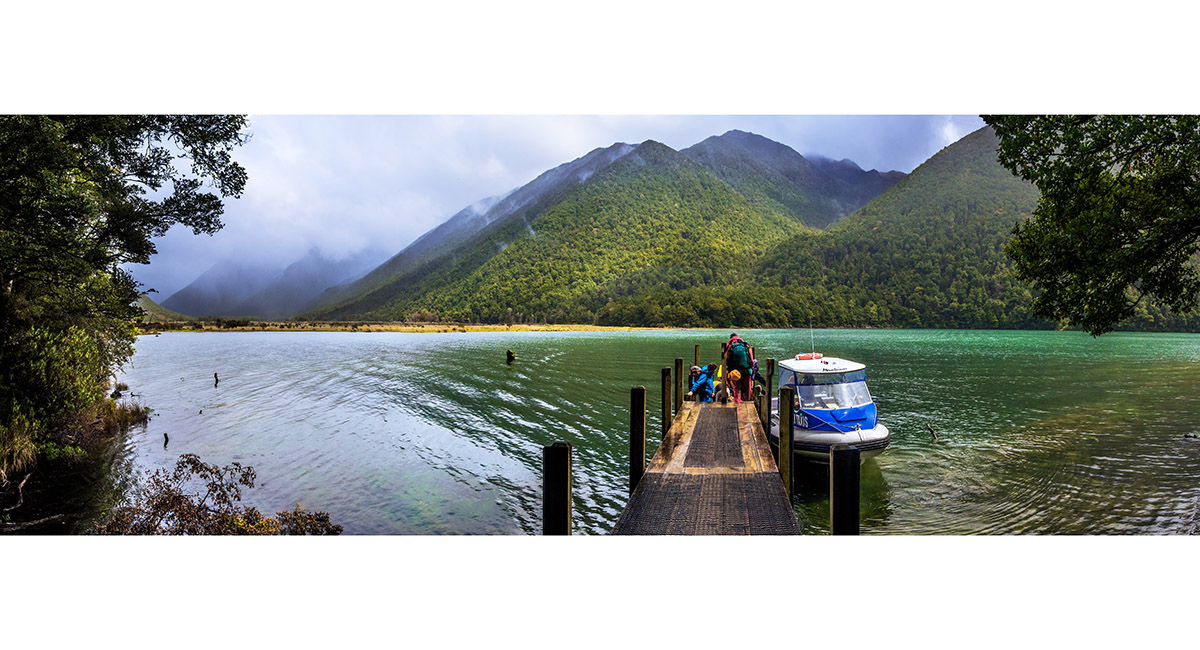
The pier at St Arnaud at the northern end of Lake Rotoiti

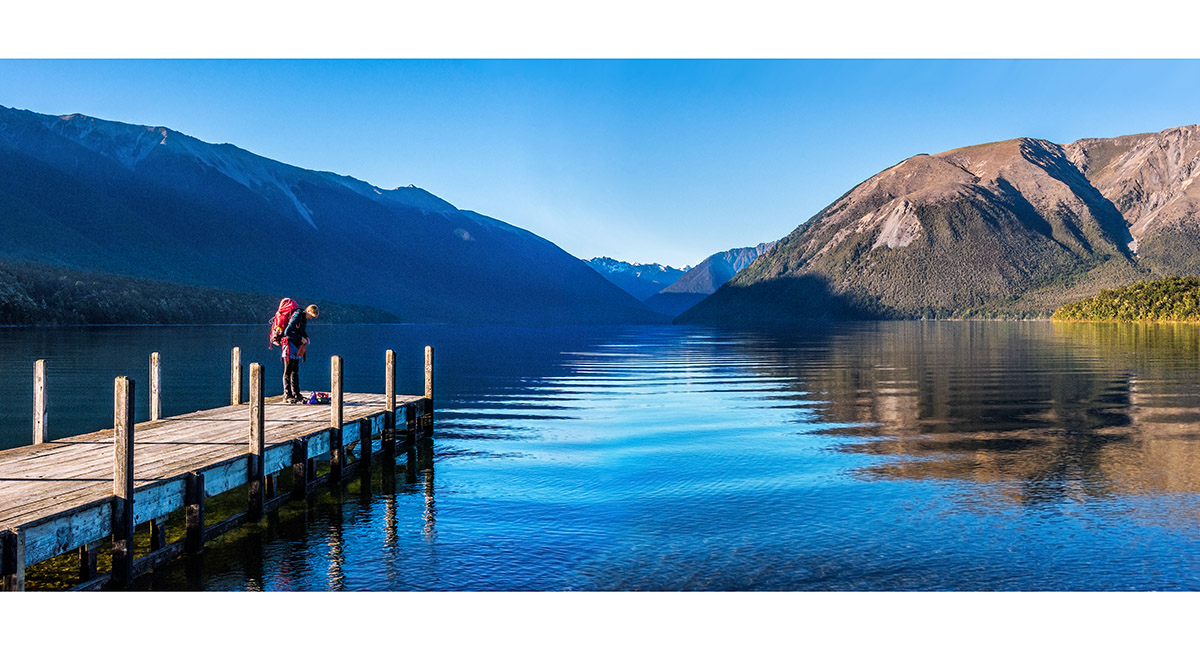
The pier at St Arnaud at the northern end of Lake Rotoiti


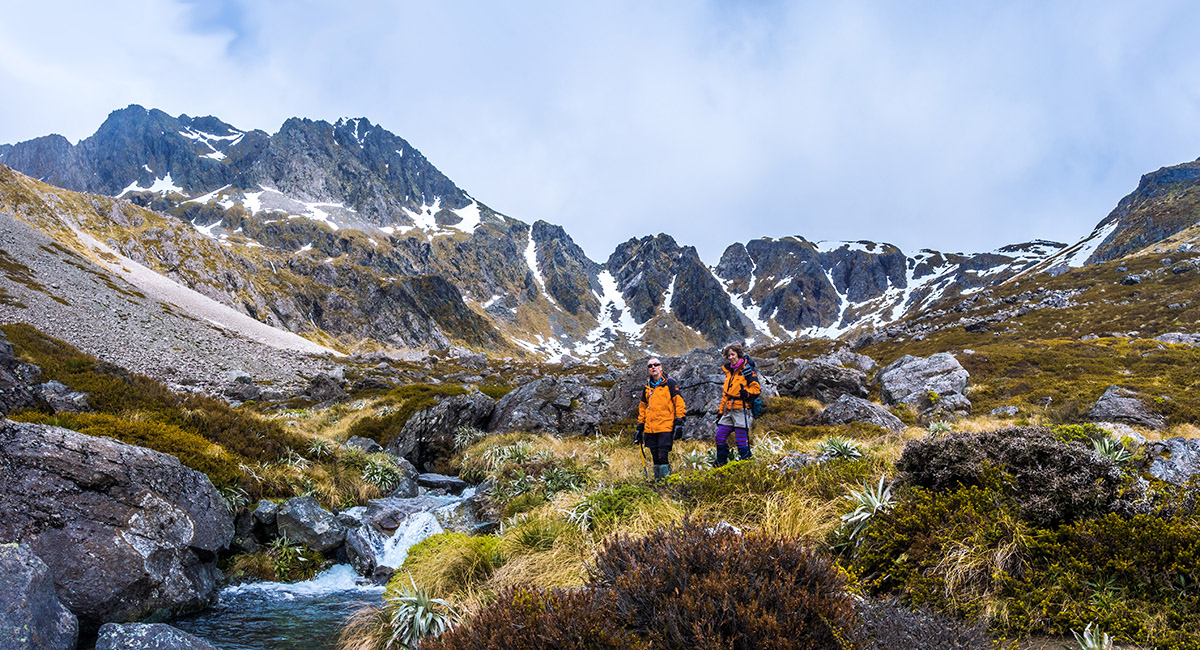
The view south up Travers Valley from the southern end of Lake Rotoiti

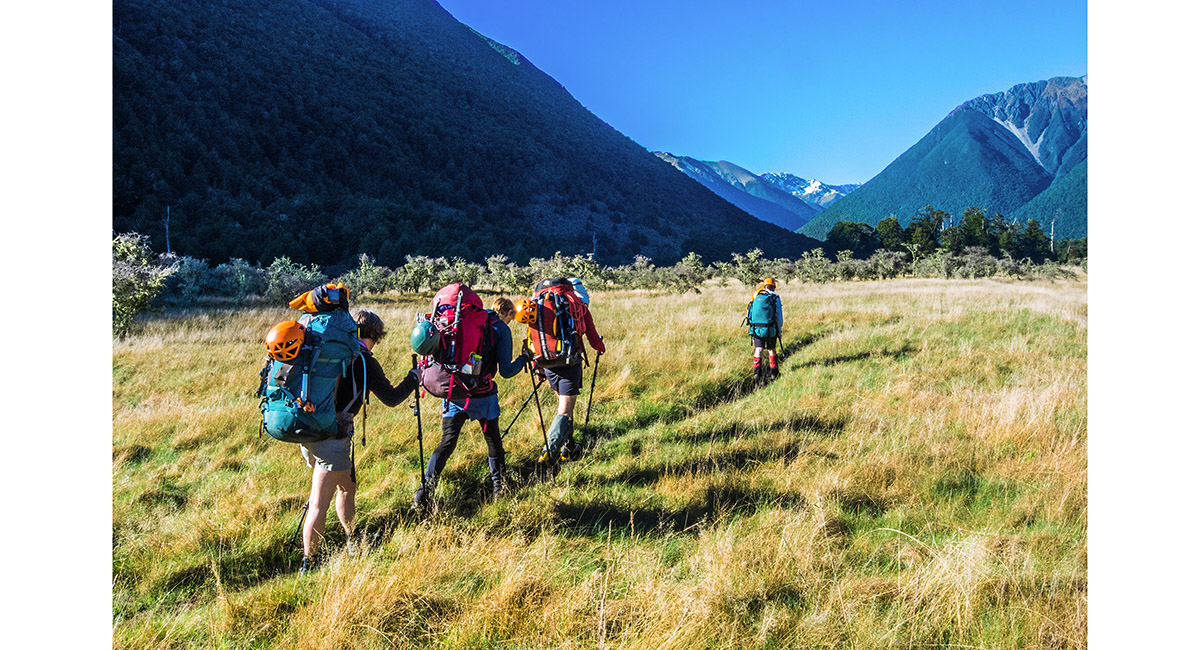
Grass flats just south of Lakehead Hut (620m)

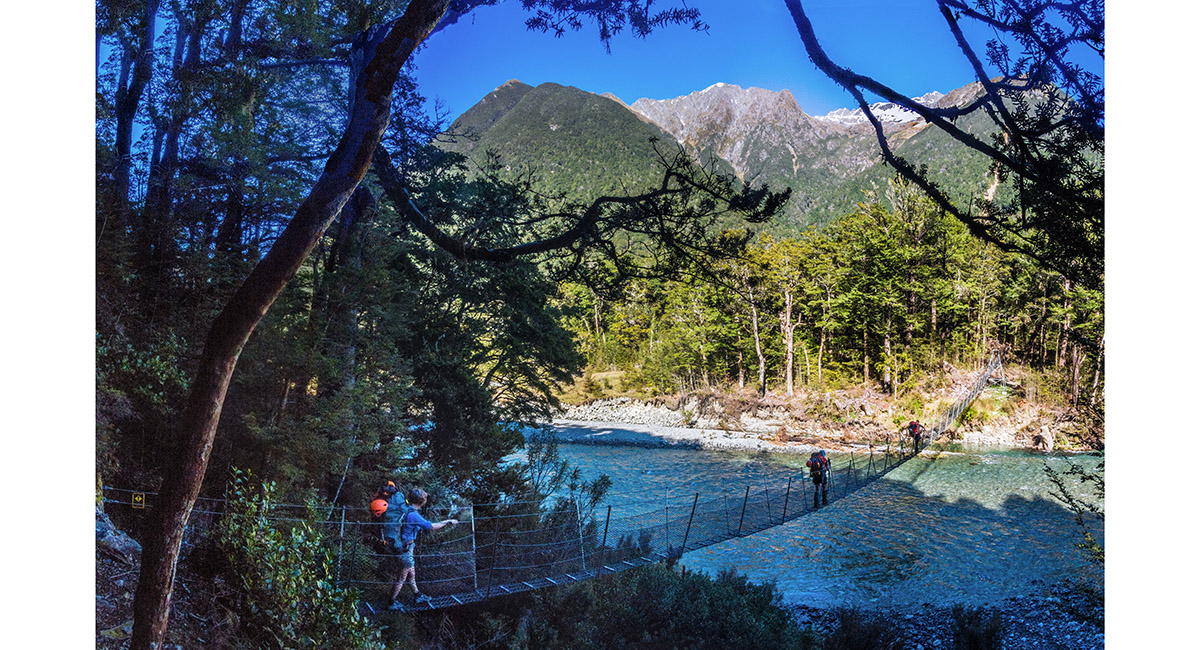
Crossing the Travers River about an hour south of Lakehead Hut

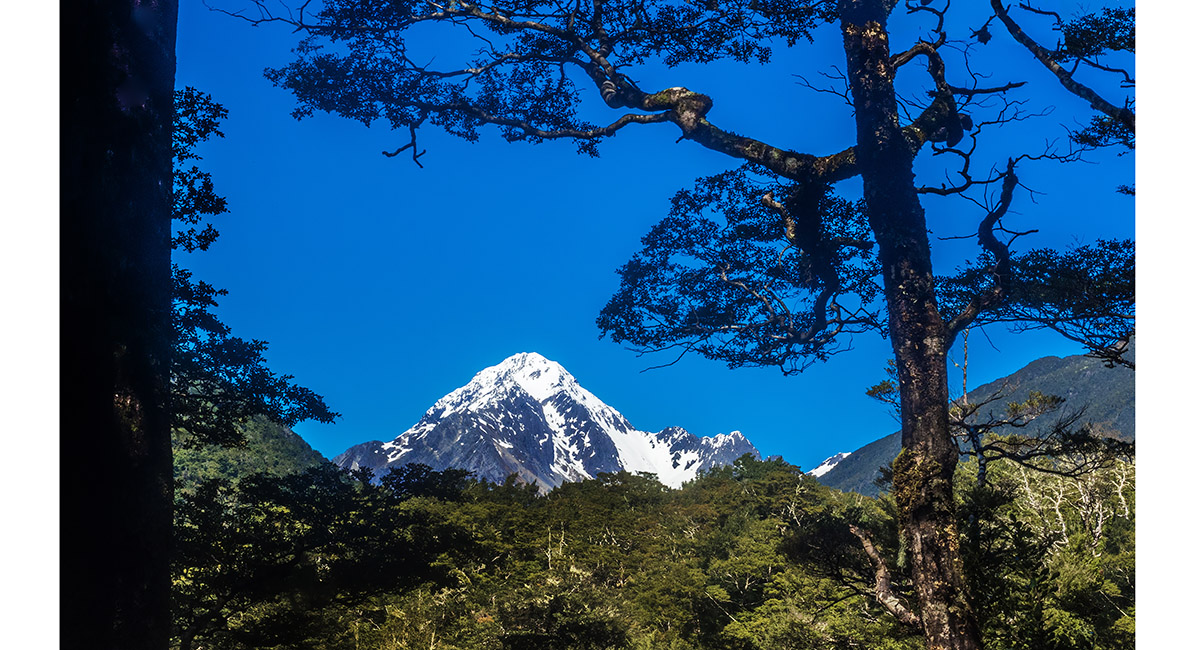
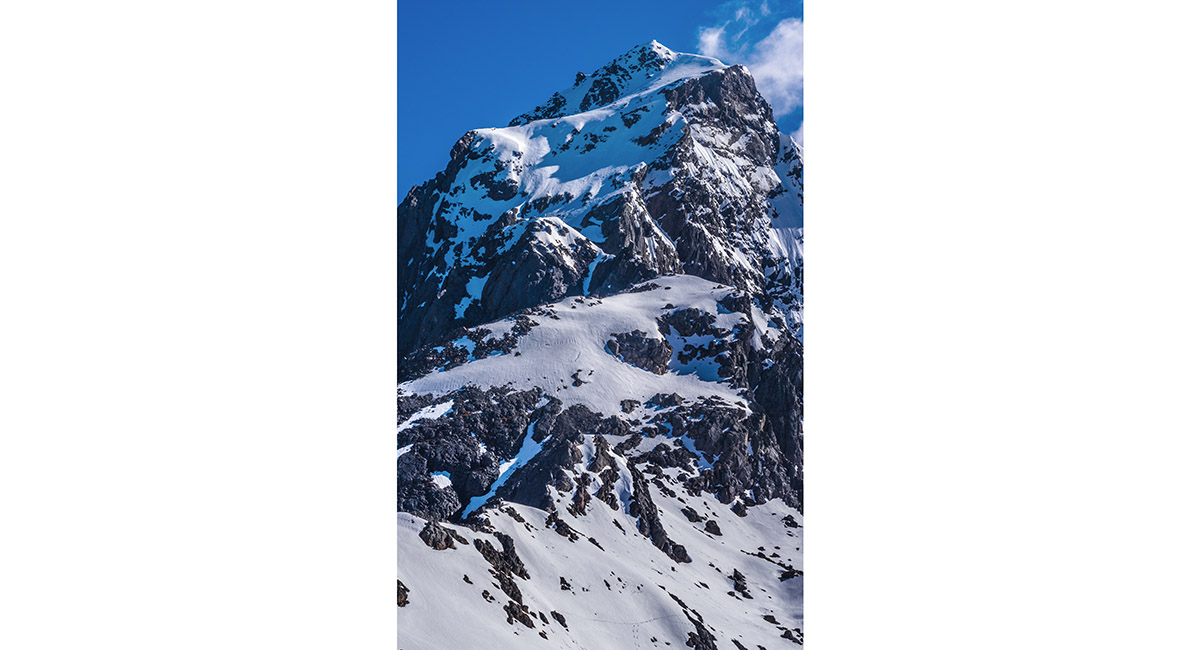
First glimpse of the top 400m of Mt Travers (2,338m) northern aspect


The Travers River and the north side of Mt Travers


A tributary stream north of John Tait Hut


John Tait Hut beside the Travers River

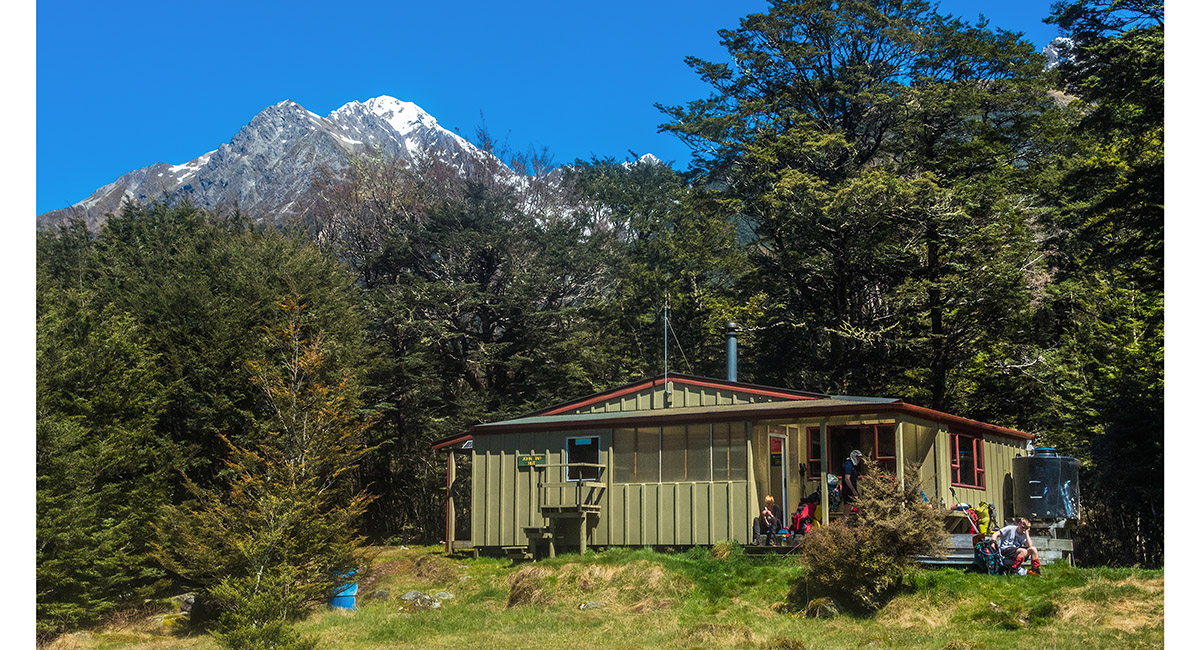
John Tait Hut (800m)


Approaching Upper Travers Hut (1,320m)


Upper Travers Hut (1,320m)

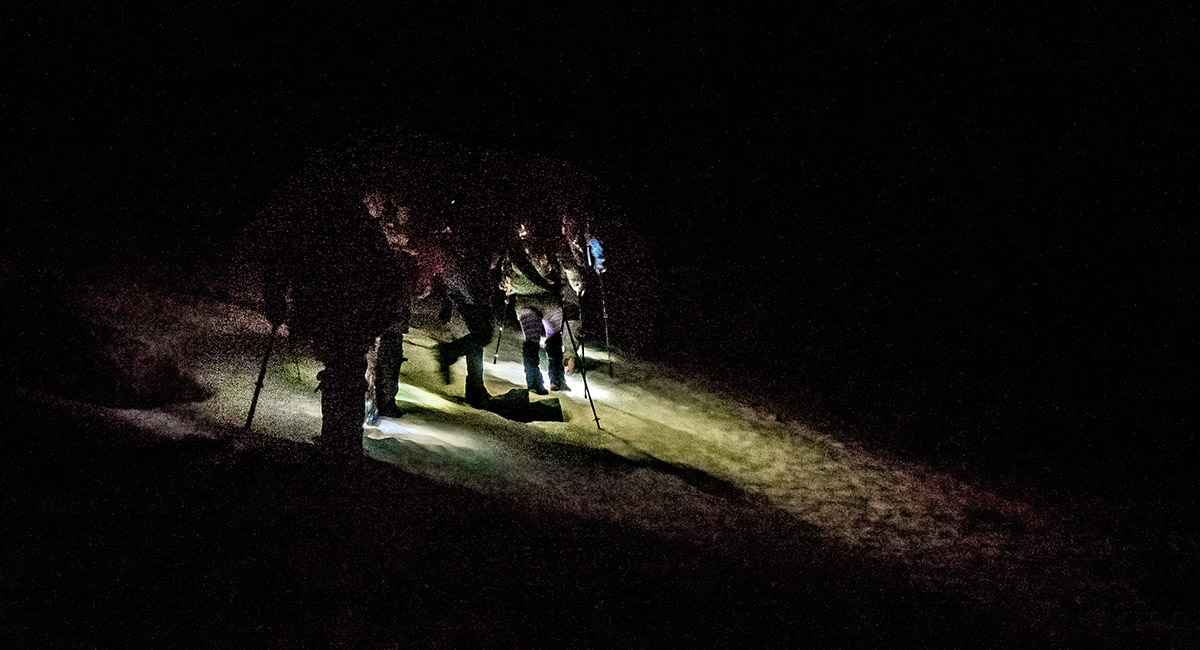
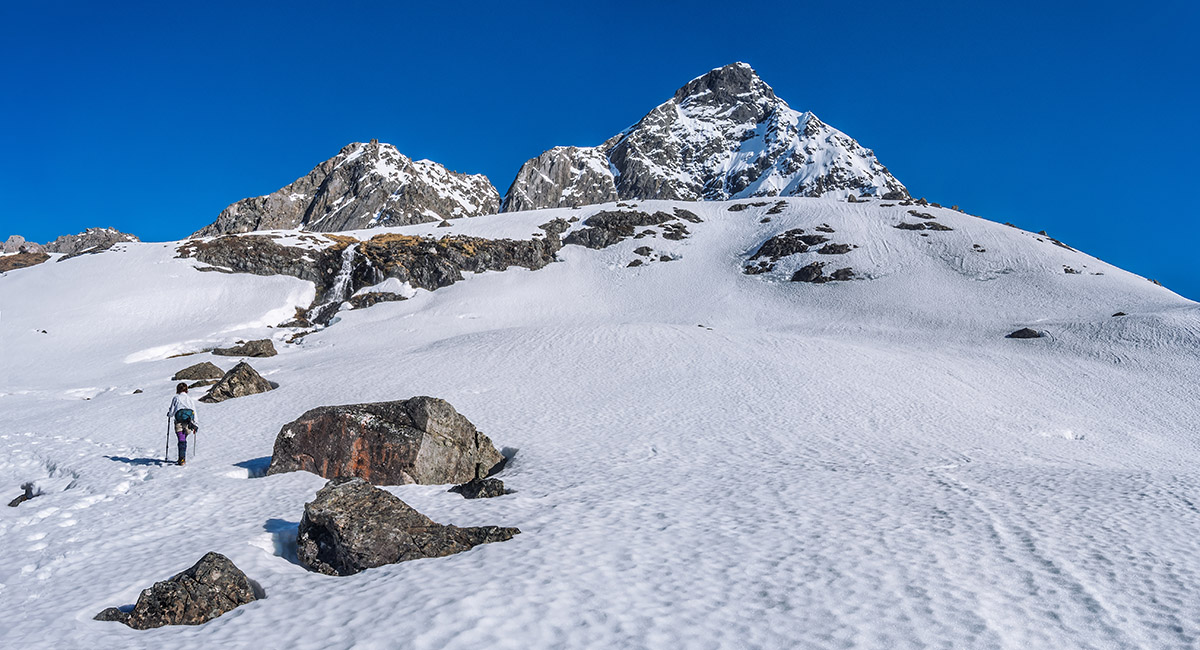
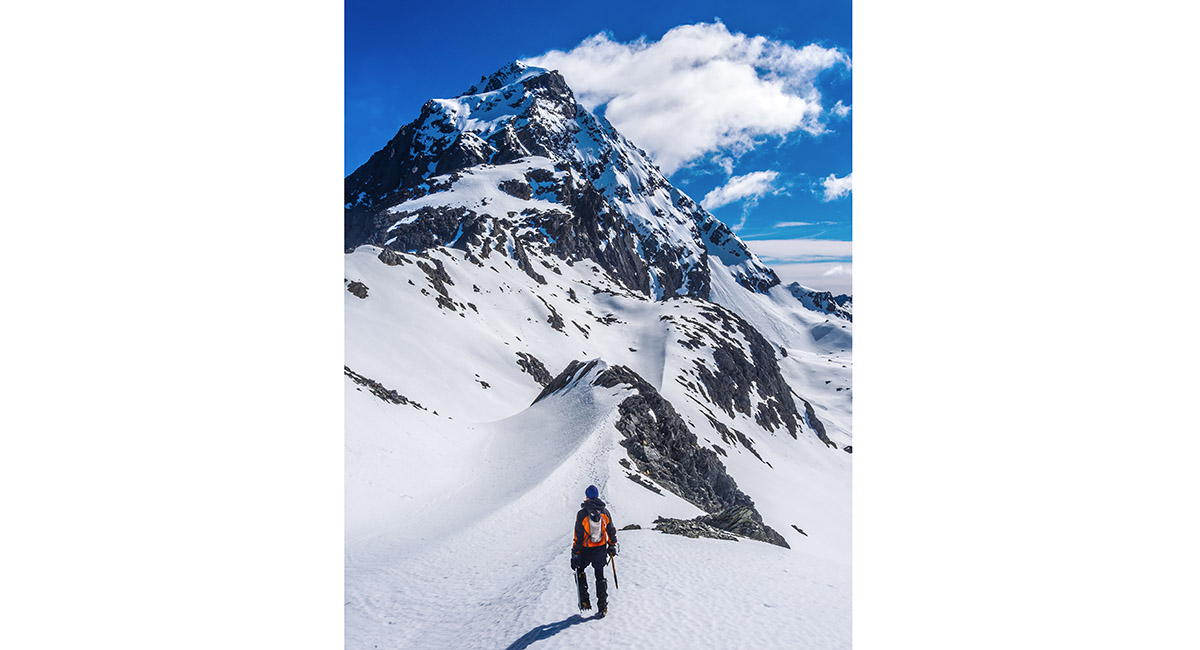
A 4am alpine start, ascending a snow basin at about 1,500m


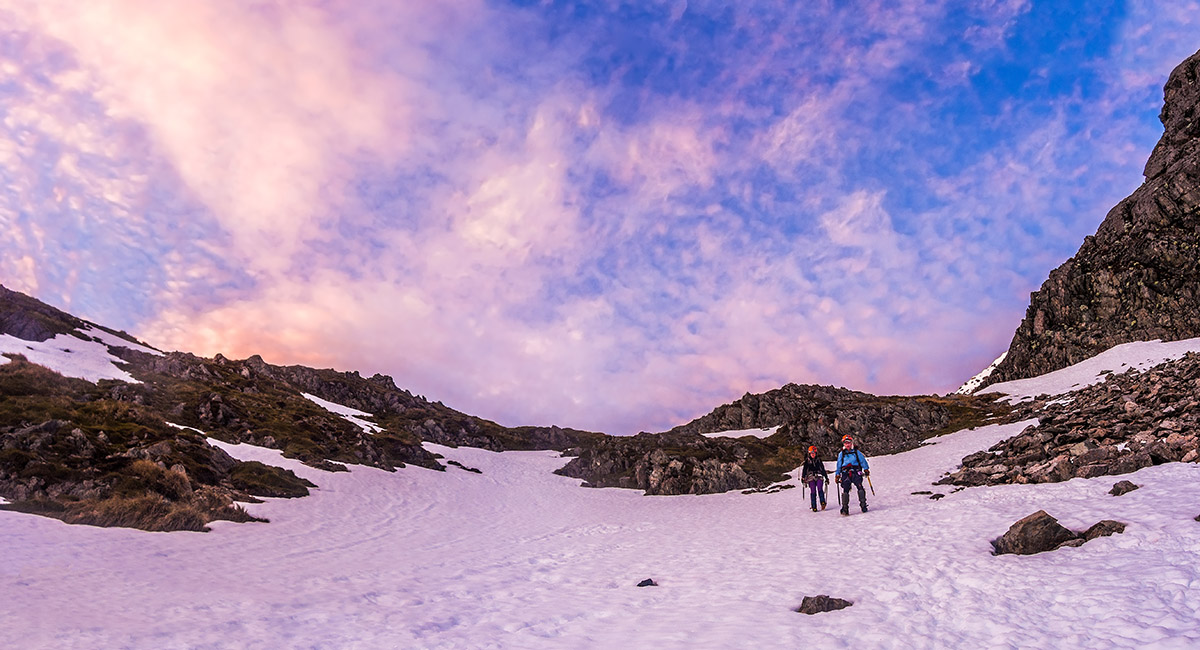
Approaching dawn at about 1,600m


Below the broad shoulder, at about 1,700m


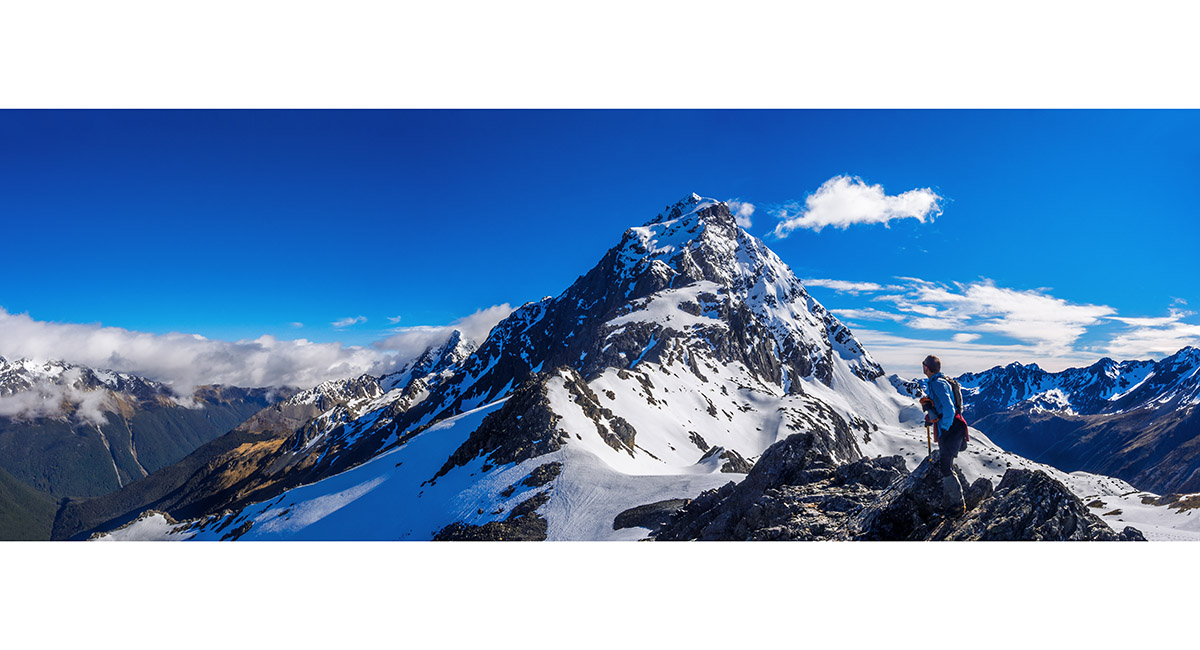
The view east to the St Arnaud Range from the broad shoulder at 1,880m

Loosing some height on a sidle around to the next snow basin


Commencing our ascent of the second snow basin that gives access to the north east ridge

The gradient steepened as we ascended, here at about 1,900m


Departing the lip of a small schrund in the direction of the ridge, about 1,900m

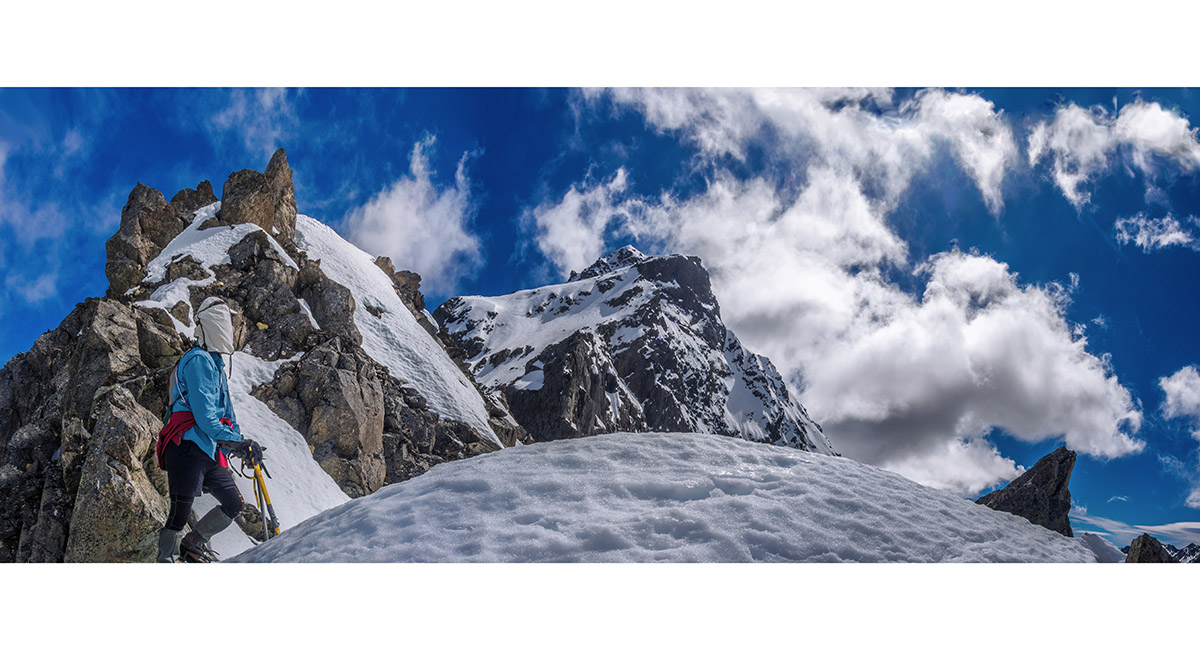
Approaching the most exposed section of snow and rock beneath the ridge


Picking a way towards the ridge


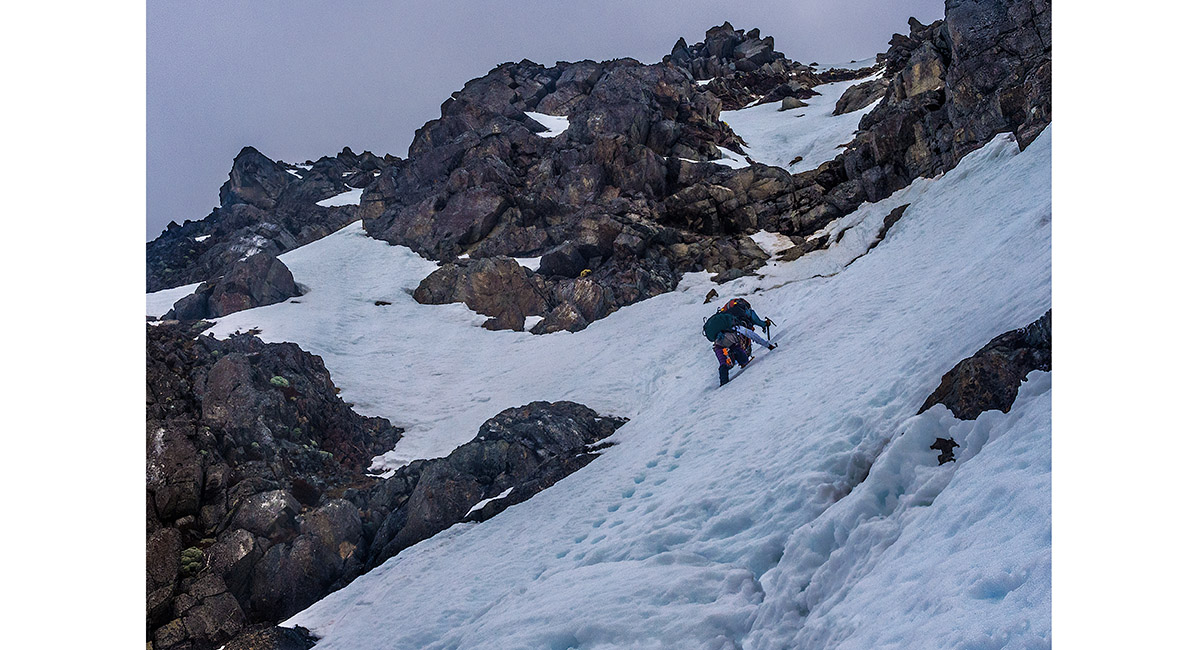
Climbing Weetbix at about 2,000m


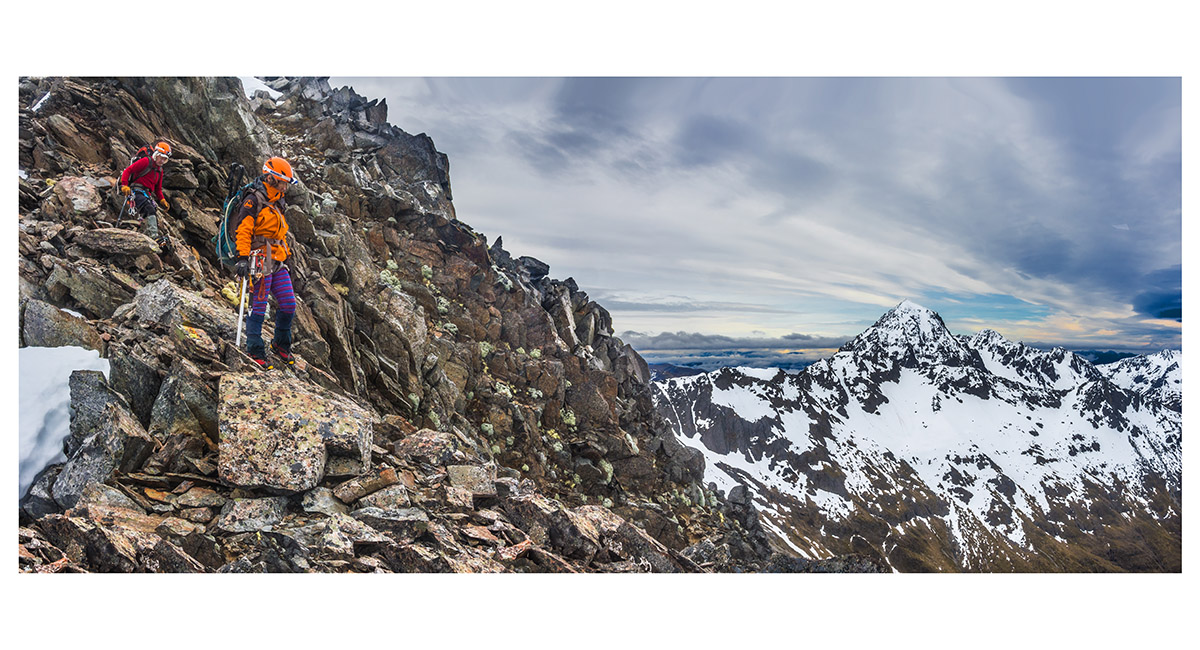
Traversing across to the north east ridge at 2,070m


Traversing across to the north east ridge at 2,070m


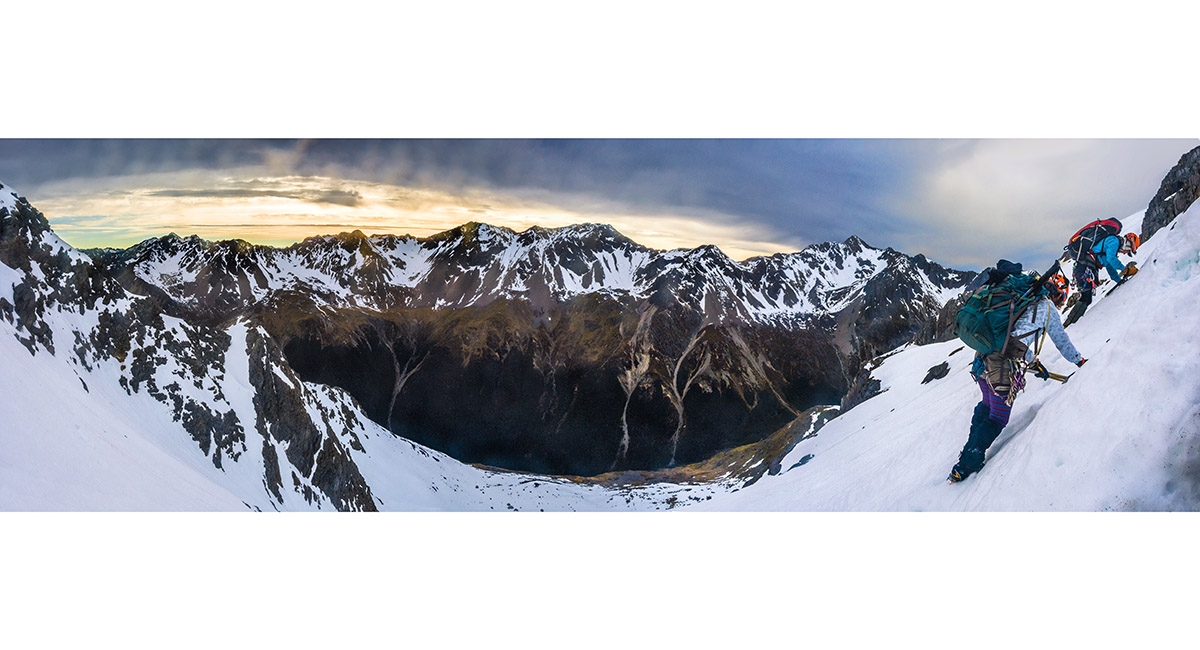
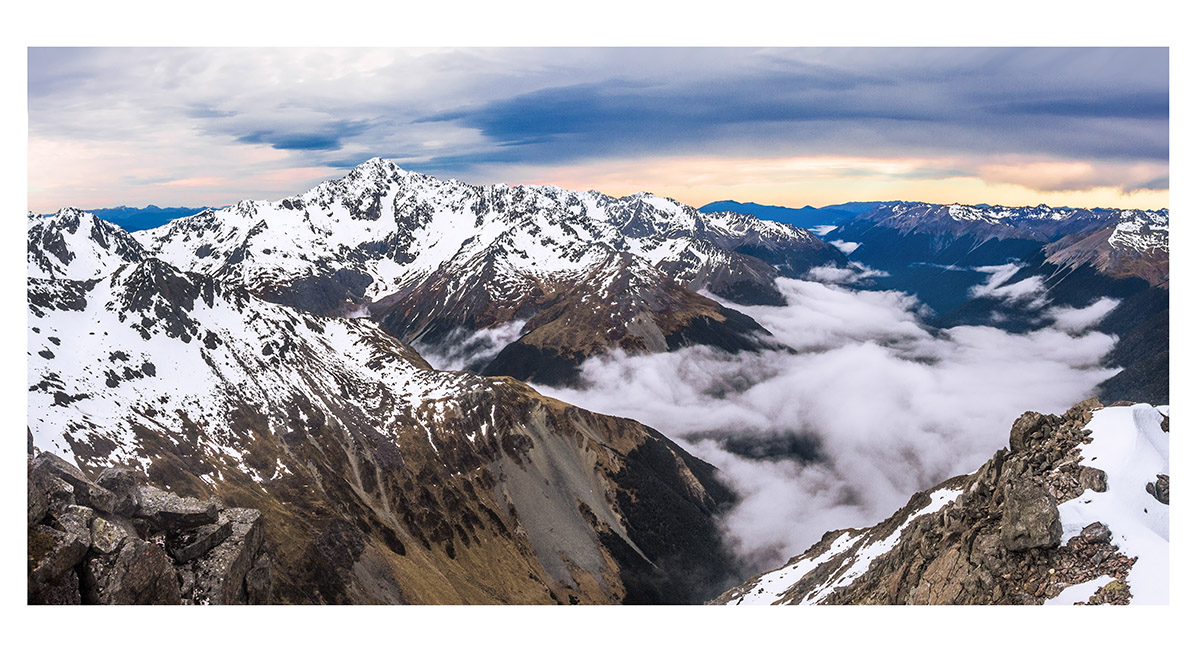
The view north from the north east ridge, with Mt Cupola (2,260m, far left), Mt Hopeless (2,278m, left), the Travers Valley in fog and the St Arnaud Range, right

Mt Hopeless (2,278m) and the Travers Valley

Mt Cupola (2,260m), viewed from the north east ridge at about 2,000m


The view north from about 1,950m on the north east ridge, with Mt Cupola (2,260m, far left), Mt Hopeless (2,278m, left), the Travers Valley and the St Arnaud Range, right. What appeared to be a "friendly exit ramp" is bottom far right

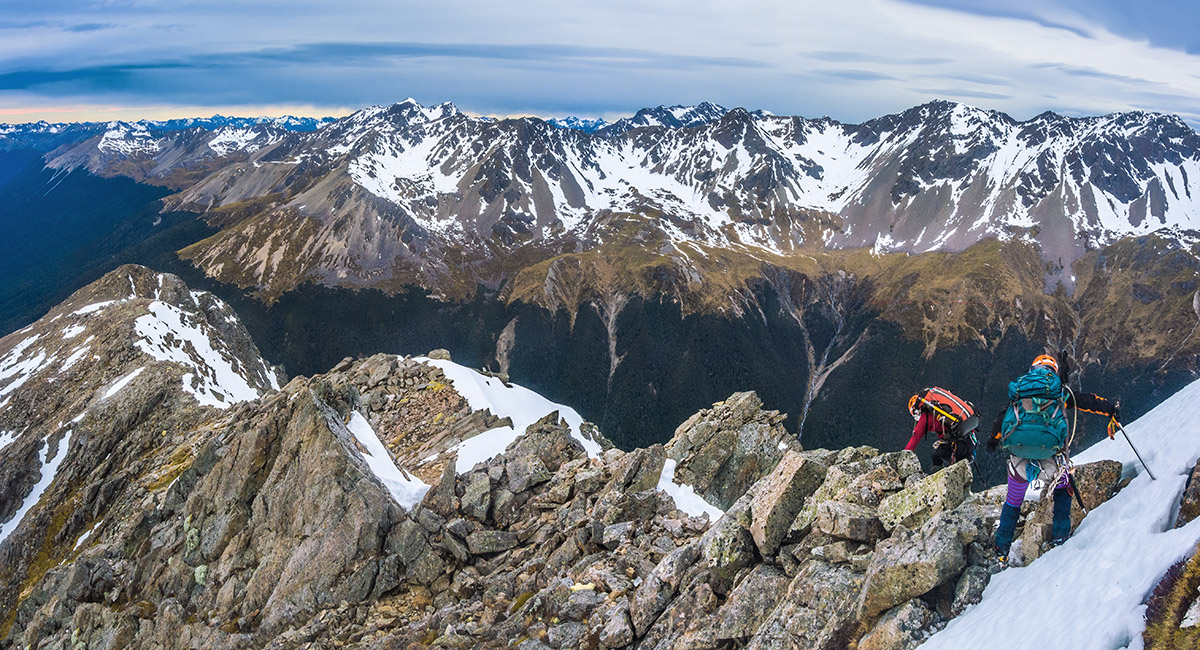
Descending the easier gradient north east ridge


Abseil set up


Abseiling on the first attempt route to reach the snow basin


On the traverse around at about 1,600m, with Upper Travers Hut bottom left


The eastern aspect of Mt Travers (2,338m) at dawn, viewed from behind Upper Travers Hut


The eastern aspect of Mt Travers at sunrise, viewed from behind Upper Travers Hut


Above the treeline on the way to Travers Saddle

Climbing towards Travers Saddle (1,787m), with the summit of Mt Travers (2,338m) and the grade 3 south ridge left. The crux notch is clearly visible


The south ridge and summit of Mt Travers, viewed from near Travers Saddle


Peaks to the south of Travers Saddle, with Mt Franklin obscured by cloud to the right

The south ridge and summit of Mt Travers, viewed from above Travers Saddle. Mt Cupola is just left partly in cloud


Mt Cupola (2,260m), viewed from above Travers Saddle

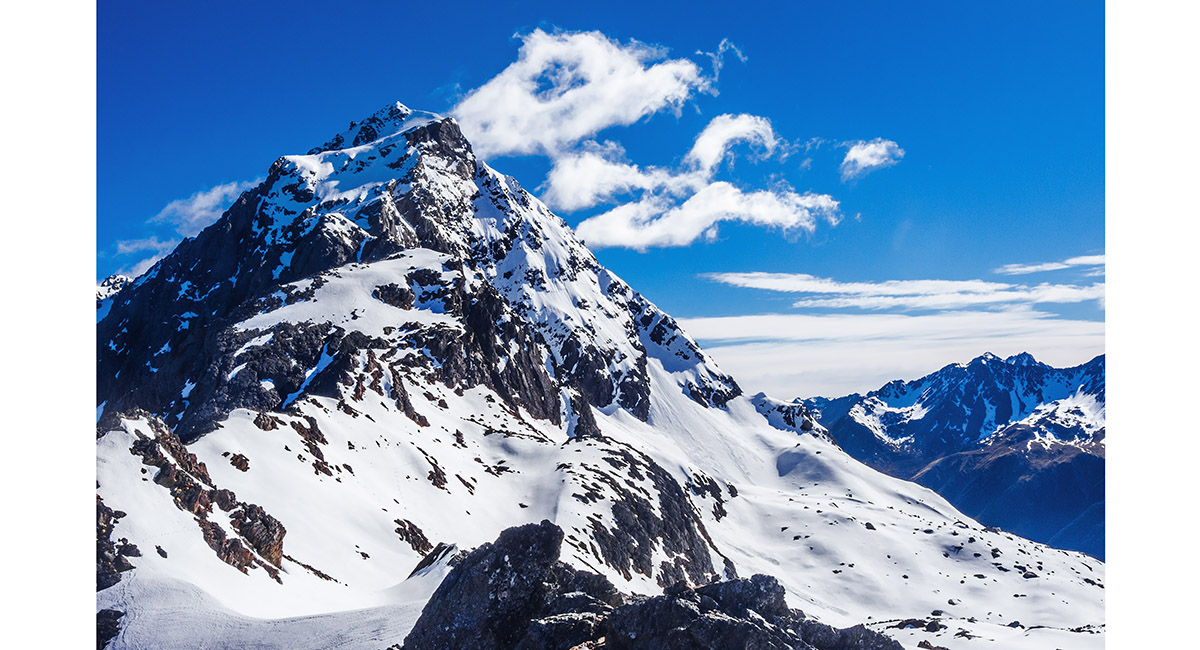
The south ridge and summit of Mt Travers, viewed from above Travers Saddle

The south ridge and summit of Mt Travers, viewed from above Travers Saddle. Our high point (2,000m) is the top of the broad snow field abit over halfway up in this picture

Approaching the base of the south ridge


The view back across Travers Saddle (1,787m) from low on the south ridge of Mt Travers

At our high point about 2,000m before the crux notch on the south ridge. Mt Travers' summit is about 350m higher up


Descending quickly softening snow on our way back to Travers Saddle


The summit of Mt Travers from below Travers Saddle

Returning to Upper Travers Hut beside the upper section of Travers River


A small waterfall on upper Travers River


Travers Falls, about an hour south of John Tait Hut

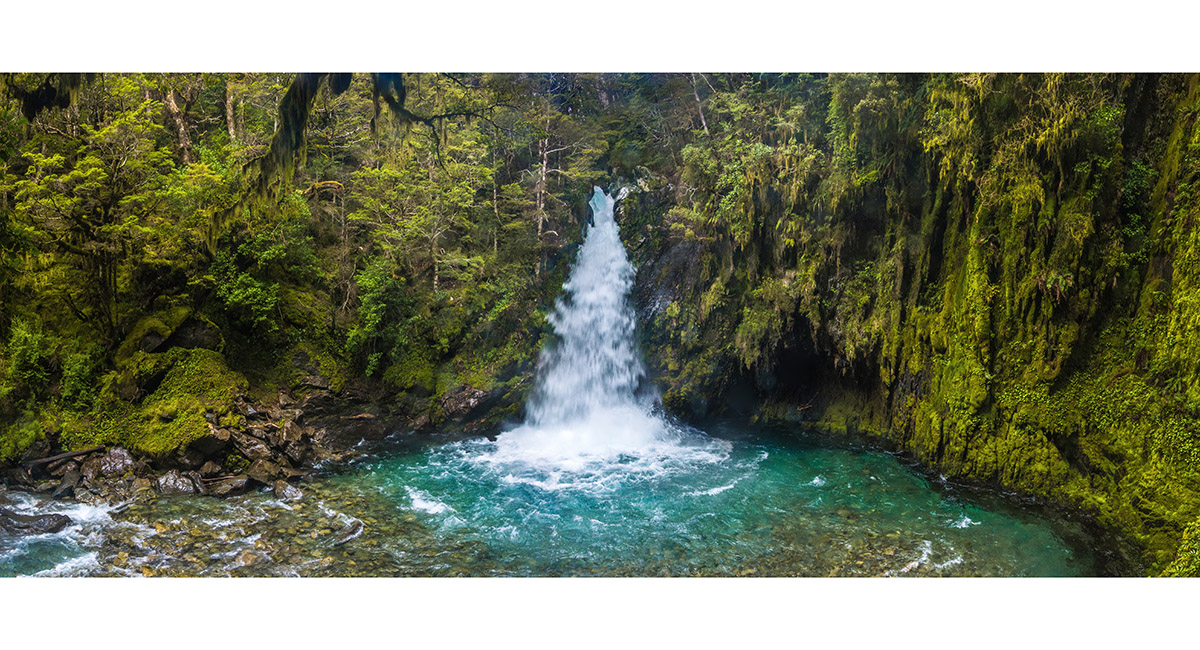
Travers Falls, about an hour south of John Tait Hut

The view from the pier at the southern end of Lake Rotoiti

Read about it
A snowball called Anxiety Wilderness Magazine Sep 19 Travers treasure Wilderness Magazine Jan 18
Travers by wire Wilderness Magazine Mar 18 A snowball called Anxiety Vertigo Nov 17
![]()
To order a print or web resolution file of any image you see in this slide show, just right click the image, click “Copy Image URL” and paste in to the “Your message” box of our Contact Us form. Please also note, for each image, if you want a print or web resolution file. We will get back to you as soon as possible to confirm price and payment details.
Open Contact Us in a new window to paste Image URL(s) easily